How can I connect my domain name with my Managed WordPress Hosting plan?
How can I connect my domain name with my Managed WordPress Hosting plan?
To access your WordPress admin panel and make your website publicly available online, you need to connect your Hosting for WordPress plan to your domain name.
This process includes a few technical steps and depends on:
your DNS provider
whether you use a domain or a subdomain
and the Papaki Control Panel version you are using to manage your hosting plan.
Attention!
If you have an email hosting package hosted on a Plesk infrastructure, please refer to the guide available
here.
Within a few minutes, your website will be live and accessible through the connected domain or subdomain.
If you use an external DNS provider
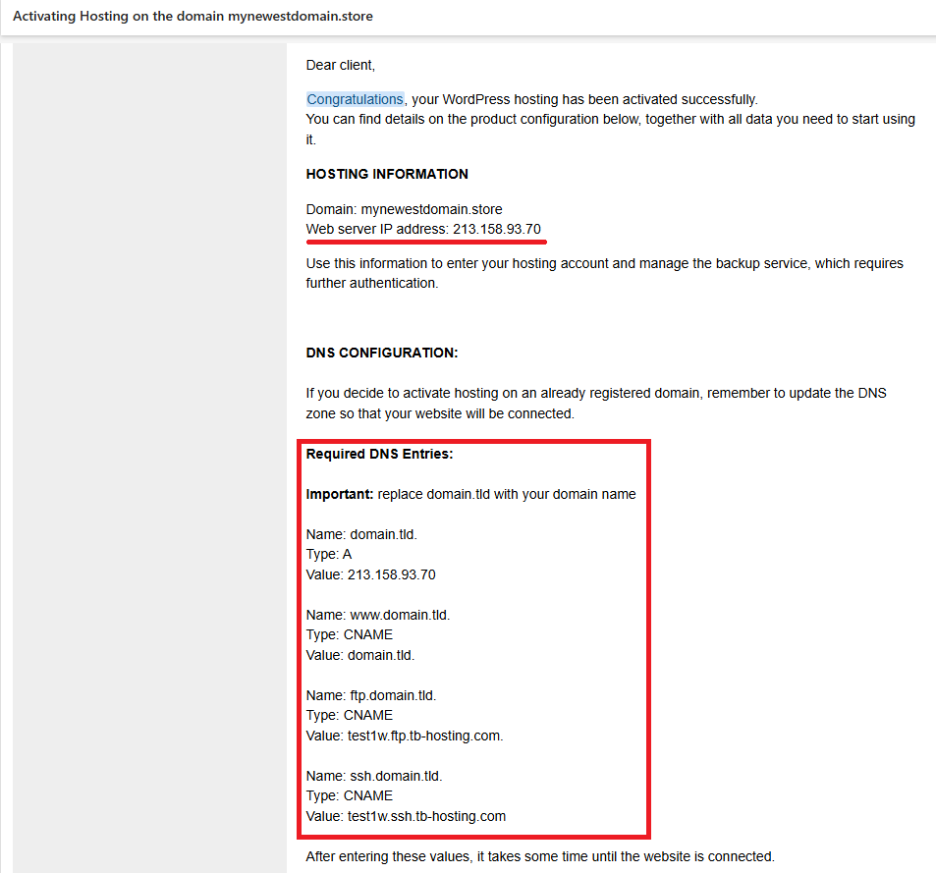
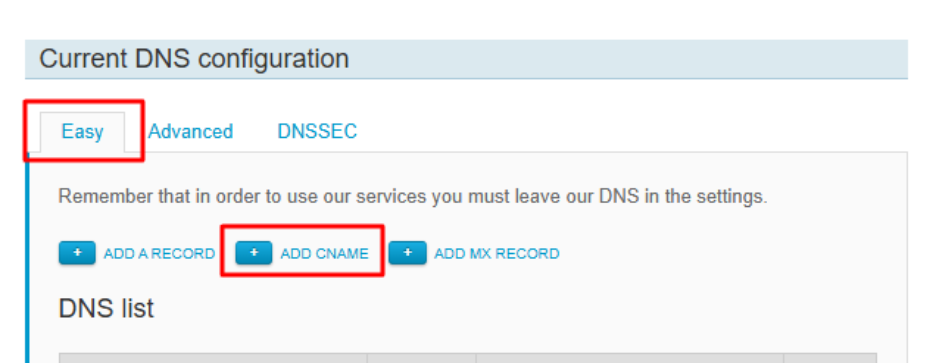
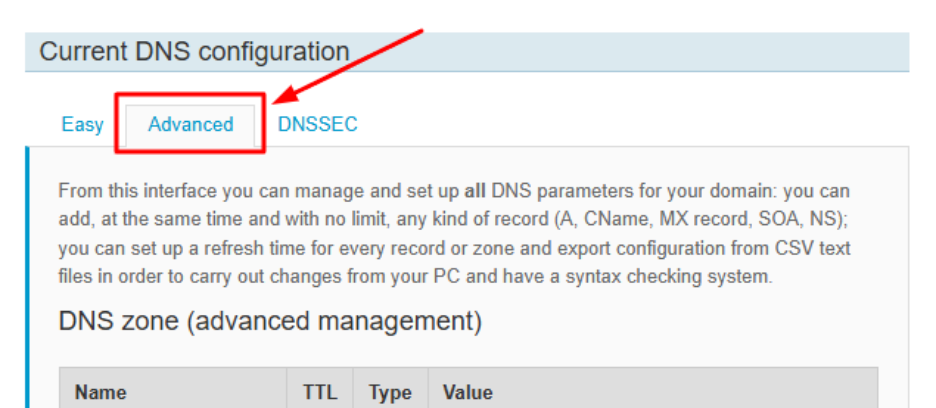
You will need to manually add the CNAME records and IP address (from the welcome email) to your domain’s active DNS zone through your DNS provider’s control panel.
Additional Information
Your domain does not need to be registered with Papaki to use the hosting package.
To activate and use the email package included with your hosting, the domain must be managed from your Papaki account.
Changing the primary domain of your hosting package will reset it to its initial state and delete all content. Contact support before proceeding.
You can use a subdomain as your main domain, provided that the correct DNS records are set up.
Frequently Asked Questions (FAQs)
Can I activate a Managed Hosting for WordPress package without providing a domain? No. A domain must be specified during activation as the main domain for the package.
My domain is not registered with Papaki. Can I still use the hosting package? Yes. You just need to set up the DNS records properly through your current DNS provider.
Do I need to change the domain’s nameservers? Not necessarily. If you use Papaki’s free DNS service, there’s no need to change nameservers. Otherwise, make the DNS changes through your external provider.
How long does it take for the domain to connect to the hosting? Usually within 10–30 minutes. In some cases, DNS propagation may take up to 24 hours.
Can I change the primary domain of my hosting package? Yes, but this will reset the package and delete all content. Please contact support first.
Can I set a subdomain as the primary domain? Yes, as long as you correctly configure the required A records in the DNS zone.
Can I use the email package included in the hosting? Yes, but only if the domain is managed under your Papaki account.
Initially, the Managed WordPress Hosting service is activated and operates using a temporary subdomain with the following format: xxxxxxxx.blog.com.gr. If you would like to connect your hosting with your domain name, follow the steps below:
Log in to your Papaki account. Forgot your password? See here how to recover it. If it's your first login attempt to the new Papaki panel, please read more here.
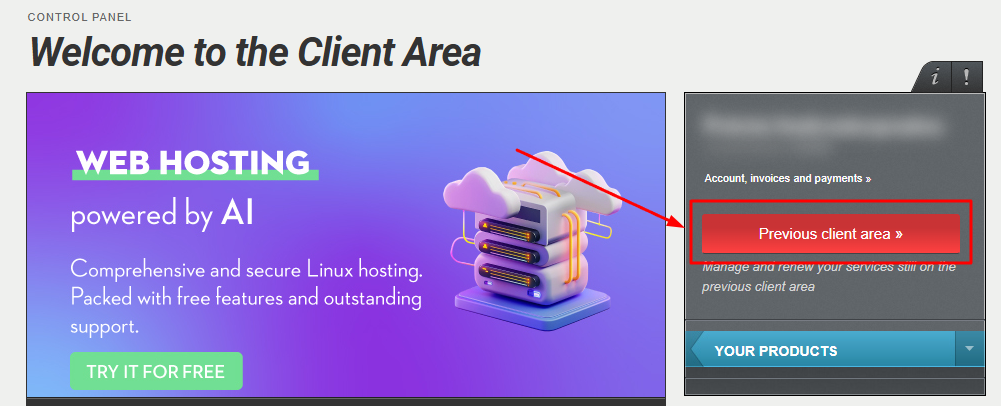
Click the red button Previous client area » on the right side of the control panel to access the old Papaki panel.
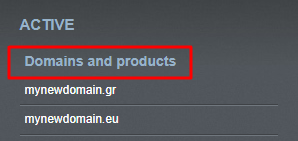
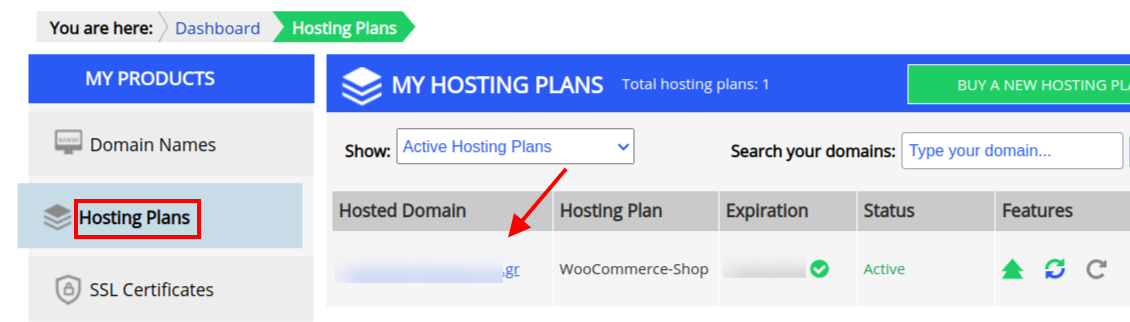
In the left menu, go to Hosting Plans and click on the plan of your choice.
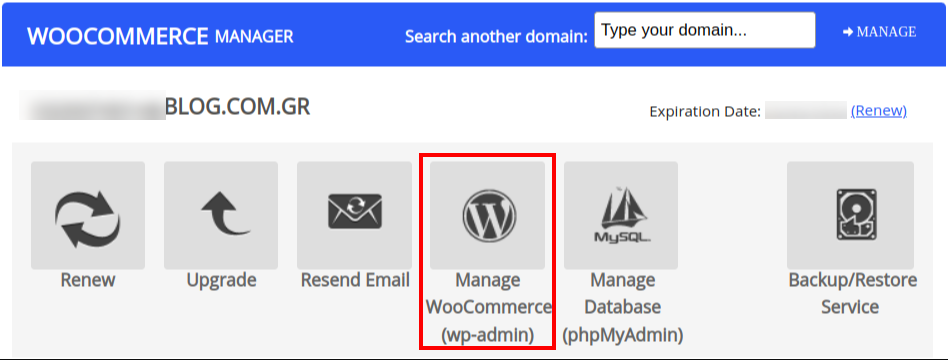
Then, click Manage WordPress (wp-admin) ή Manage WooCommerce αντίστοιχα.
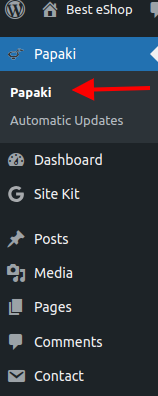
In the WordPress dashboard, choose Papaki and then click again Papaki in the drop-down menu.
Click Domain.
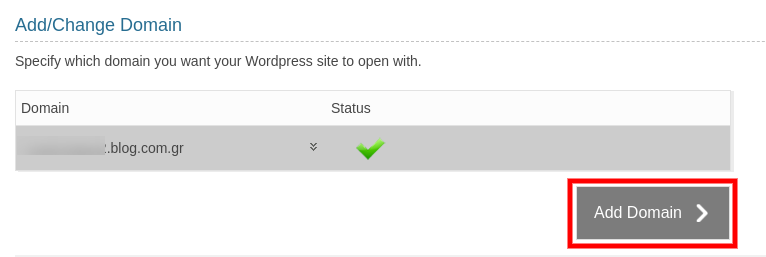
Click Add Domain.
Choose I want to connect the domain I already have (1), type your domain name (2) and click Add (3).
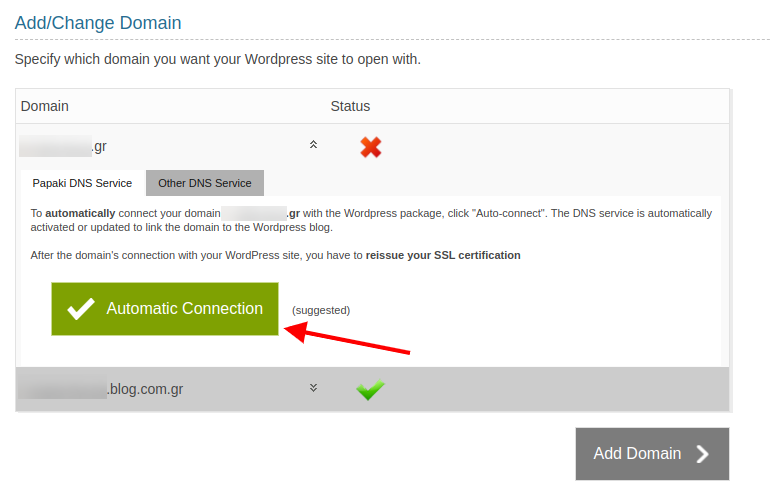
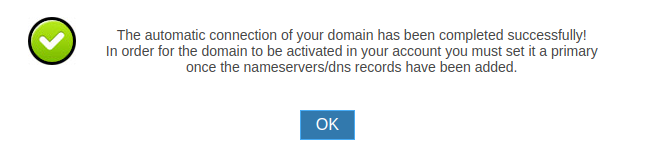
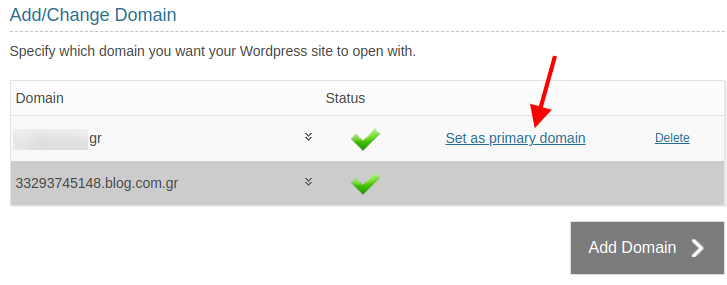
Click Automatic Connection on the window that will appear. With the process above, your DNS records will be automatically added, in order for your domain to be connected to your Managed plan. Once the update of the ISPs has been completed (which could take from 4 to 48 hours) you will have the option to choose your domain as the primary domain in your dashboard. To do so, click Set as primary domain.