Customer Support
How do I activate my Microsoft 365 license?
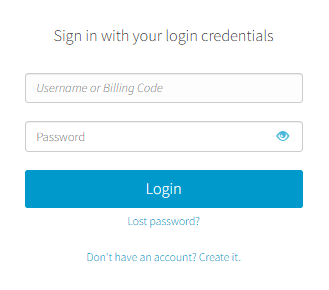
To use Microsoft 365 services, you first need to activate your license and complete the initial setup.
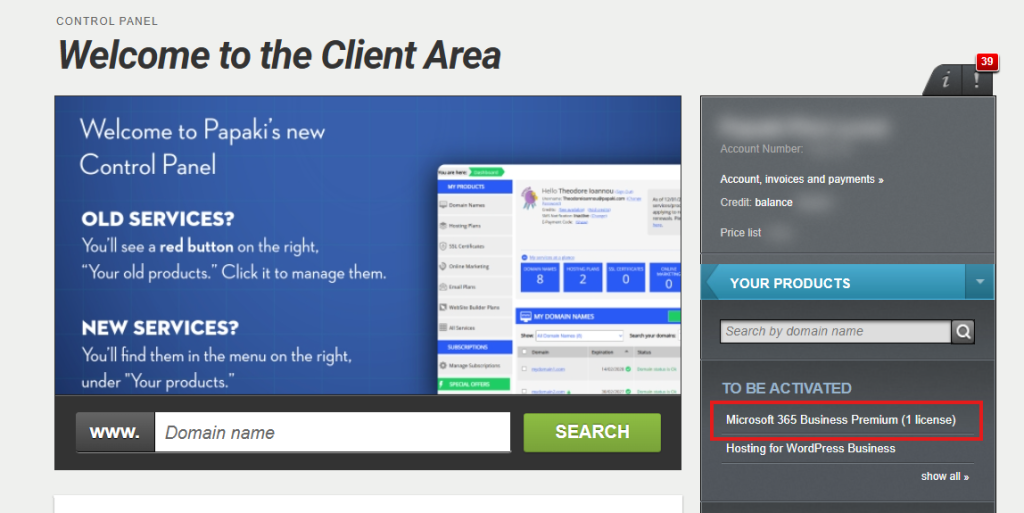
- Then, in the right-hand column, within the "To Be Activated" section, click on the Office 365 license you have purchased:
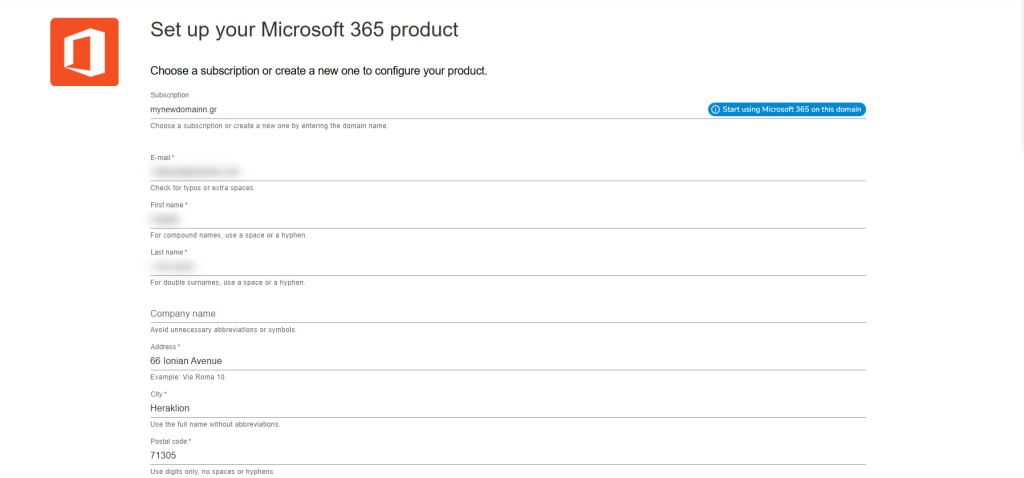
- In the next window, you will need to enter the domain name you wish to associate with your Office 365 license. You can use a domain already registered with Papaki or an external domain.

- When you enter the domain, a form will appear that you must fill out. If the domain was already registered with Papaki, part of it will be filled in automatically, but you can edit the fields if you wish.
IMPORTANT: These will be used to register your Office 365 license on the Microsoft website, so make sure you have access to the email you enter in the "Email" field.
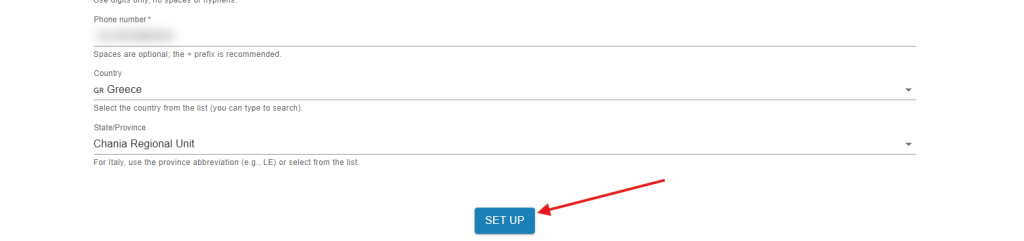
Once you have filled everything in, click on the "Set Up" button at the bottom:
- Our system will connect to Microsoft's system to begin creating the account:
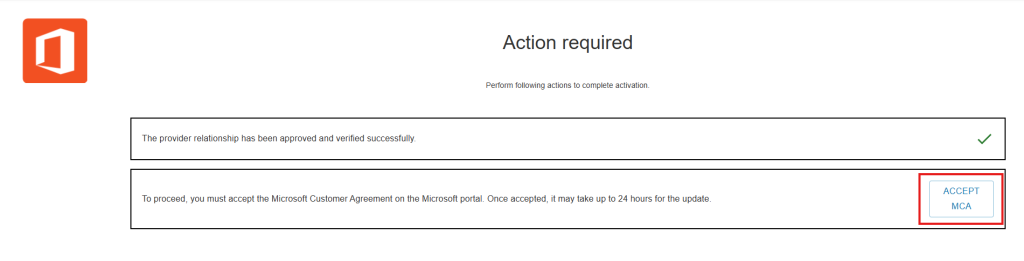
- Before you begin configuring your domain with Microsoft, you must accept Microsoft's contract agreements. First, you'll need to accept the Microsoft Customer Agreement (MCA ). Click the "Accept MCA" button.
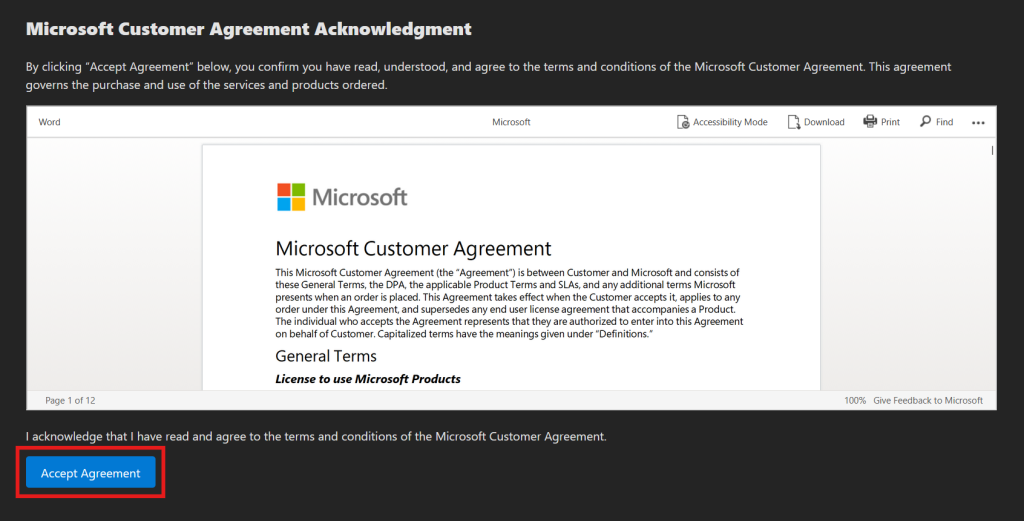
- A new window will open with the Microsoft agreement for you to read. Click the "Accept Agreement" button.
Once accepted, it will change to "Accepted" status and you can close the window:
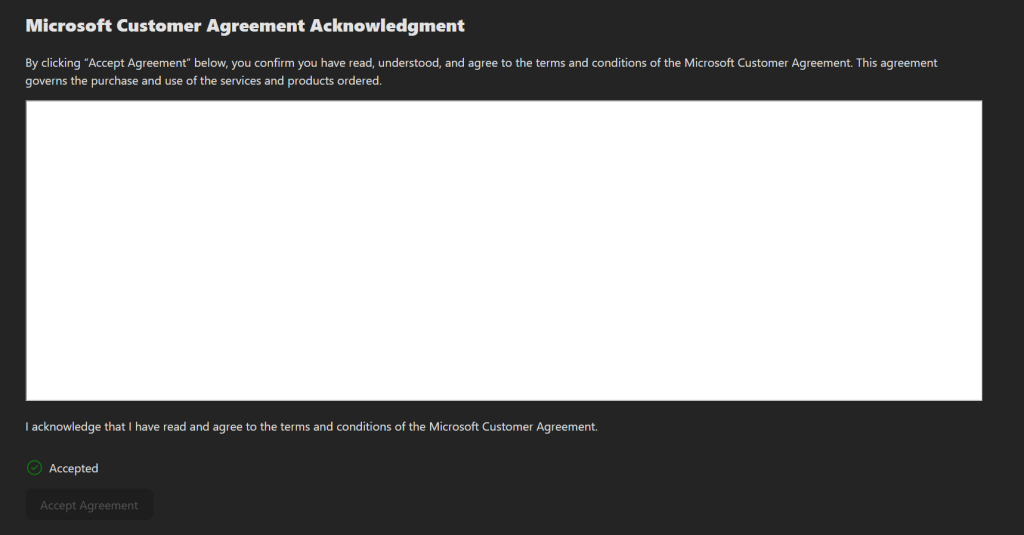
You will also receive a confirmation email:
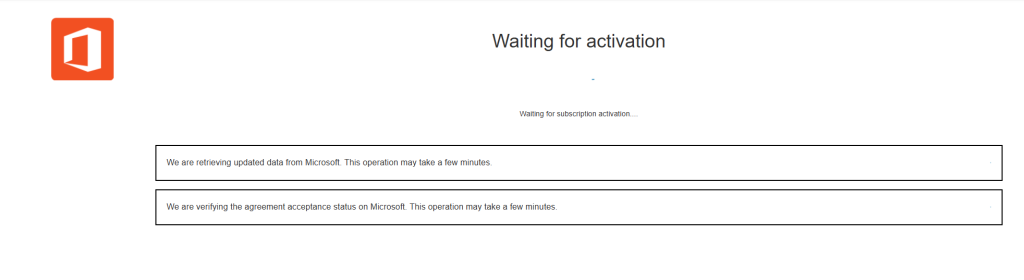
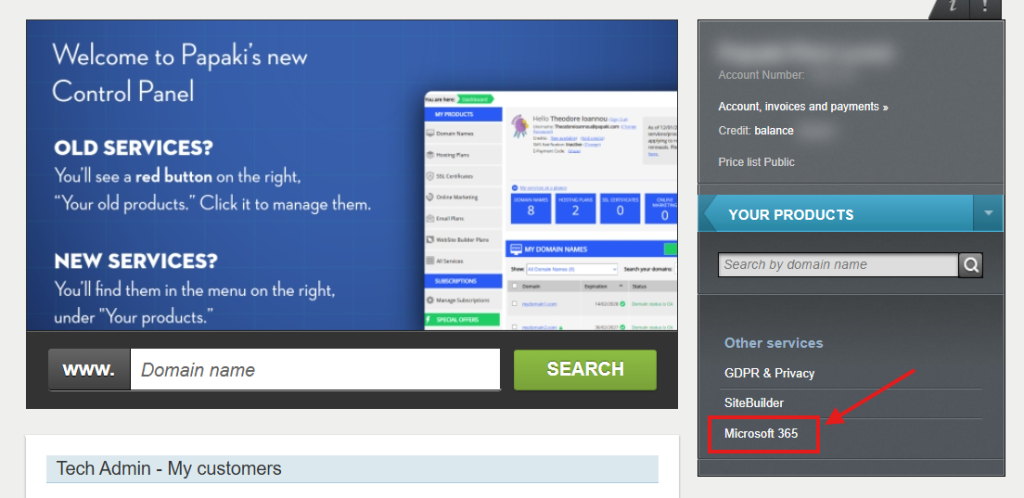
- In the previous window, you'll see that the MCA is also listed as accepted, along with a "Waiting for Activation" message. You can close this window. Wait 5 minutes, and return to your Papaki control panel. Click on "Microsoft 365" in the "Other" section of the right-hand column.
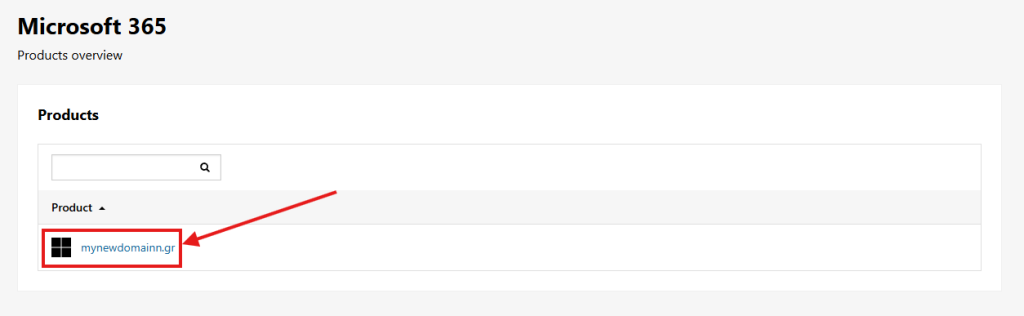
- On the next screen, click on your domain:
- After clicking, the following screen will appear after a few seconds. First of all, copy and save the "Administrator Email" and "Administrator Password":

IMPORTANT! Do not continue until you have saved this data.
Once you continue, it will not appear again.
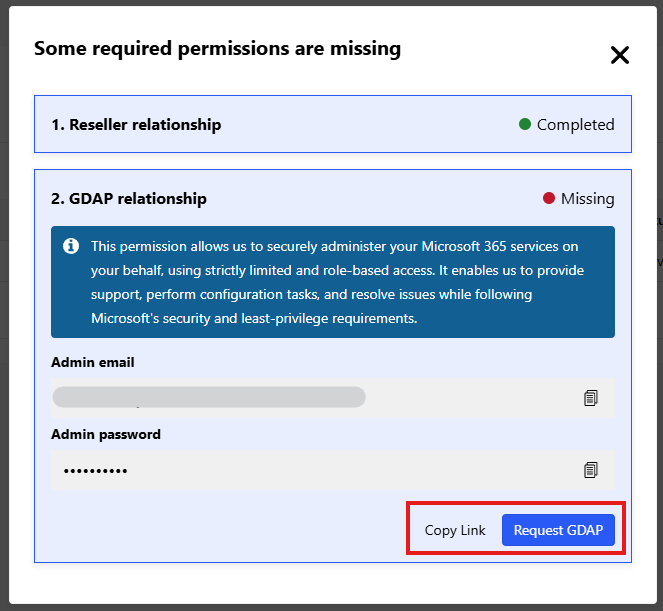
- Next, you'll need to access the Microsoft Office 365 website to accept the Microsoft GDAP (Granular Delegated Administrator Permissions). You have two options for doing this:
- Copy Link: To open the link in another browser or send it to someone else. (If you already have a different Office 365 account open in your browser, use this option instead.)
- Request GDAP: To open it in the current browser.
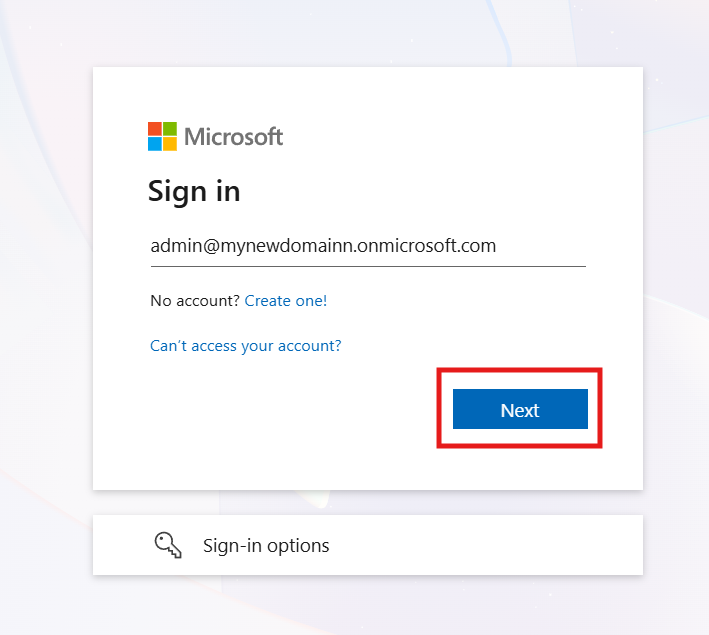
Whichever option you choose, upon opening it, you will be asked for your login details. First, type what you copied from "Administrator Email" and click the "Next" button:
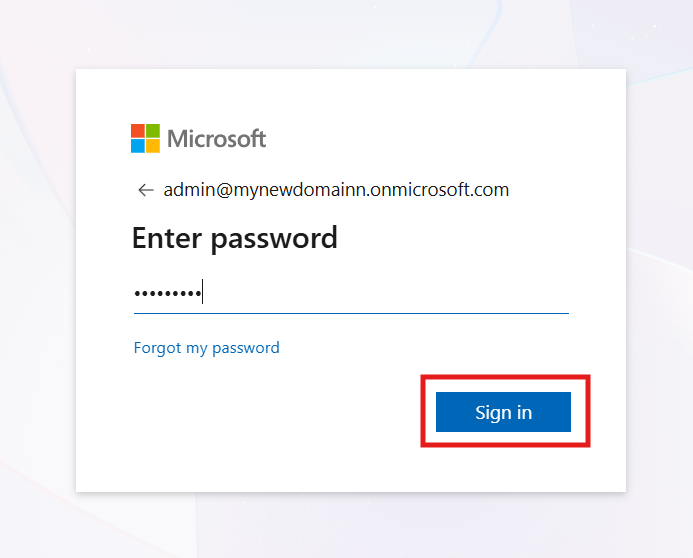
Next, enter the "Administrator Password" and click the "Next" button:
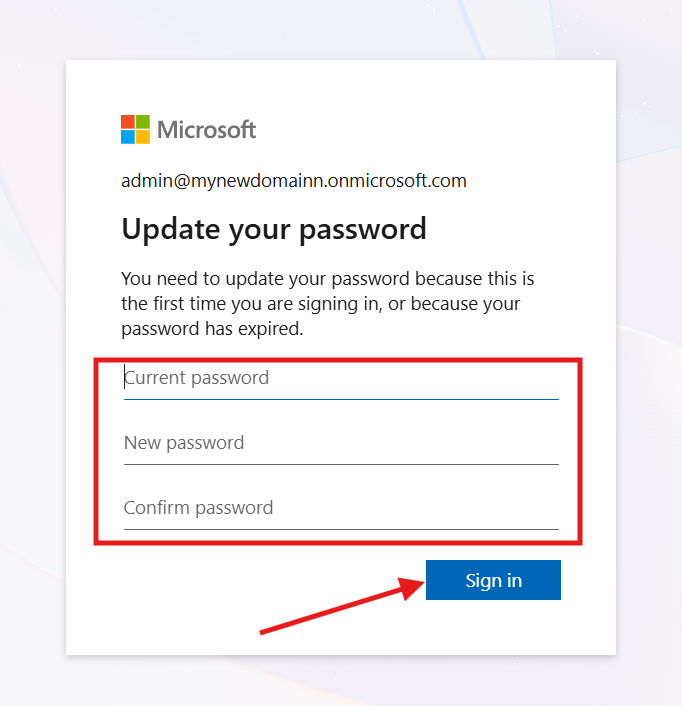
- The first time you log in with this account, you will see 3 fields to assign a new password:
Heads up! First, it will ask for your CURRENT password, the one you just entered to log in.
Then, it will ask you to enter a NEW password TWICE.
Remember ! Write down the NEW password so you don't lose it.
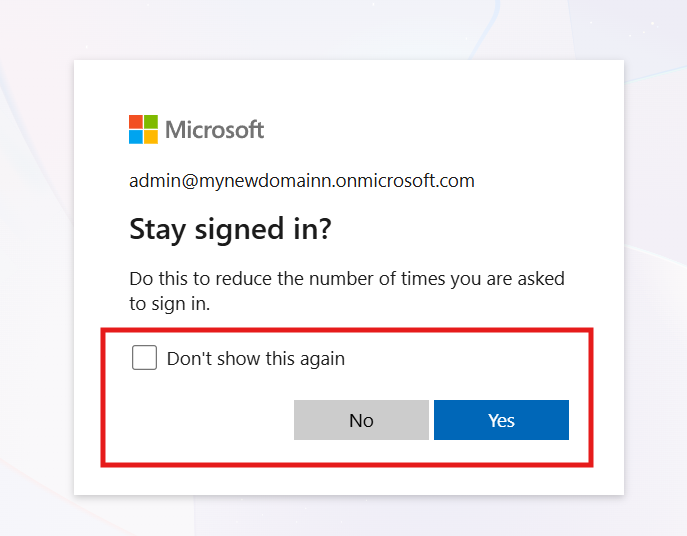
- In the next window, choose these options as you wish. If you don't know what to select, click "Don't show again" and "Yes".
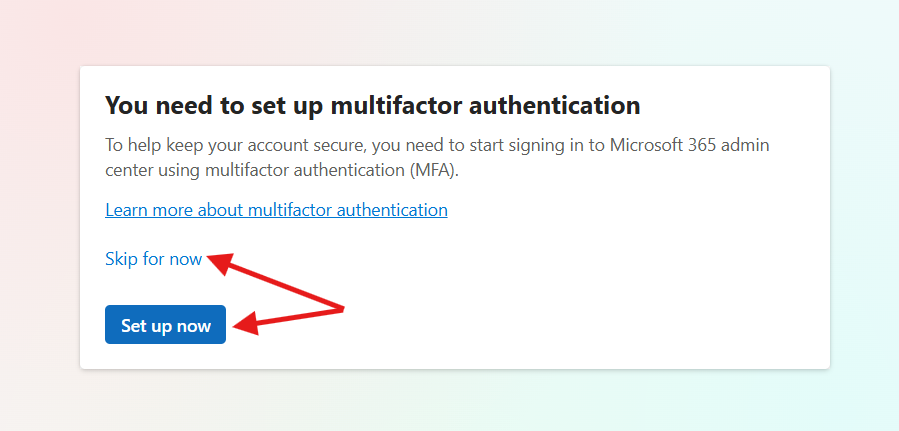
- Choose whether you wish to activate MFA at this point or not
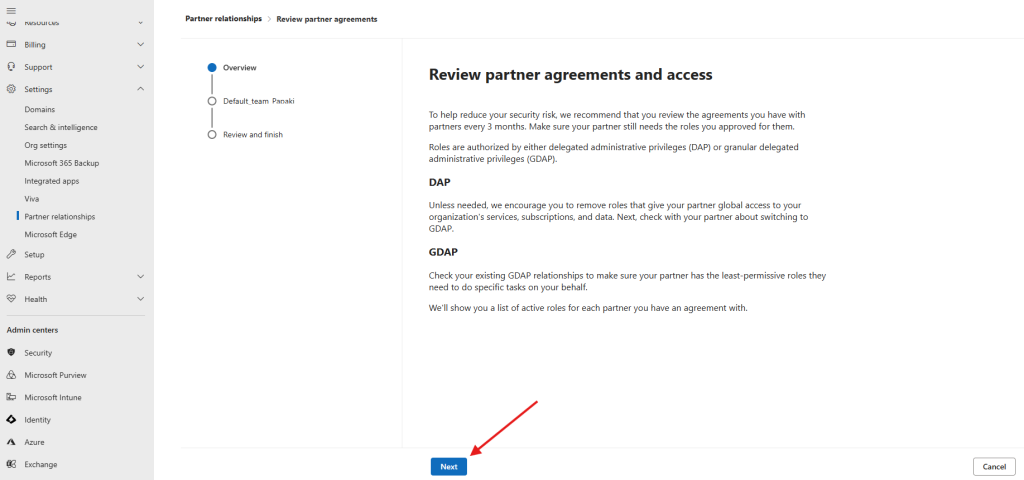
You are now in the "Microsoft 365 Admin Center". To begin accepting the Microsoft GDAP, click the "Next" button.
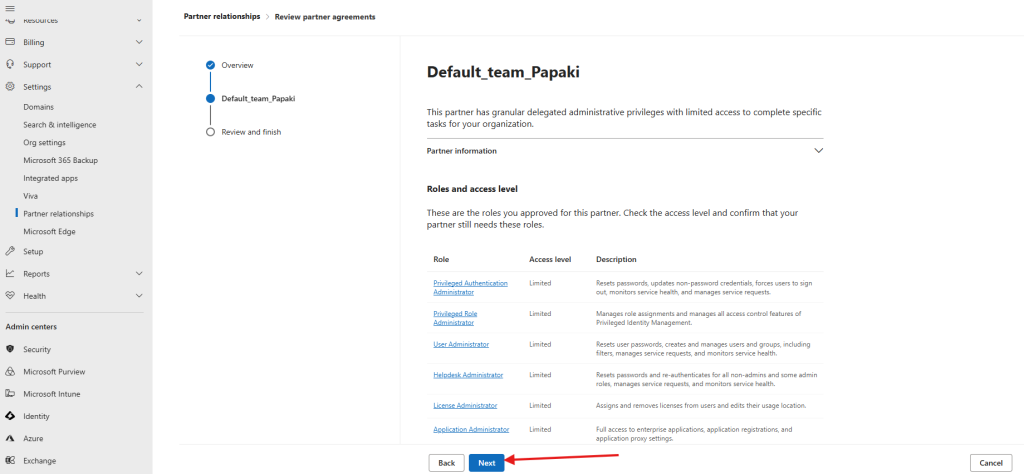
Then, click on the option "Next" in the two following pagesQ
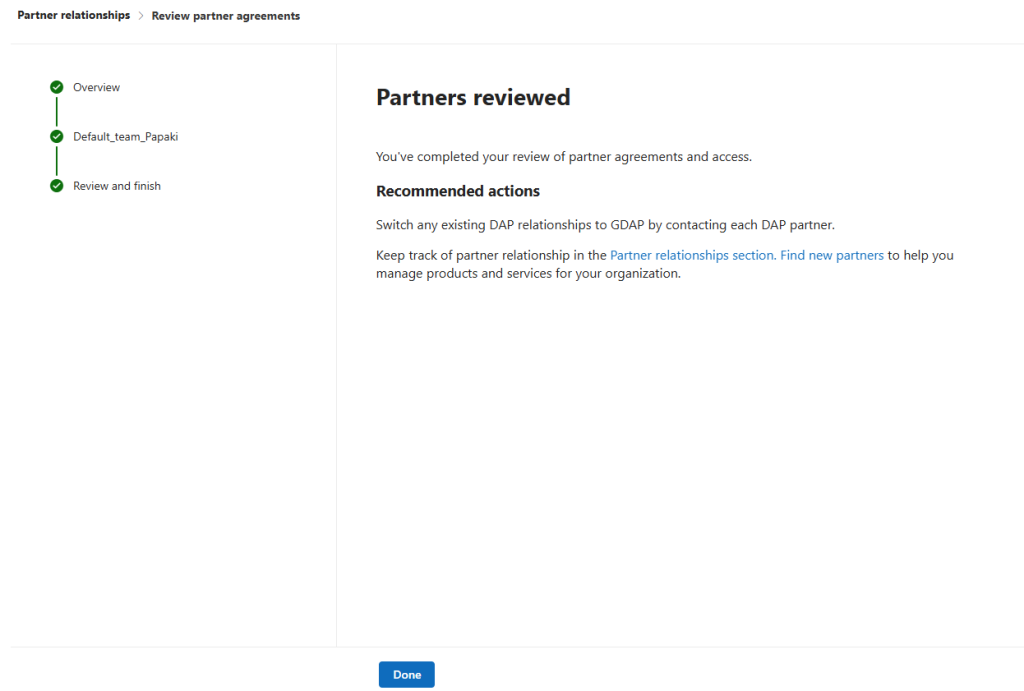
Click "Complete" to conclude the process.
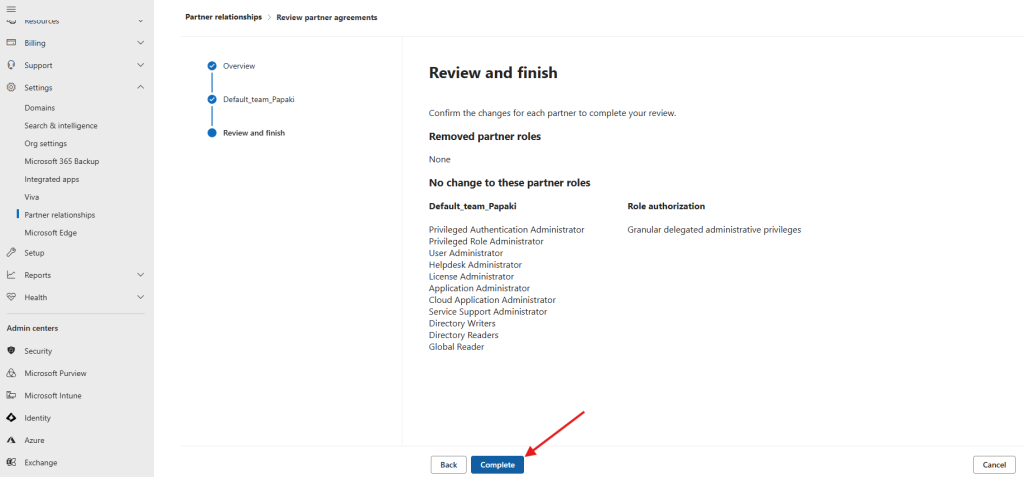
Wait a few seconds and the GDAP will be accepted.
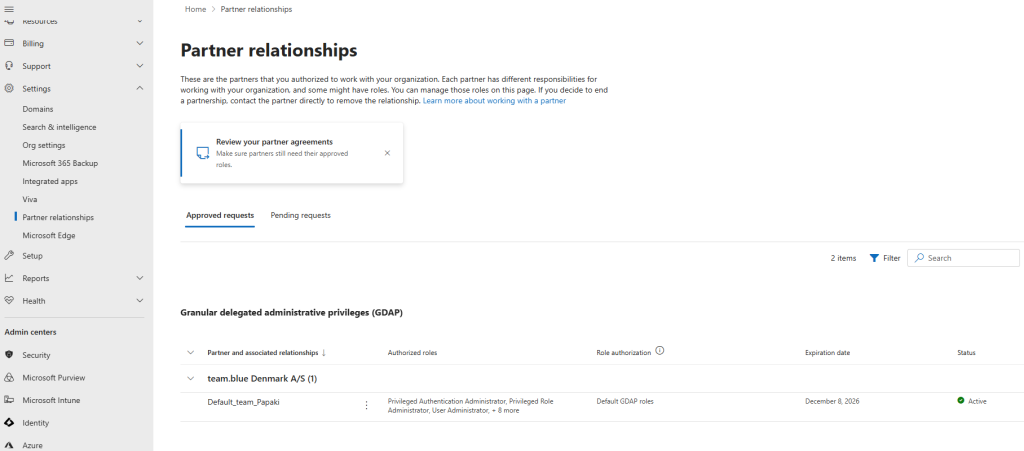
If you accidentally closed the screen at any point, you can always return from the Office 365 portal by clicking on "Settings > Partner Relationships > Pending Requests > Approve Request ".
Now you can start setting up your domain to use Office 365!
You haven't found what you are looking for?
Contact our experts, they will be happy to help!
Contact us