
Customer Support
What’s FTP and how can I upload my files?
FTP (File Transfer Protocol) is the protocol you use to remotely transfer files between your computer and a server. This transfer is performed using FTP client applications such as FileZilla or SmartFTP.
What Can You Do with FTP?
In addition to uploading and downloading files, FTP allows you to:
- Delete files from the server
- Change file and folder permissions
File transfers are performed in binary or ASCII mode, and the service is available as long as you have an active internet connection.
What Do You Need to Connect?
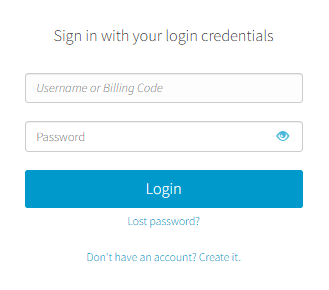
To access your FTP service, you need to have your username and password available.
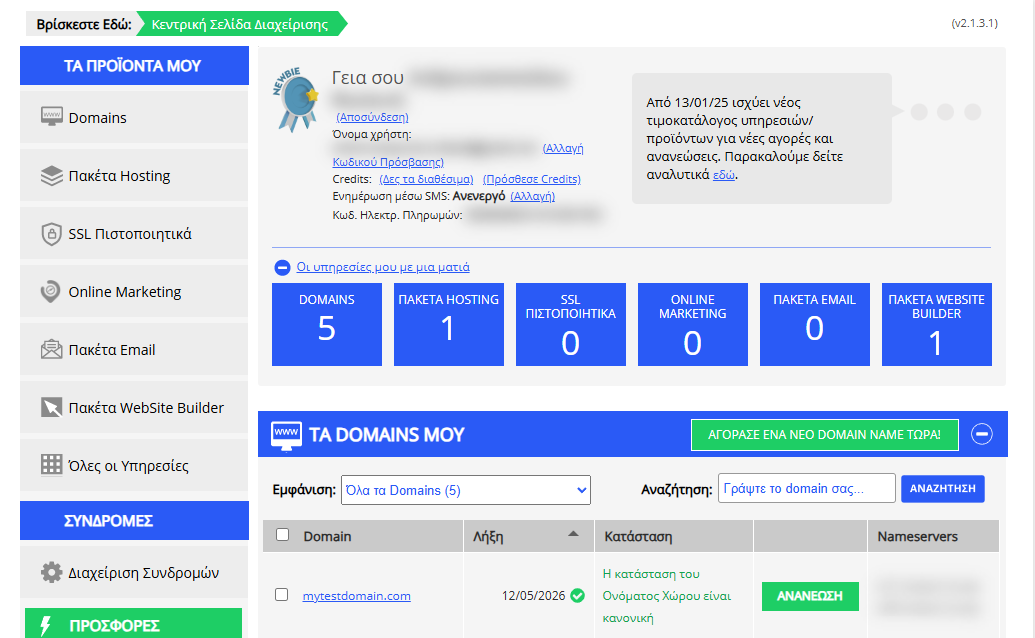
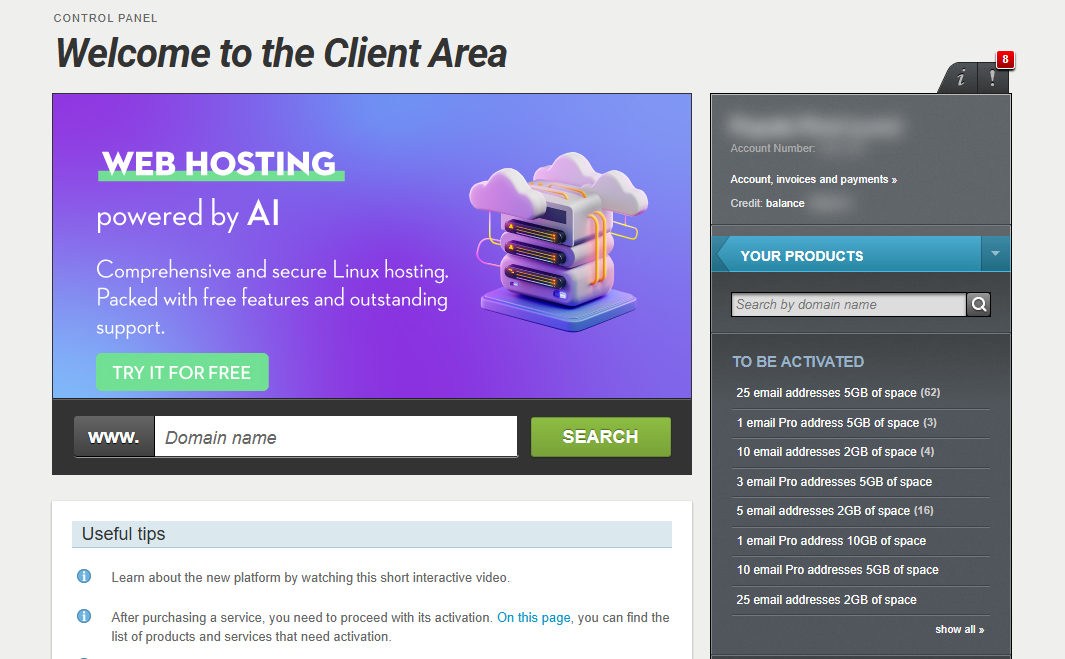
[Papaki 2.0]
From your hosting package’s management interface, you can:
- View existing FTP users
- Set a new password
- Manage access permissions
- Create a new FTP user
Default FTP User
When your hosting package is created, a default FTP user is automatically set up with:
- Full access to all folders
- Read and write permissions
How to Manage FTP Users
If you want to modify an existing user or create a new one, follow these steps:
Steps to Manage FTP access:
- From the dashboard, locate the product you want to manage. Click the name of the plan.

You will be redirected to the hosting management area. Here you can view, by category, all services linked to your Papaki account.
- Go to the Site tab and click on FTP
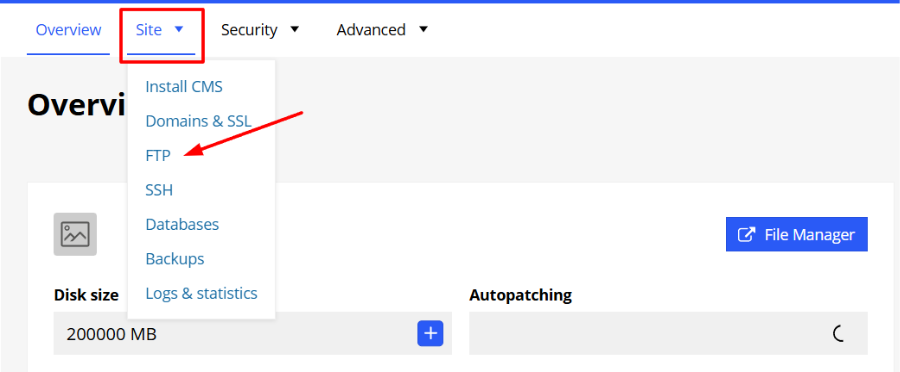
- On this page, you can:
- View the FTP hostname
- Enable or disable FTP access globally
- Add a new user
- Edit an existing user by clicking Edit, where you can:
- Change login credentials
- Set access rights for specific folders
- Activate or deactivate the user
In the picture that follow, user 1 has full access to all directories and full read/write permissions. User 2 has read-only access, limited to the /subsites/ folder.
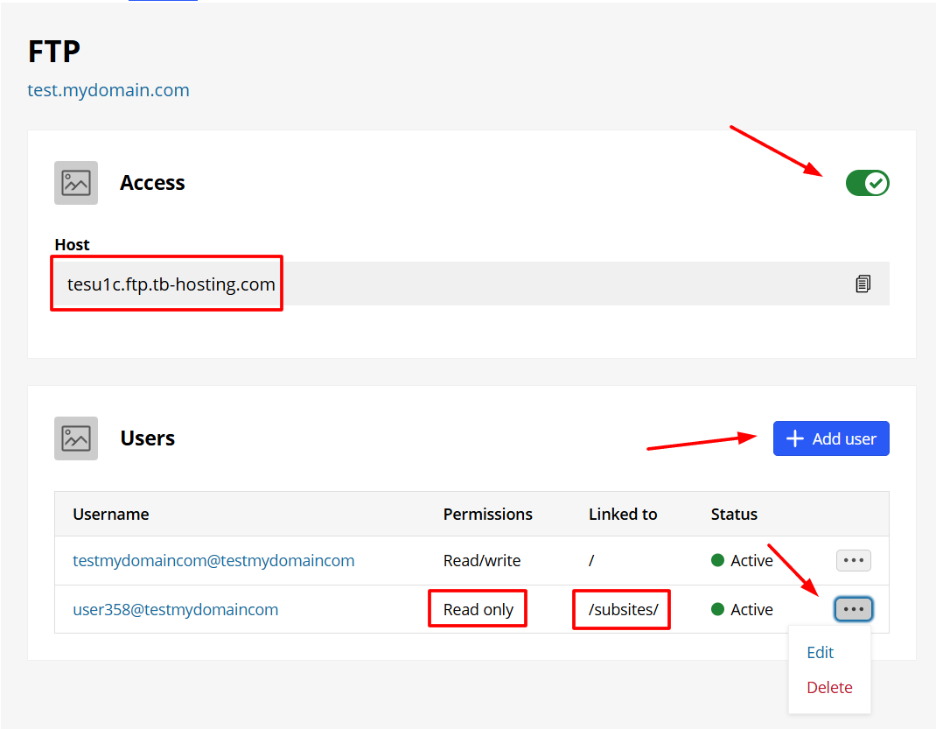
Setup gives you flexibility to manage secure and customized access for team members or external collaborators.
Connecting via FileZilla
Step 1: Download and Install FileZilla Client
Step 2: Create a New Site
- Open FileZilla
- Go to File > Site Manager
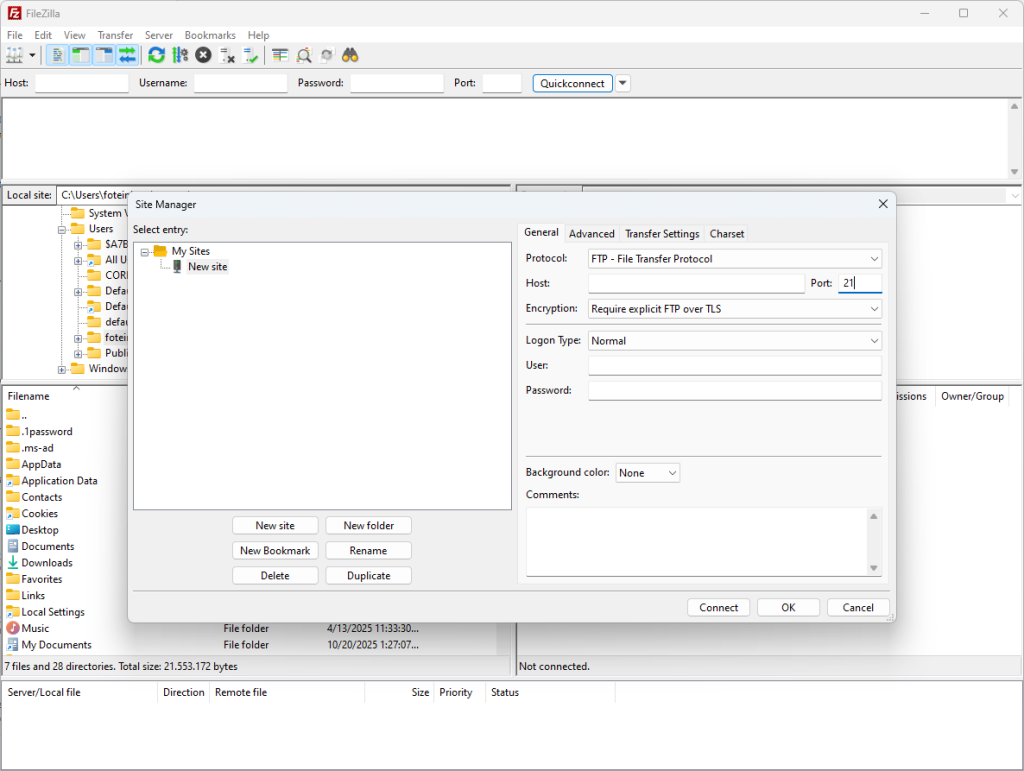
- Click New Site and name it (e.g., “Papaki Hosting”)
Step 3: Enter Your Connection Details (General Tab)
- Host: Enter the host as provided
- Port: 21 (default)
- Encryption: Require explicit FTP over TLS
- Logon Type: Normal
- Username: Your FTP username
- Password: Your FTP password
Click Connect to establish the connection.
Connecting via SmartFTP
Step 1: Download and Install SmartFTP Client
Step 2: Create a New Connection
- Open SmartFTP
- Click New Connection
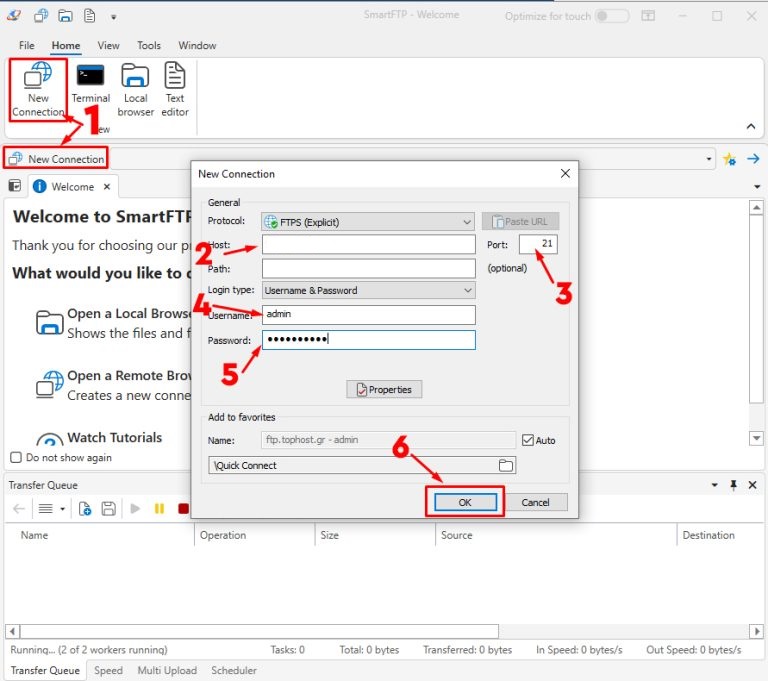
Step 3: Enter Your Connection Details
- Host: Enter the host from your FTP credentials as provided
- Port: 21
- Login Type: Username & Password
- Username: Your FTP username
- Password: Your FTP password
Click OK to connect.
[Papaki 1.0]
If you're using the classic version of Papaki’s hosting panel, use the login credentials found in your Hosting Activation Email, with the subject:
“Web Hosting Activation - Account Details”, specifically in the section “FTP Access Details”.
FileZilla Example – Classic Panel
- Download and install FileZilla: https://filezilla-project.org
- Open FileZilla
- Go to File > Site Manager
- Click New Site and enter a name
- Fill in the following:
- Host: server's name as seen on address bar
- Alternatively, your hosting pack's IP.
- Host: server's name as seen on address bar
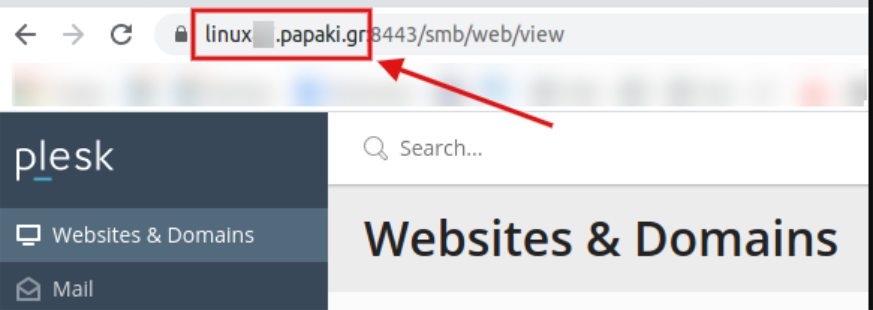
- Port: 21
- Encryption: Require explicit FTP over TLS
- Logon Type: Normal
- Username: Your FTP username
- Password: Your FTP password
Click Connect.
SmartFTP Example – Classic Panel
- Download and install SmartFTP: https://www.smartftp.com
- Open SmartFTP
- Click New Connection
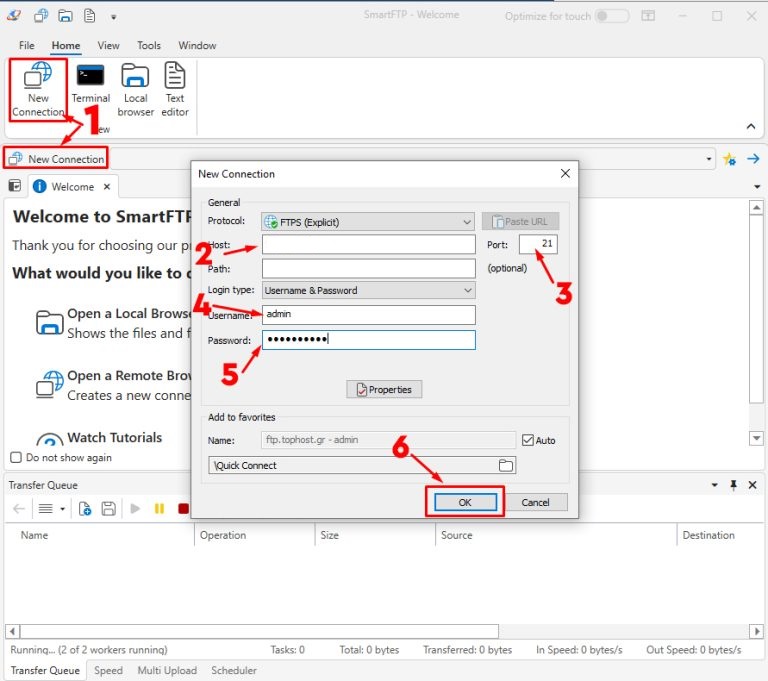
- Fill in the following:
- Host: server's name as seen on address bar - Alternatively, your hosting pack's IP.
- Port: 21
- Login Type: Username & Password
- Username: Your FTP username
- Password: Your FTP password
Click OK to finish.
Once connected, you can easily upload, delete, or manage files on your server by simply dragging and dropping them between your local and remote systems.
You haven't found what you are looking for?
Contact our experts, they will be happy to help!
Contact us