
Customer Support
How can I create a new database from my Papaki hosting Control Panel?
You can easily create a new MySQL database through the management interface of your hosting package at Papaki. Follow the step-by-step guide below to get started.
Attention!
If you have an email hosting package hosted on a Plesk infrastructure, please refer to the guide available here.
Step-by-Step Guide: Creating a New Database
Steps:
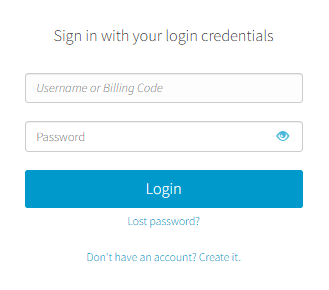
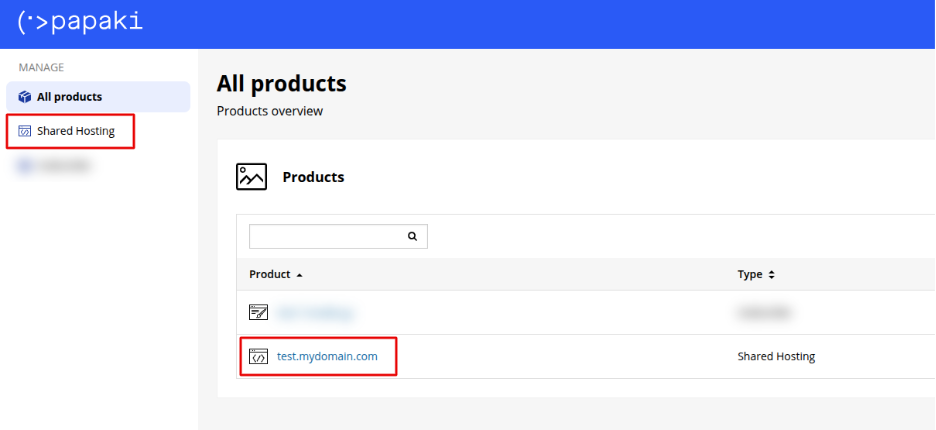
- From the dashboard, locate the product you want to manage. Click the name of the plan.

You will be redirected to the hosting management area. Here you can view, by category, all services linked to your Papaki account.
- Click the hosting plan name you want to manage.
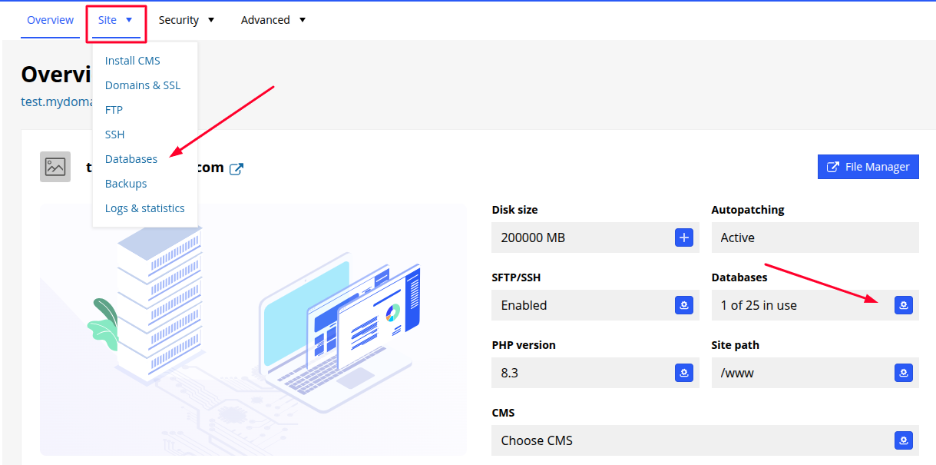
- You can reach the database management area in one of two ways. From the main hosting dashboard, by selecting Databases, or through the Website tab → click on Databases
- Click on Add Database. Enter the desired name for your new database. A prefix will be automatically pre-filled based on your hosting configuration. Click Save to complete the creation.
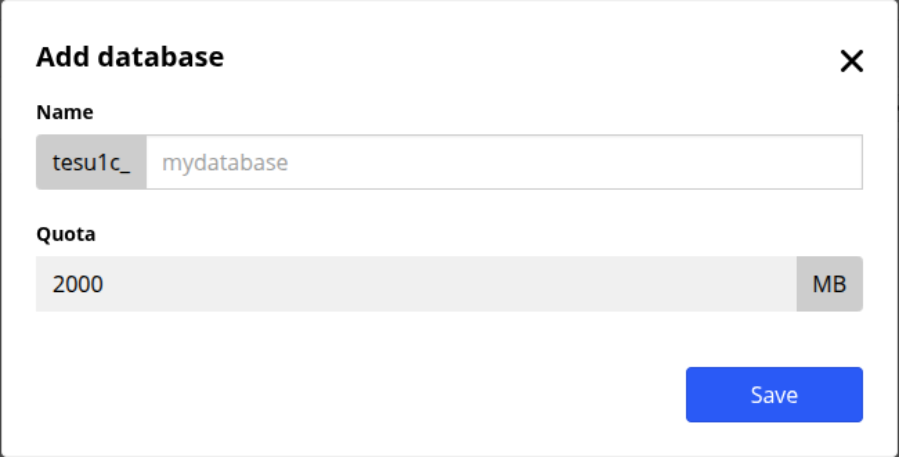
Your database will be created instantly and will appear in your database list.
You can now manage it, connect it to applications (like WordPress), or access it via phpMyAdmin for advanced editing.
You haven't found what you are looking for?
Contact our experts, they will be happy to help!
Contact us