
Customer Support
How can I reset or change my VPS root password?
If you have lost your VPS root password or wish to change it for security reasons, you can reset it through the VPS Control Panel using Rescue Mode.
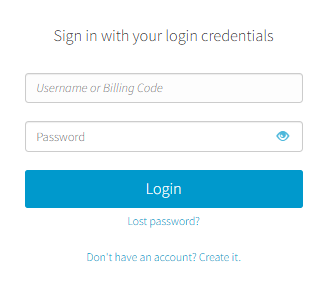
Accessing your VPS management panel
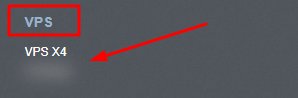
- From the menu on the right, select Active → VPS and choose the VPS you want to manage.
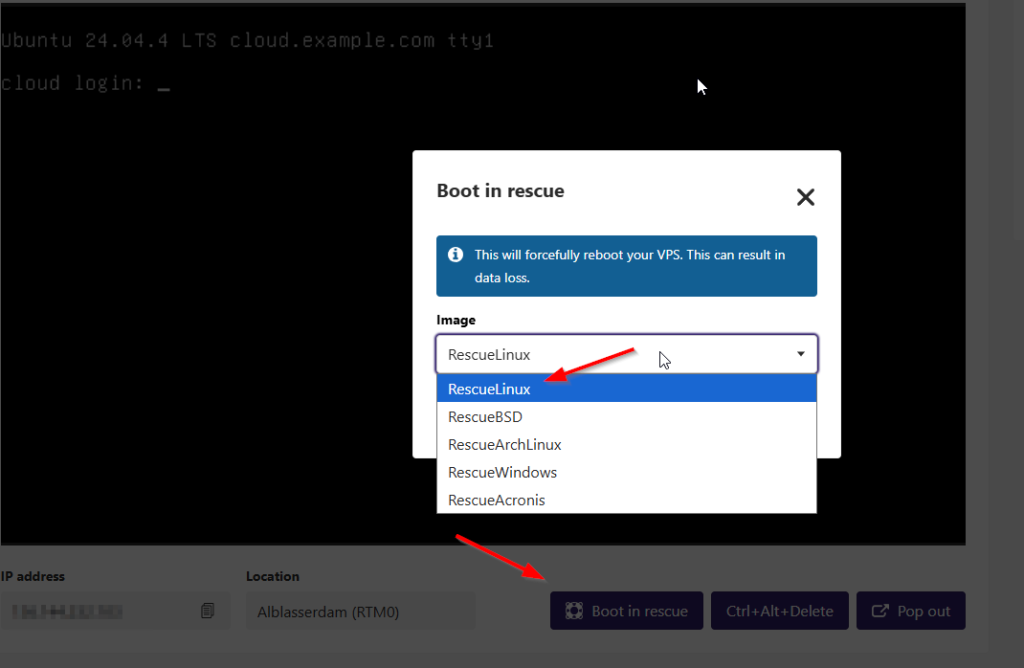
Step 1: Boot into Rescue Mode
- Open your VPS management panel.
- Under the black console window, click Boot in rescue. In the popup window, leave RescueLinux selected. Confirm the VPS reboot.
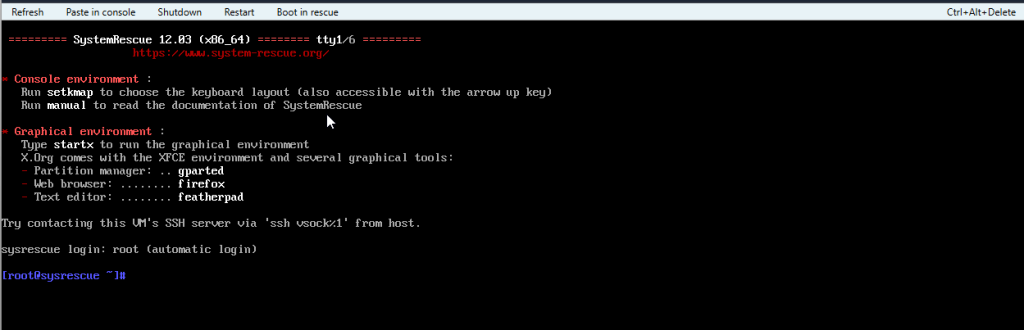
Step 2: Access the Rescue Environment
- Once the server restarts, it will automatically boot into the SystemRescue environment.
- The console prompt will appear as:
[root@sysrescue ~]#
Step 3: Locate and mount the disk
Enter the following commands in order, pressing Enter after each one.
- Identify the main disk partition
fdisk -l
A list of available partitions will be displayed. The main partition is usually the one matching the disk size of your VPS package, for example: /dev/vda1
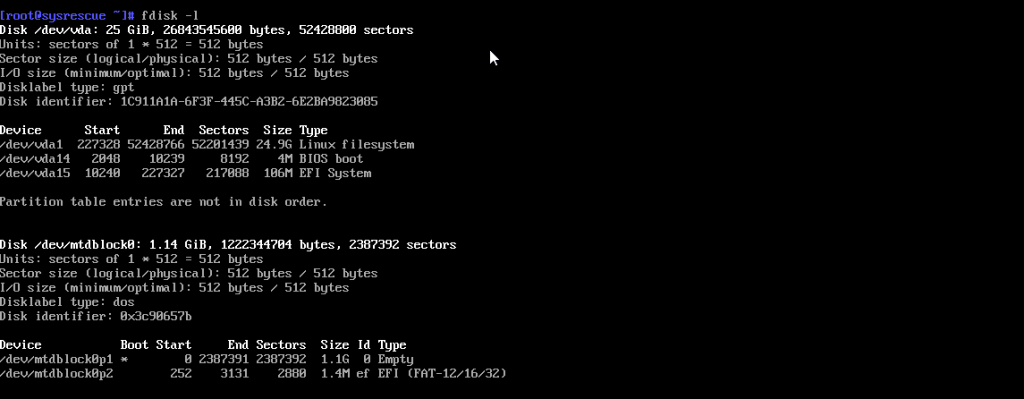
- Mount the disk to a temporary directory
mount /dev/vda1 /mnt
If your partition has a different name, replace /dev/vda1 accordingly.
- Access your VPS operating system
chroot /mnt
Step 4: Change the root password
- Run the following command:
passwd root
- When prompted with:
New password:
enter the new password and press Enter.
- When prompted with:
Retype new password:
enter the same password again and press Enter.
Note: For security reasons, no characters or asterisks will appear on the screen while you type your password.
- When you see the message:
password updated successfully
the password has been successfully changed. Exit the chroot environment by typing:
exit
Step 5: Reboot into normal mode
- Click the Restart button at the top of the console window. Alternatively, run:
reboot
- Once the server finishes rebooting, the normal operating system login screen will appear again.
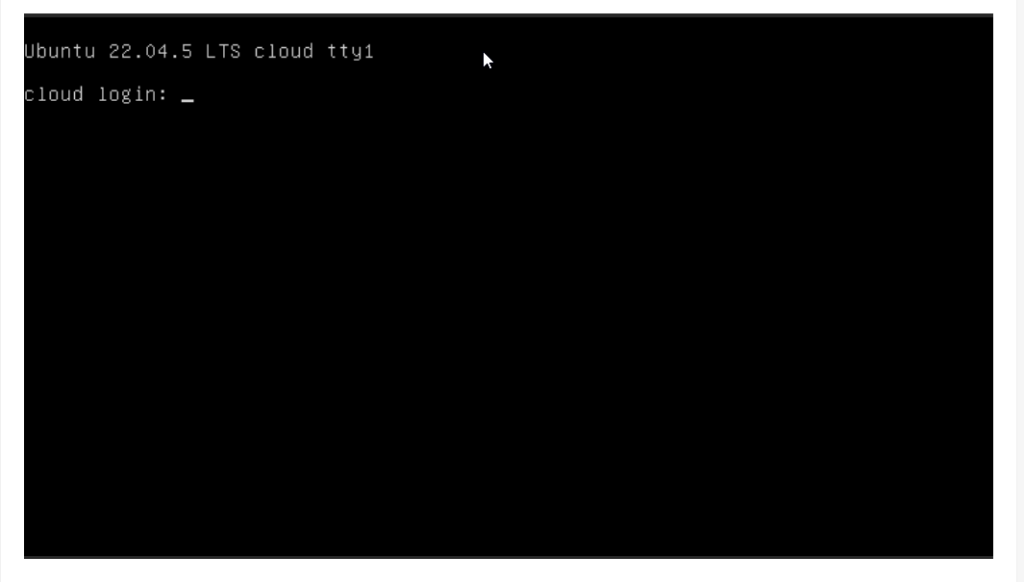
- At the login prompt, enter:
root
as the username and then provide the new password you created.
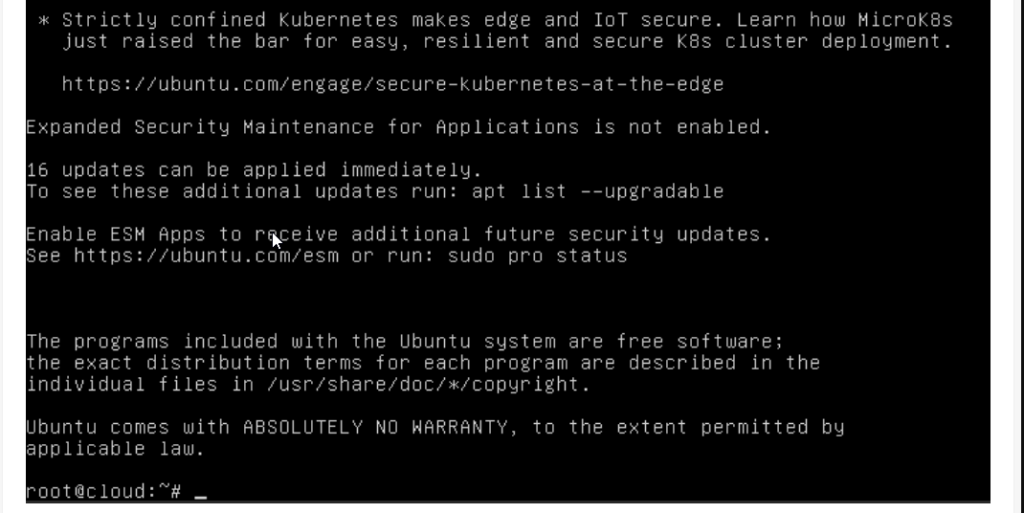
If the login is successful, the root password has been changed successfully.
Step 6: Enable SSH password authentication
To connect directly to your VPS from your computer's Terminal or PowerShell without using the web console:
1. Open the SSH configuration file:
nano /etc/ssh/sshd_config
- Modify the following lines (if they are commented with
#, remove the symbol):- Change:
PasswordAuthentication noto:PasswordAuthentication yes - Change (or add):
PermitRootLogin yes
- Change:
- Save and exit
- Press Ctrl + O and then Enter to save.
- Press Ctrl + X to exit the editor.
- Restart the SSH service:
systemctl restart ssh
Warning: Enabling PermitRootLogin yes allows direct root access through SSH. For improved security, it is recommended to use a strong password or SSH key authentication.
Step 7: Connect via SSH
From your computer's Terminal or PowerShell, run:
ssh root@[YOUR_VPS_IP]
and enter your new root password when prompted.
You haven't found what you are looking for?
Contact our experts, they will be happy to help!
Contact us