
Customer Support
How to Get Started with Website Builder
The Website Builder allows you to easily create your own website, even if you have no technical knowledge. By following the steps below, you can start the process right away.
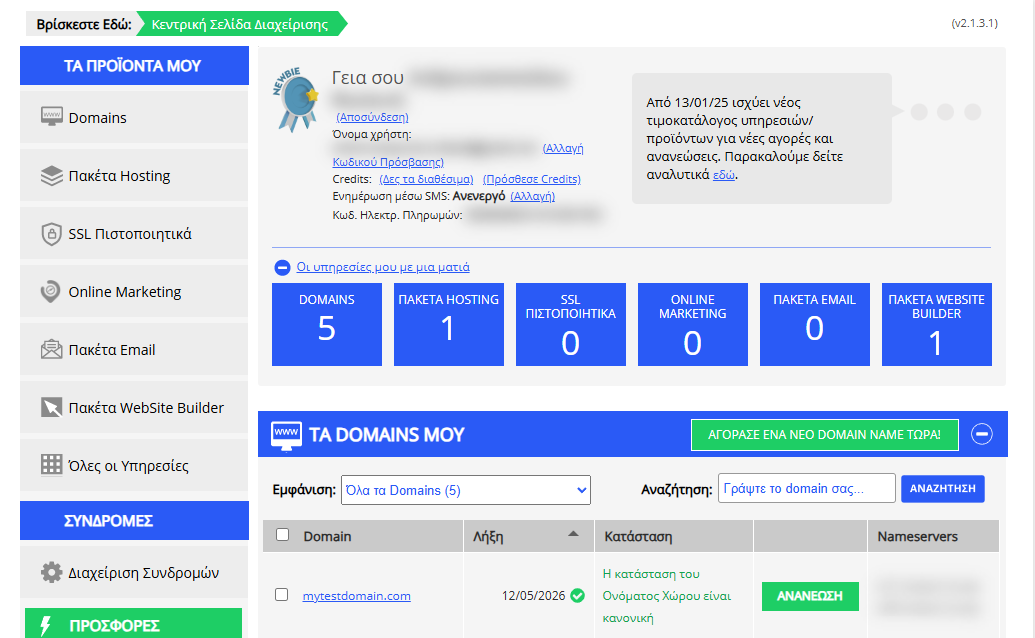
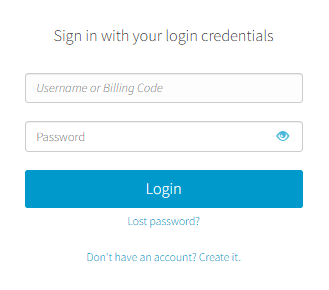
[Papaki 2.0]
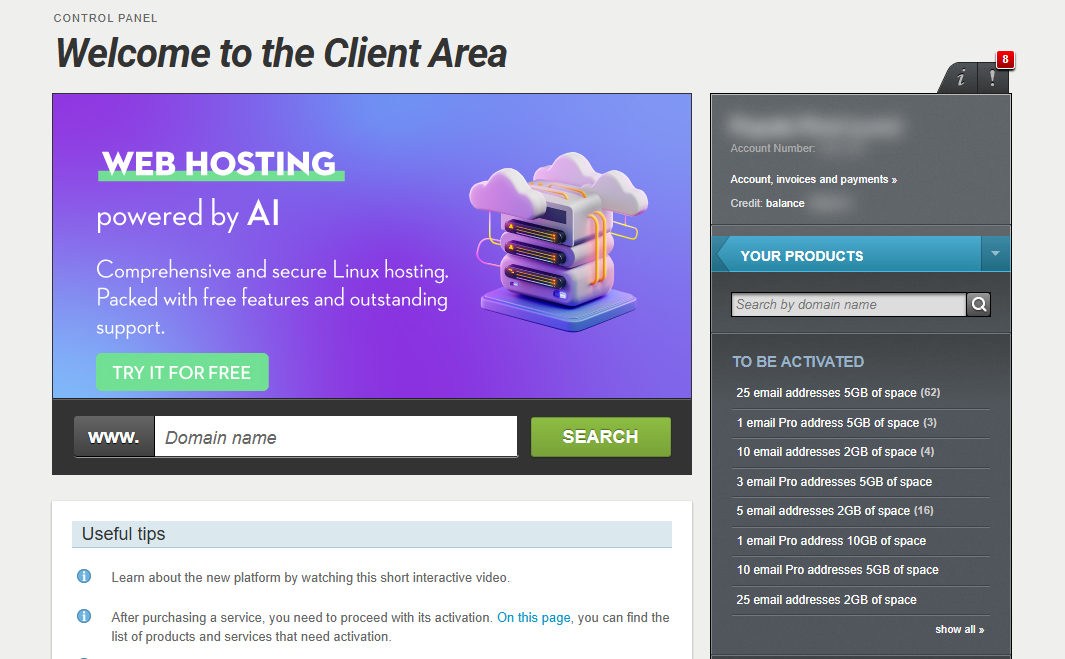
- From the right sidebar menu, locate the category with your products that need to be activated and click Activate next to Website Builder.

- Enter the name you want for your website.
- You can use a domain you already own.
- Alternatively, you can specify a new domain name that you plan to register later.
- Choose the language for the installation and the management interface.
- Click Configure product to complete the activation.
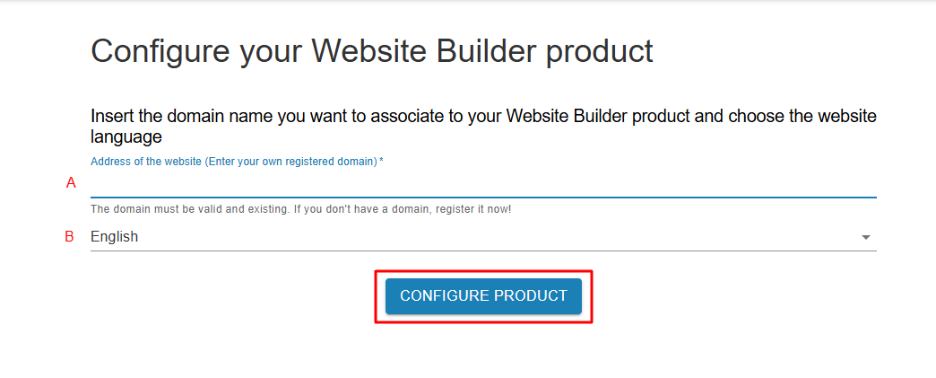
Once these steps are completed, Website Builder will be activated, and you’re ready to start customizing your website.
Starting Your Website Creation
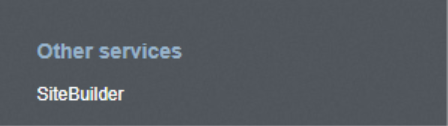
- From your Papaki account, select Other services > SiteBuilder.
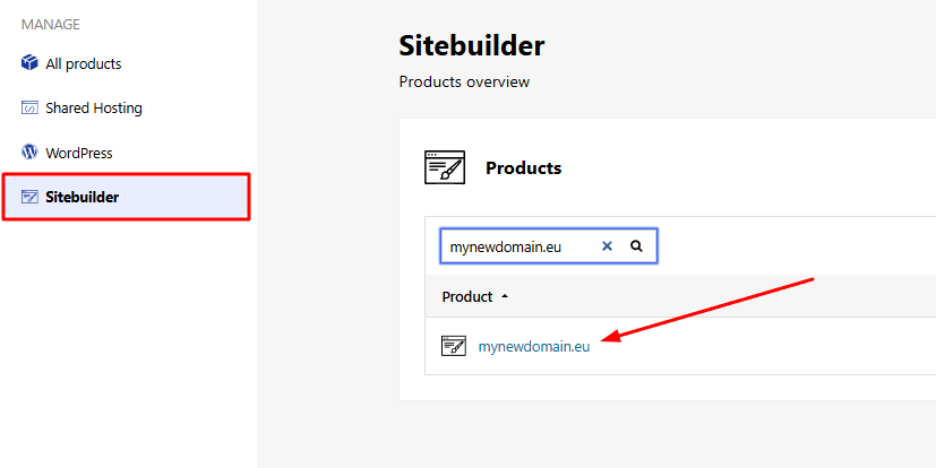
- Locate the hosting pack you want to edit and click on the domain
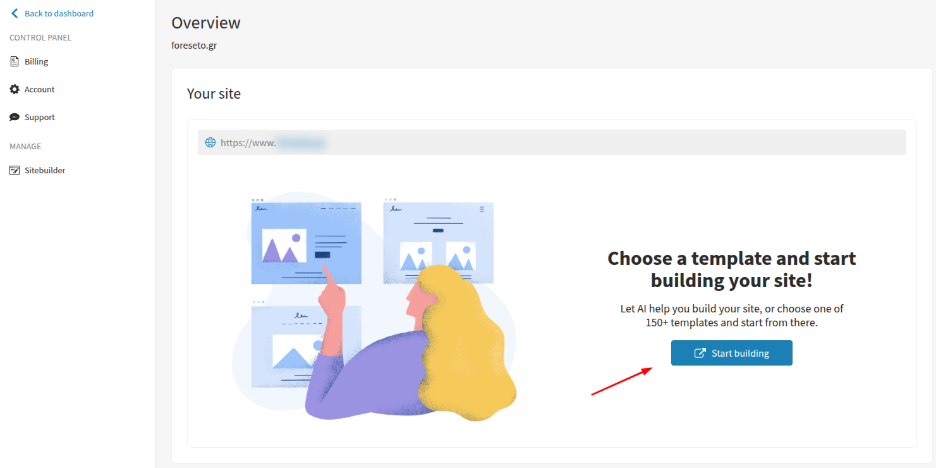
- Click Start Building.
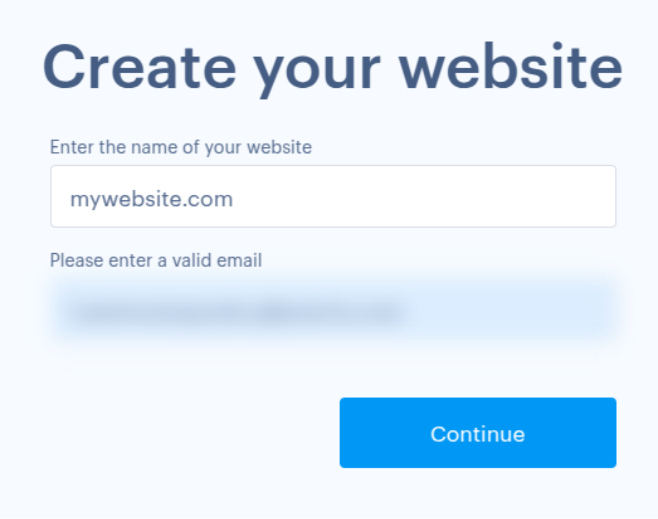
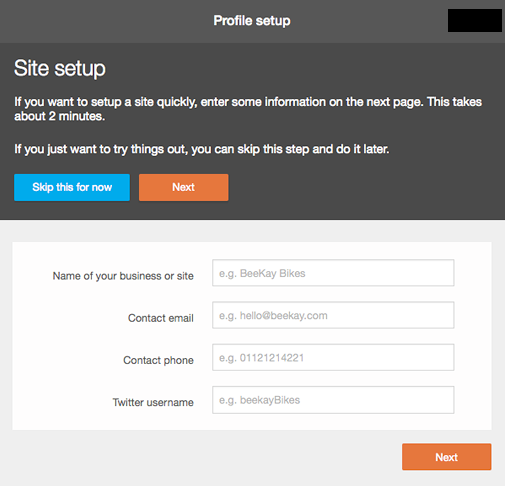
- Enter the website name and a valid email address (this doesn’t need to be the same as your Papaki account admin email).
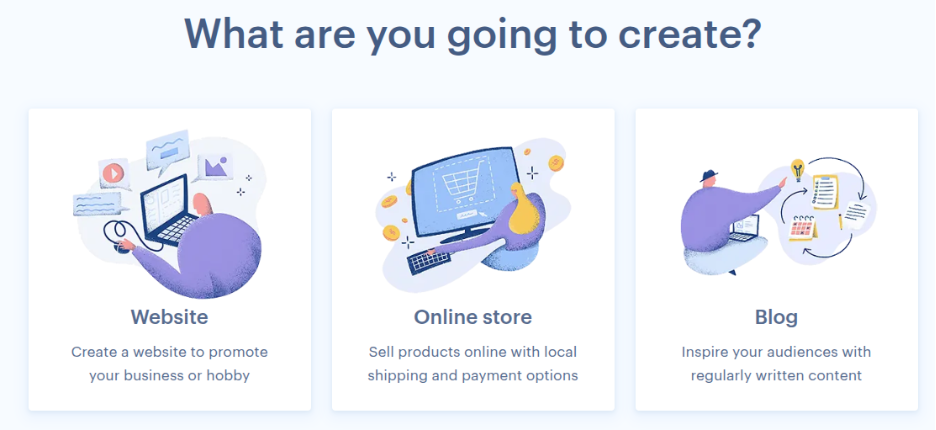
- Next, select the type of website you want to create:
- Simple Website for presenting a company, services, or portfolio.
- Online Store (eShop) for selling products online.
- Blog for publishing articles and posts.
[Papaki 1.0]
1. Choosing a template
Depending on the account you've acquired, you will be shown different templates on the template picker. Choose the one you like best and remember you can always change it later.
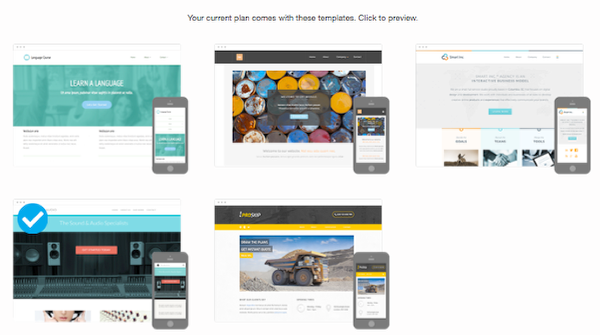
You will be offered a preview of the template before applying it to your site.

2. Upgrades
At the top of your editor, you will see this menu.
- Click on Upgrades to upgrade your account
- Click on Help to see our knowledge base
- Click on Domain purchase to search for a domain and buy it
- The account icon will let you see billing and account details as well as your invoices
- Click on this icon to log out of your editor
3. Adding content and viewing your site

- To add widgets to your site, click on Add content, select a widget, and drag it to your page
- Switch between the edit and the preview mode
- Select the device on which you want to see how your site looks
- Publish your site to make it available for everyone
- Undo or Redo will help you go back or forward the changes you have made
4. Managing your site
At your left you will be able to see some options to change the general aspect of your site.
- Site: Add (or delete) pages and folders to your site
- Images: Add images to your editor
- Theme: Select another template or change the colors and font of your current template
- Store: Create an online store to sell your products
- Blog: Create a blog on your site and add entries
- Menu: Create a menu where you can showcase your products
- Manage: Within the manage page, you can change your site status, add a favicon, reset your site or create image albums

You haven't found what you are looking for?
Contact our experts, they will be happy to help!
Contact us