
Customer Support
Restore your website’s files
All of our hosting packages include automated backups taken every hour, along with one daily backup retained per day. Backup creation starts automatically once the first installation is completed on your hosting plan.
Attention!
If you have an email hosting package hosted on a Plesk infrastructure, please refer to the guide available here.
Steps for file restoration:
Steps:
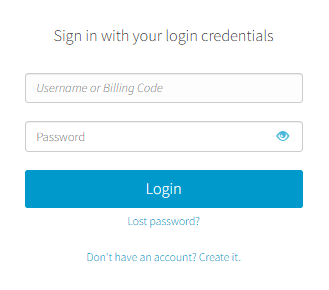
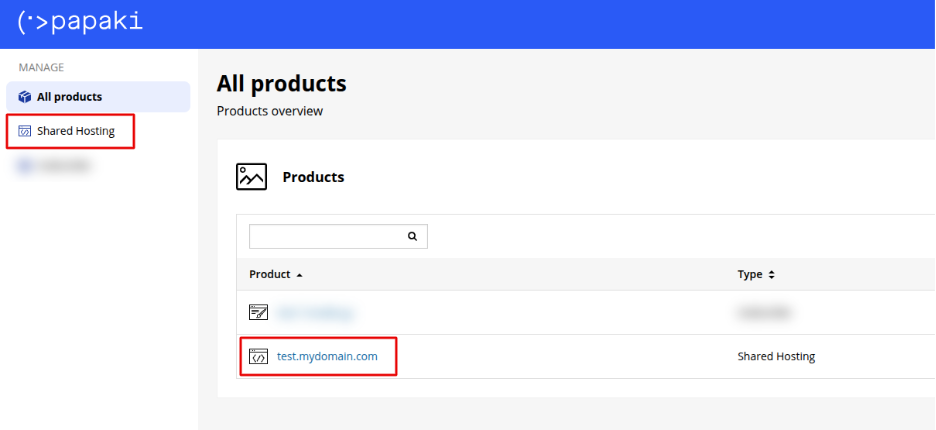
- From the dashboard, locate the product you want to manage. Click the name of the plan.

You will be redirected to the hosting management area. Here you can view, by category, all services linked to your Papaki account.
- Click the hosting plan name you want to manage.
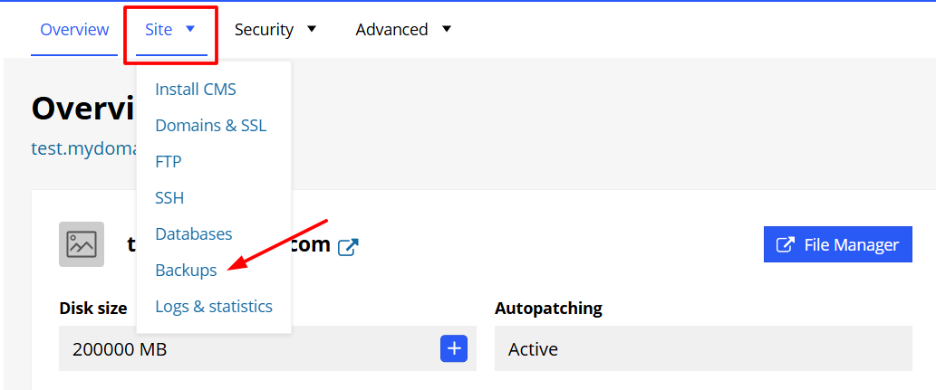
- From the Site tab, select Backups. Here, you'll find a list of all your available hourly and daily backups.
Option 1: Automatic full package and database restore
To restore your entire website files and all hosted databases:
- Locate the desired date and time of the backup.
- Click Restore.

A pop-up window will appear to confirm the restoration action for security purposes.
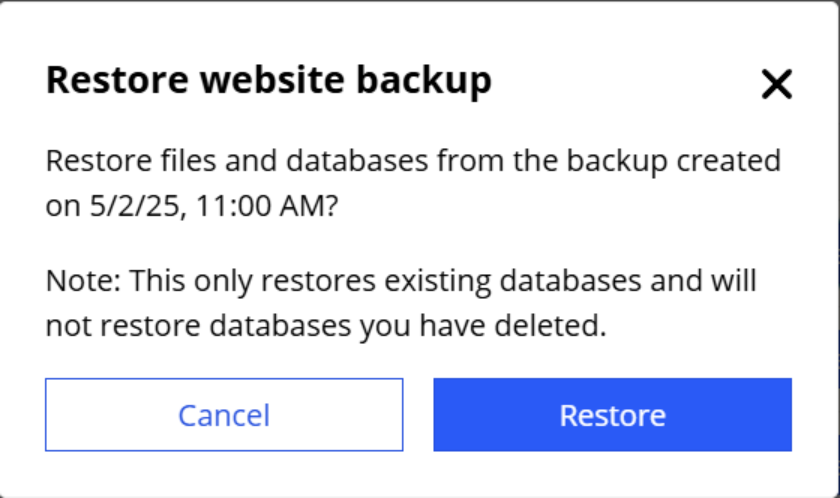
Note: This action does not restore deleted databases. If you want to restore a previously deleted database, you must recreate the database manually before initiating the restoration.
Option 2: Restore individual files or a single database
If you prefer not to restore your entire hosting package, you can selectively restore specific files or a database.
Restoring a Database
- Click on Manual Backups.
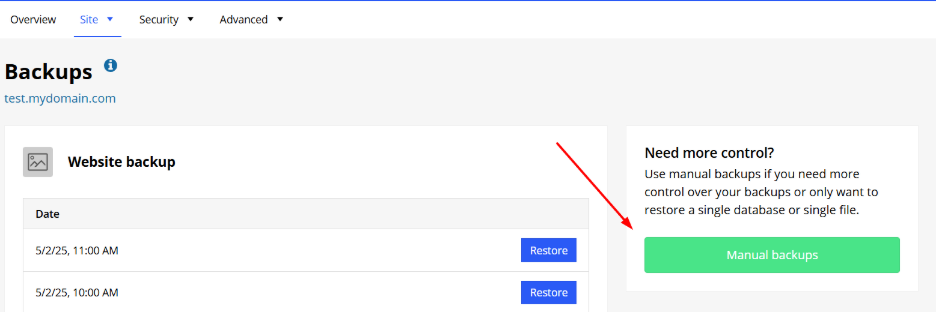
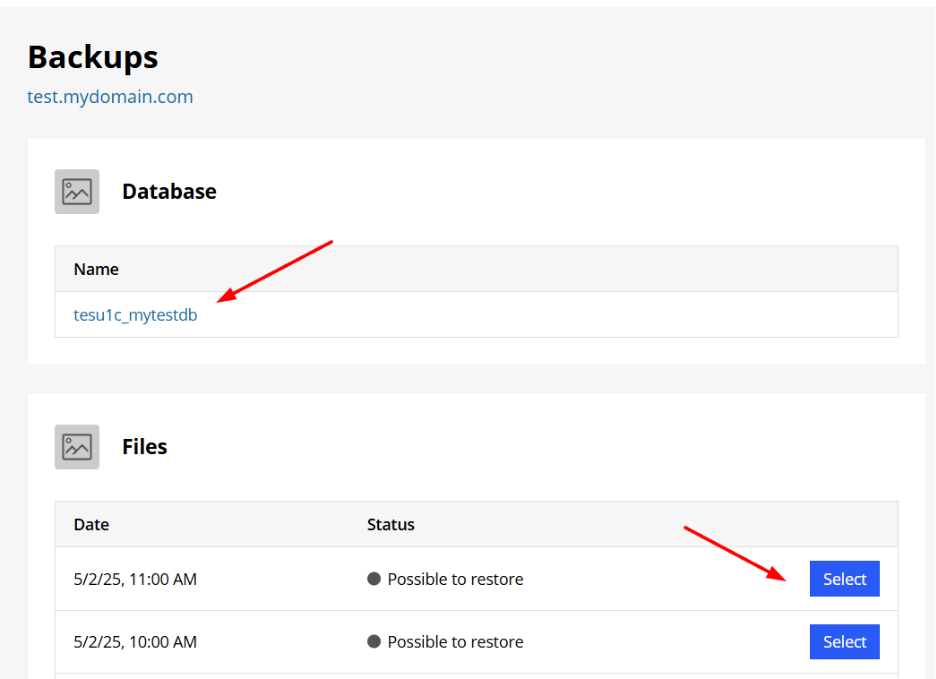
- Find the database you want to restore and click its name.
- From the list of backups, select the desired version and click Download.
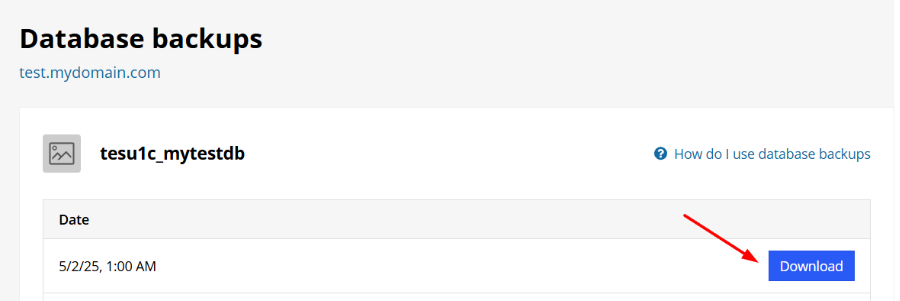
- You will receive a compressed .SQL file on your local device.
- Import this file manually into your existing database using phpMyAdmin.
Restoring Files
- In the Files section, select the backup date or time you wish to restore.
- A folder named /restored-backups will be automatically created in your hosting space.
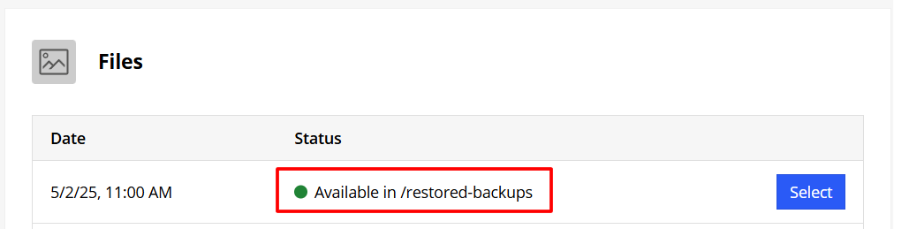
- All files from that backup will be placed there, allowing you to manually choose which ones to recover.
Important!
After completing the restoration:
- Don’t forget to delete the files and folders in the /restored-backups folder if you no longer need it.
- Its contents will consume storage space from your hosting plan’s total capacity.
[Papaki 1.0]
With this service, you can can restore your website's files and Databases to a prior status.
- Log in to your Papaki account.
Forgot your password? See here how to recover it. If it's your first login attempt to the new Papaki panel, please read more here.
- Click the red button Previous client area » on the right side of the control panel to access the old Papaki panel.

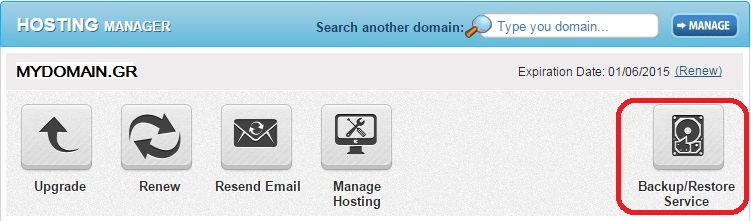
- In the "Hosting Plans” area of your control panel, click on the hosting plan you wish to restore. Find the Backup/Restore service and click on the icon as seen below.
- Go to "Restore Tab” → "Domains Backups” tab → click on the domain you wish to restore.
- You see a list with the daily Backups of your domains. Find the date of the Backup you wish to restore and click "Restore”.
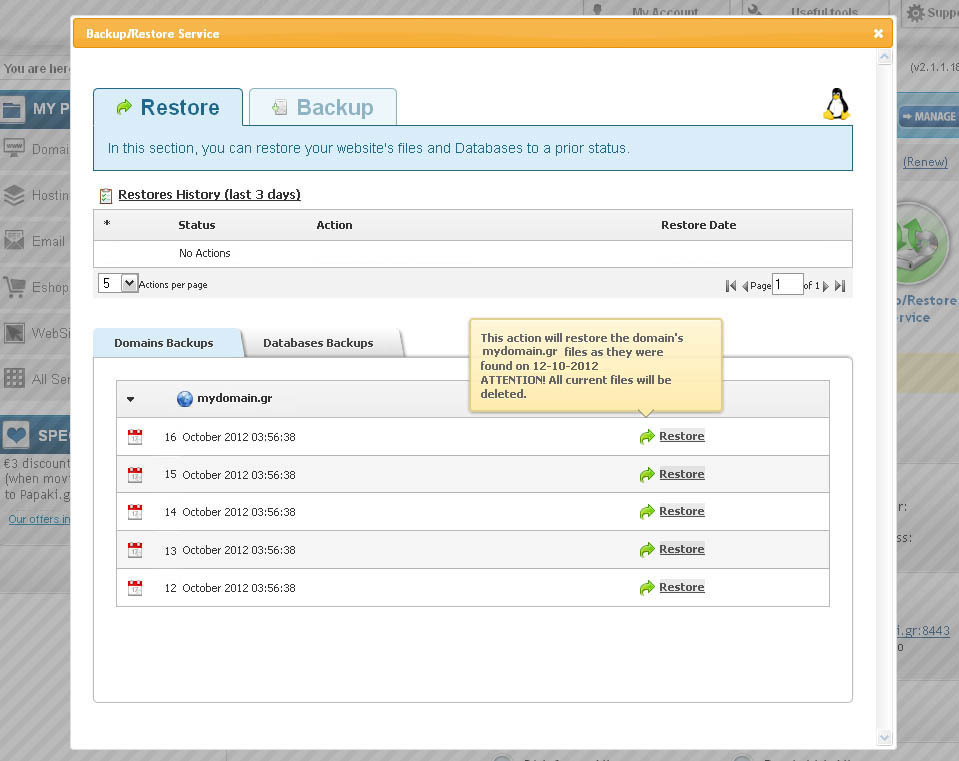
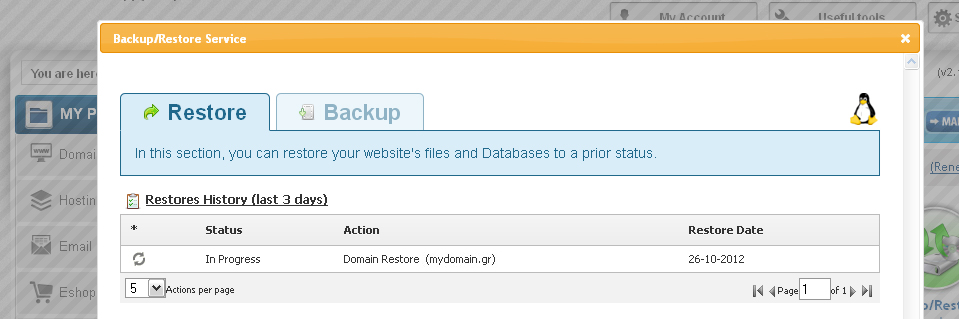
- Be sure that you have chosen the right date, because as soon as the restore process is comleted the existing files will be deleted. The restore process is now on progress.
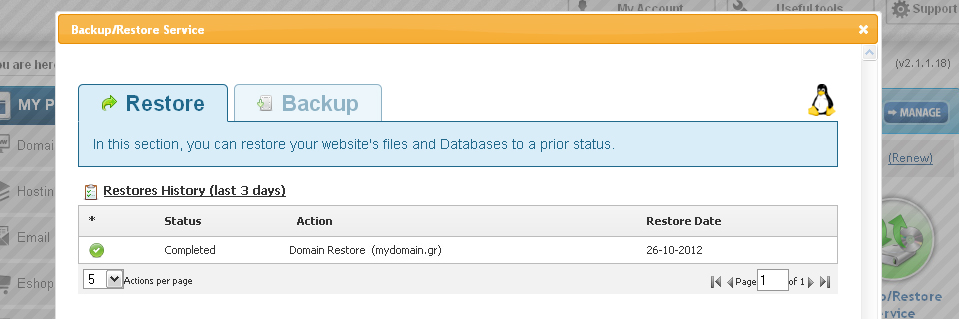
- As soon as the restore process is completed, you will see the confirmation.
You haven't found what you are looking for?
Contact our experts, they will be happy to help!
Contact us