Customer Support
Connect your email with the DNS service.
If you have activated or you want to activate your Papaki’s DNS service and you wish to connect the emails from your email plan at Papaki, you can follow the steps below.
[Papaki 2.0]
Prerequisites
Before you proceed, make sure that:
- the domain name is in the same account in the new Papaki panel
- you have activated an email hosting package. If you have not, refer to the relevant setup steps
- during the activation of the package, it has been associated with your domain
The activation of an email package is always linked to a domain, which will be used for your email services.
Depending on where your DNS records are managed, there are two scenarios:
Scenario 1: Using Papaki DNS service
If you are using Papaki’s free DNS service:
- the required DNS records (MX, SPF, DKIM) are added automatically when the email package is activated
- the service is active and ready to use
In this case, no further action is required.
Scenario 2: Using an external DNS service (e.g. Cloudflare)
If you manage your DNS records through a third-party provider (e.g. Cloudflare):
- you will need to manually add the required records
- the records must be entered in the active DNS zone of your domain
Minimum required DNS records
To ensure proper email sending and receiving, you must add at least:
- MX record (for receiving emails)
- SPF record (for sending reliability)
- DKIM record (for domain authentication)
Papaki provides the exact values of these records and must be entered exactly as given.
Specifically, configure the following:
MX record:
- Type: MX
- Name: mail
- Value: mail-gr.securemail.pro.
- Priority: 10
- TTL: default
SPF record:
- Type: TXT
- Name: @
- Value: "v=spf1 a mx include:spf.webapps.net ~all"
DKIM record:
- Contact support to obtain the value
Important note
Changes to DNS records may take up to one hour to fully propagate.
If any record is missing or incorrect, you may experience:
- failure to receive emails
- failure to send emails
- emails being marked as spam
[Papaki 1.0]
- Log in to your Papaki account.
Forgot your password? See here how to recover it. If it's your first login attempt to the new Papaki panel, please read more here.
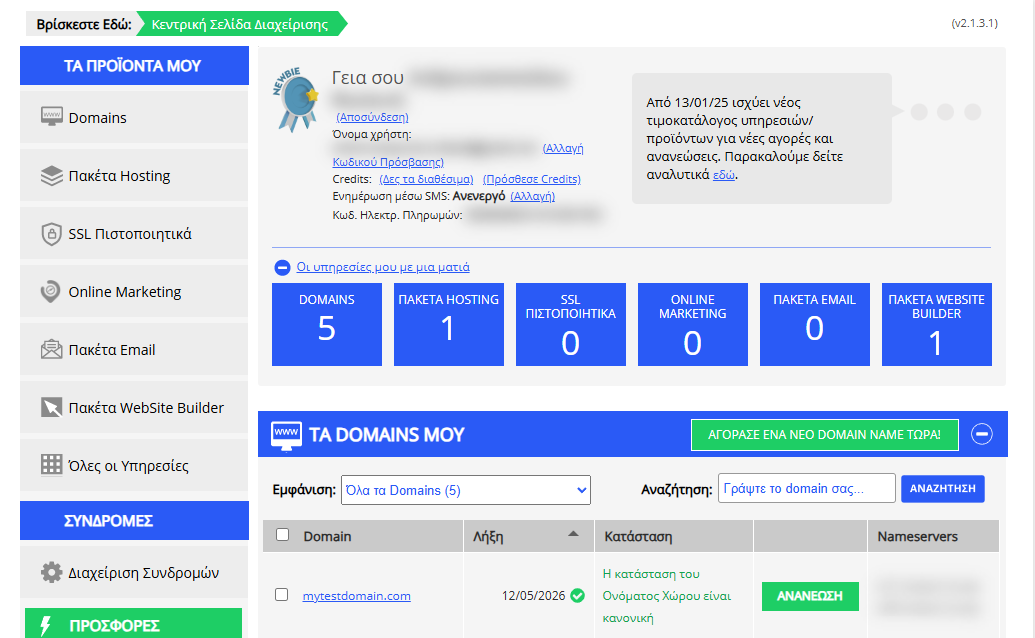
- Click the red button Your old products » on the right side of the control panel to access the old Papaki panel.

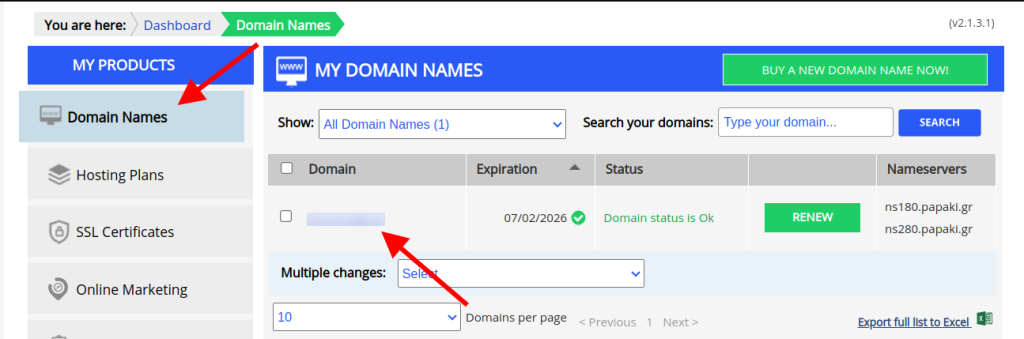
- Click on the domain name you are interested in.
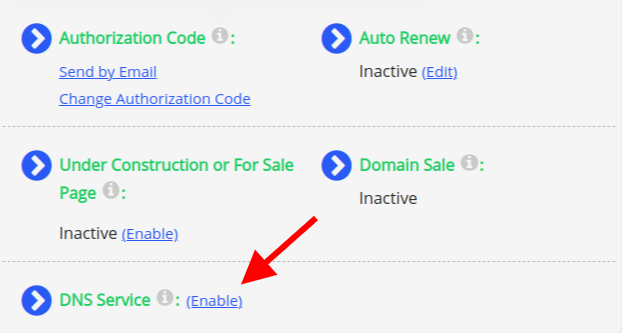
- If the DNS service is not enabled, click Enable on the DNS Service field and then click Update Nameservers.
Attention: By doing so, you will delete any nameservers you might already have and new nameservers will be added.
If you already have the Nameservers from a hosting plan, then your DNS zone is in your Hosting and you can add the records to it.
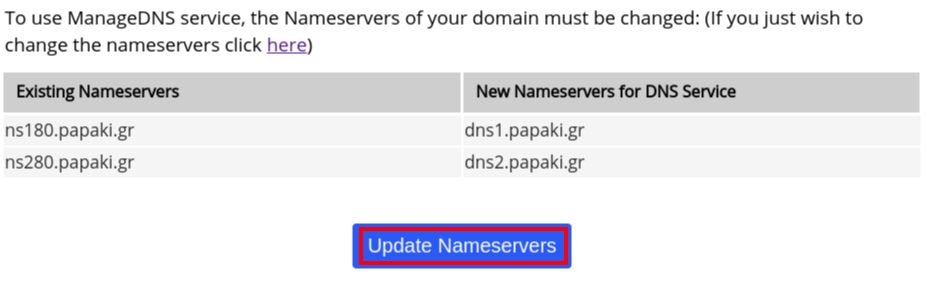
- Once the Nameservers are updated, click Advanced.
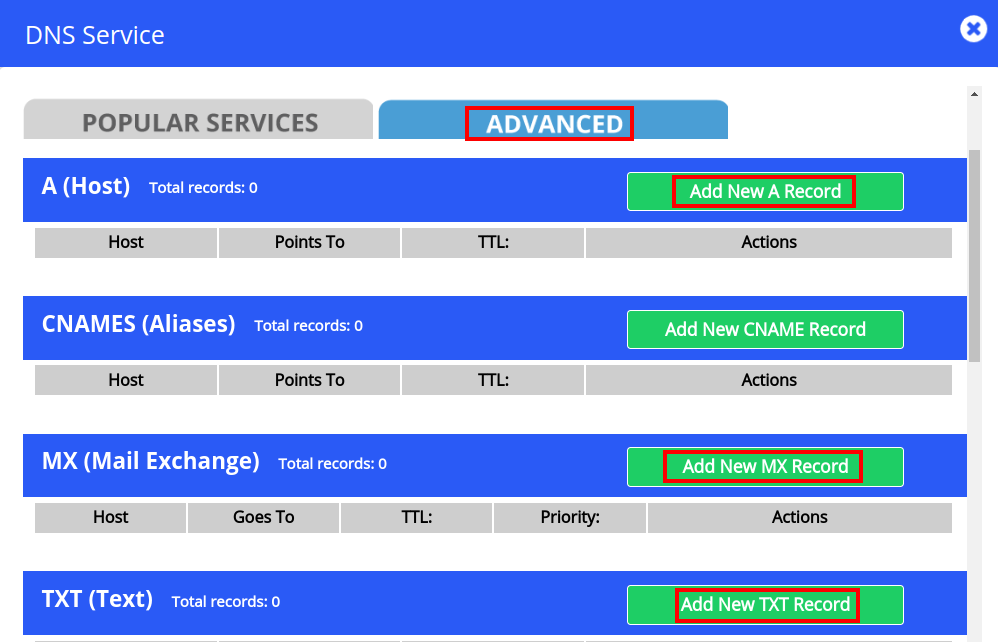
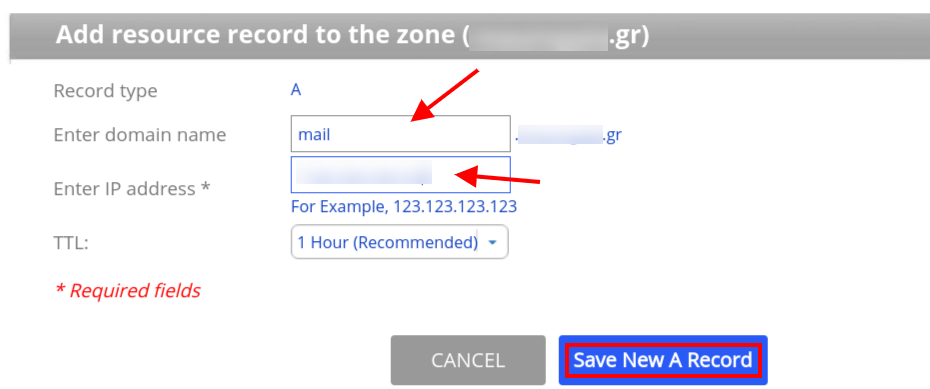
- You will need to add two A records, one MX record, and one TXT record (If your email plan also has AAA records, you will need to add 2 AAA records).a) Add New A Record.
In the field Insert the name of the domain name type “mail”.
In the field Insert IP address * type the IP of the hosting that hosts your emails.b) Add New A Record.
In the field Insert the name of the domain name type “webmail”
In the field Insert IP address * type the IP of the hosting that hosts your emails.
c) Add New ΜΧ Record.
The Enter mail domain field should be left blank.
In the field Enter mail exchanger * type mail.yourdomain.com
Instead of yourdomain.com type your own domain name.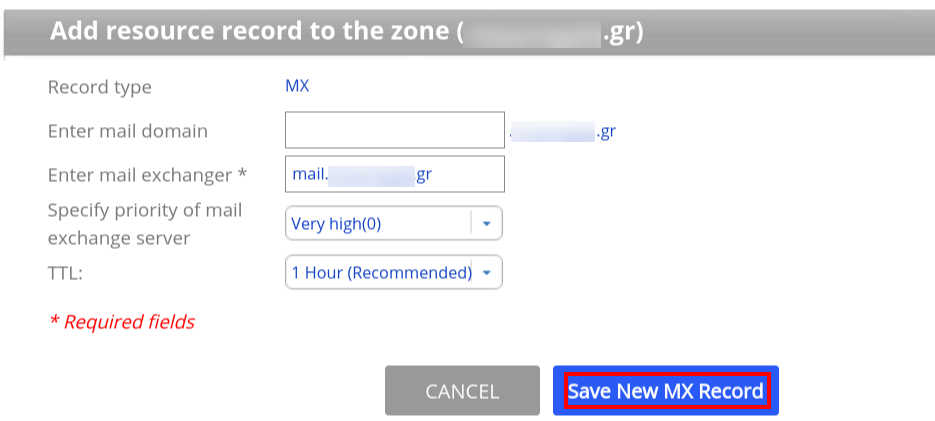
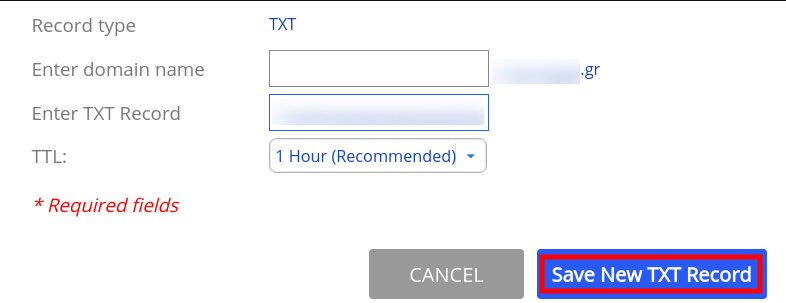
d) Add New TXT Record
The Enter domain name field should be left blank.
In the field Insert TXT Record add the TXT record that you will find in your hosting plan.
For Plesk hosting plans, you can find it if you log in to Plesk and click DNS Settings.
If there is an active DKIM or DMarc record, you should also add them as TXT records.
You haven't found what you are looking for?
Contact our experts, they will be happy to help!
Contact us