
Customer Support
How can I activate Papaki’s free DNS Hosting service?
At Papaki, every domain that is either registered or transferred to our platform comes with a free DNS service.
Note: The DNS service is automatically activated when a domain is initially registered with Papaki.
Learn more about what DNS is and how it works here.
Activating the DNS service through your Papaki account is a quick and easy process that does not require technical knowledge. However, it's important to follow the steps carefully to avoid disrupting your domain’s functionality.
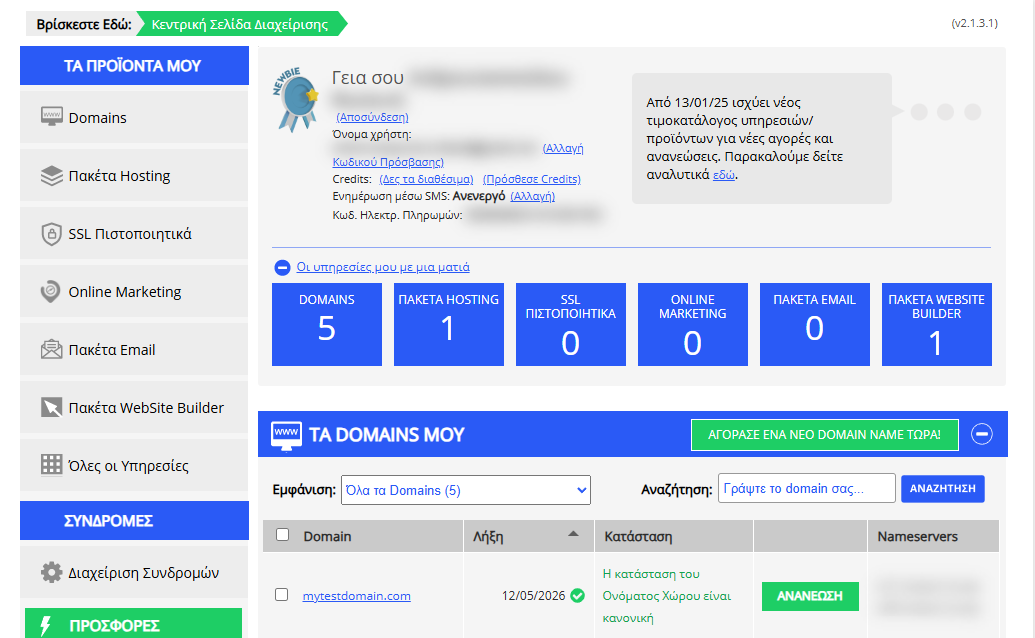
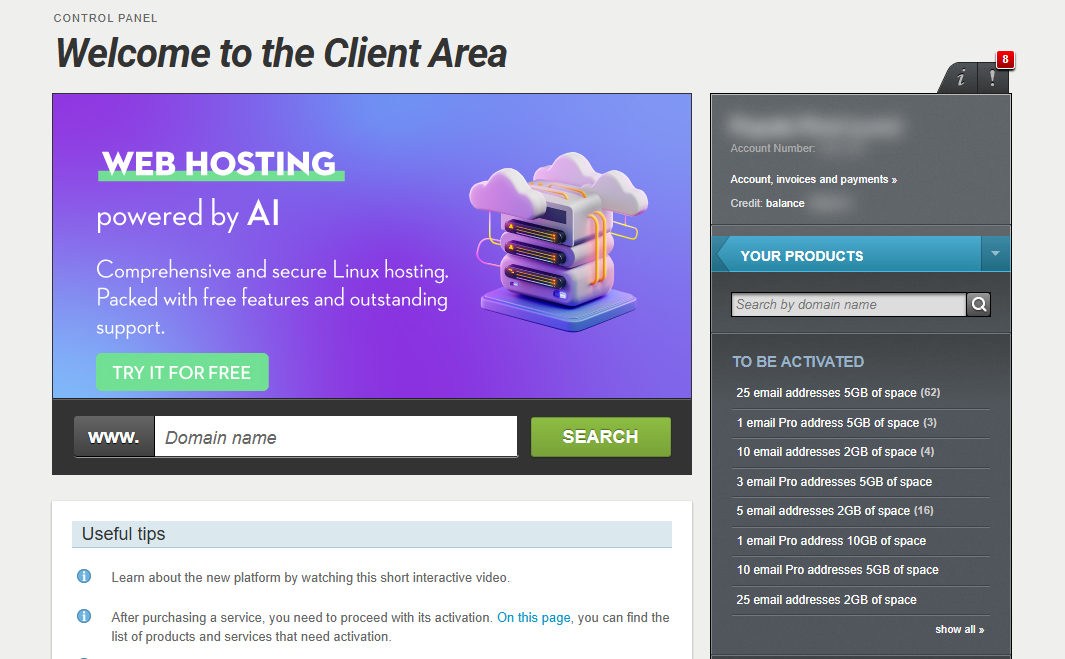
[Papaki 2.0]
Prerequisites
The DNS service is available exclusively for domains managed through your Papaki account — that is, domains for which Papaki is the registrar.
Step-by-step: Activating DNS
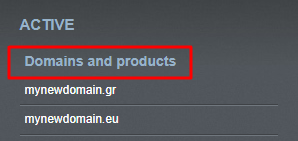
- In the right-hand side menu, go to Domains and products, and select the domain you wish to manage.
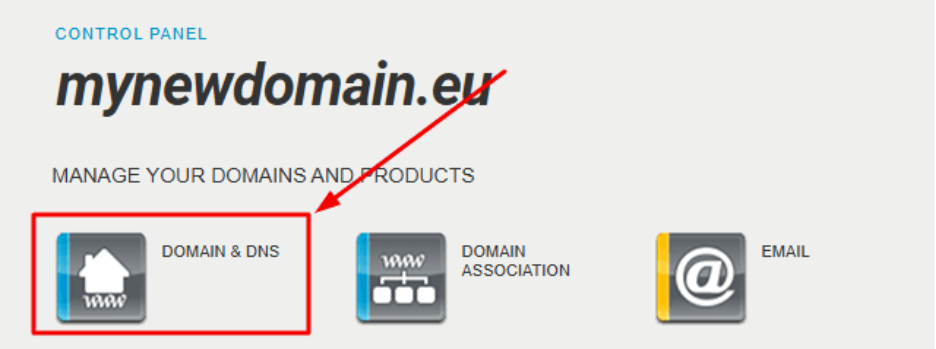
- Choose Domain & DNS.
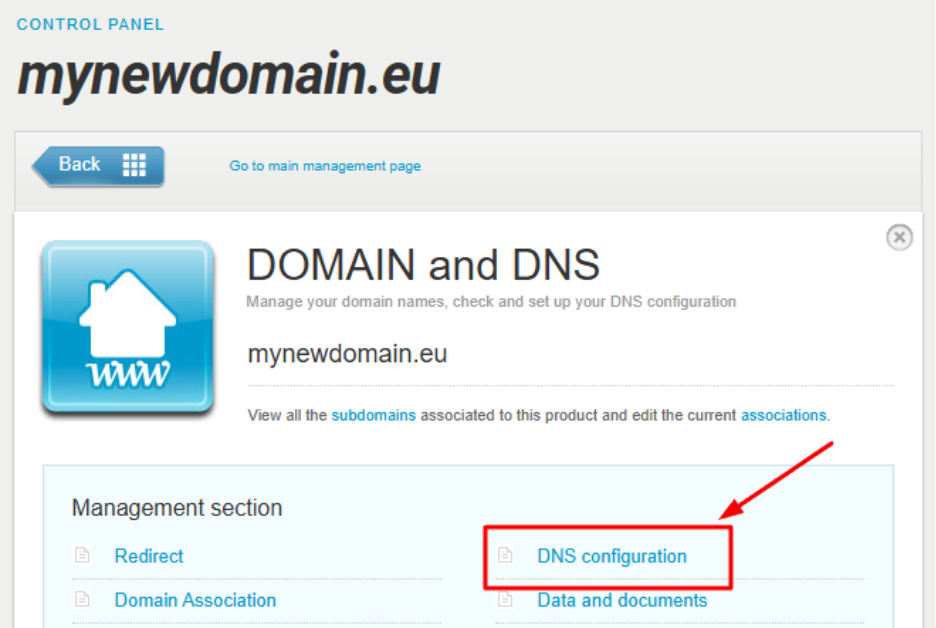
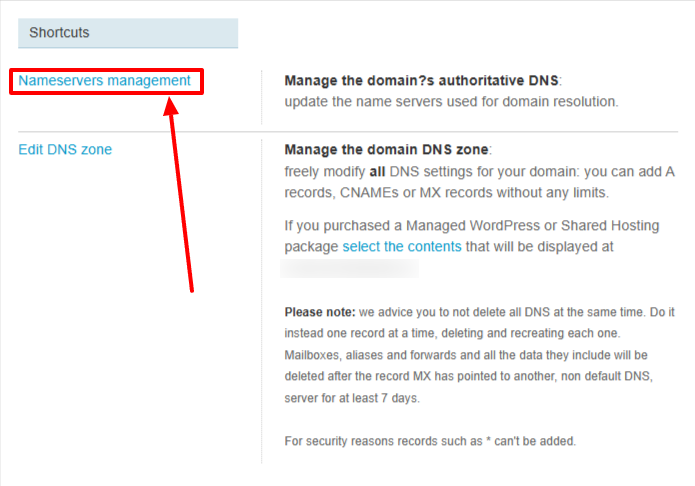
- Click on DNS Configuration, and then select Start DNS Modification from the shortcuts.
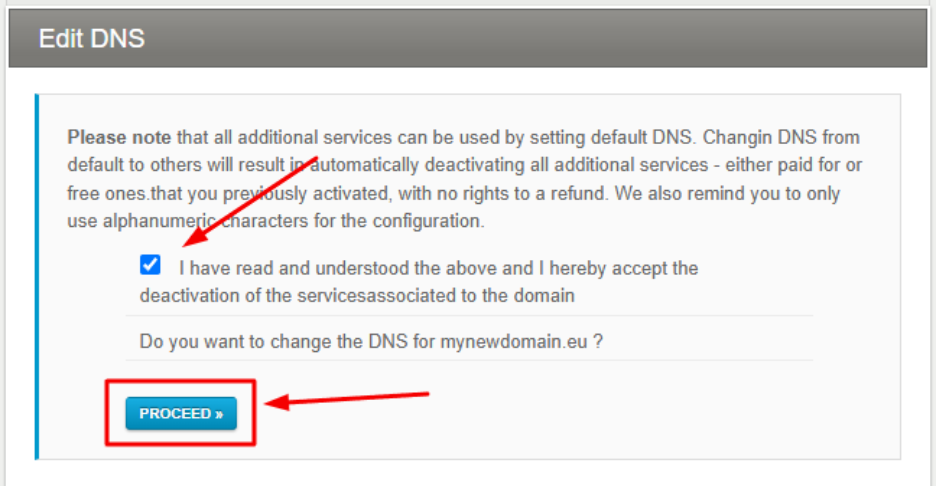
- Carefully read the warnings regarding the consequences of changing nameservers. Click Proceed.
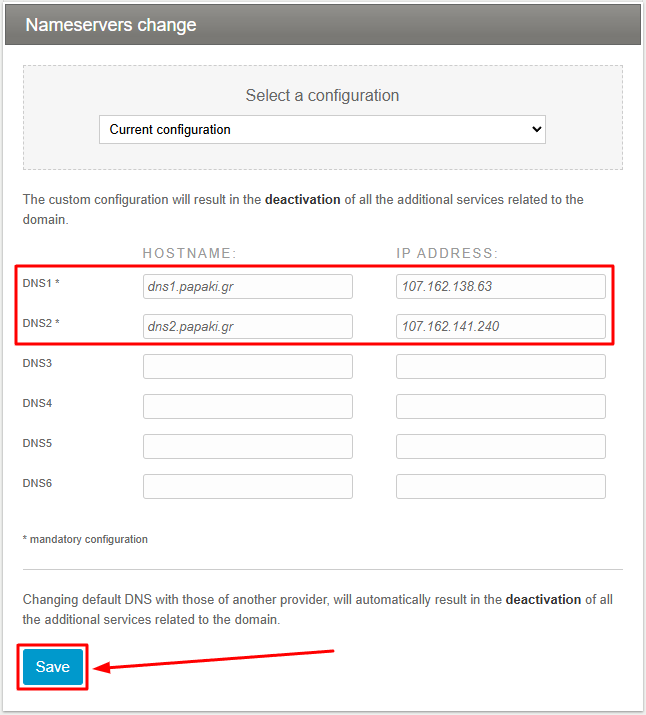
- In the configuration options, select Default configuration to automatically apply Papaki’s DNS settings, and click Save.
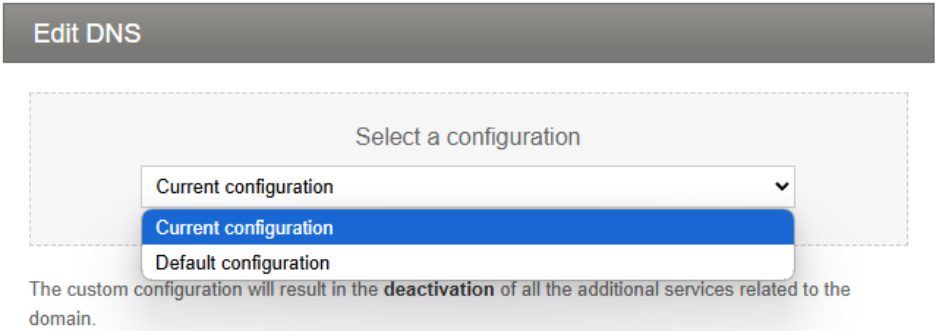
- In case you want to use an external DNS service, enter the nameservers and click Save.
Important!
- Changing your DNS settings incorrectly may result in interrupted services (e.g. website or email not working).
- DNS changes may take 4 to 48 hours to fully propagate across all Internet Service Providers (ISPs).
- If your domain is used with a Website Builder or external hosting service, make sure you have the correct DNS records or nameservers required to keep it connected.
Restoring previous DNS settings
If you need to revert DNS records to a previous state, you can use the backup restore feature. See the instructions under Available actions here.
Frequently Asked Questions
Need to add or edit DNS records (A, MX, CNAME)?
Check out the full guide here.
Why isn’t DNS activation completing?
If your domain is locked, you'll need to unlock it before changing the nameservers. Learn how to do that here. Locking does not apply to all extensions, e.g., .gr domains.)
What happens if I change the nameservers?
If you replace Papaki’s nameservers with external ones and stop using Papaki’s DNS service:
- Your free email service provided by Papaki will be automatically deactivated.
- All email data (messages, folders, etc.) will be permanently deleted within 7 days.
- Make sure to download or migrate your data beforehand to avoid losing important information.
[Papaki 1.0]
For domain names registered at Papaki in order to activate Papaki's free DNS Hosting service for a domain you have registered at Papaki you need to follow these steps:
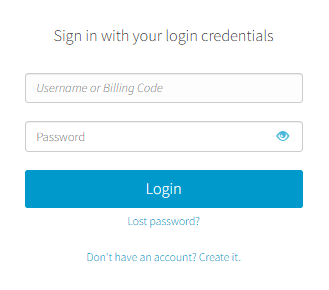
- Log in to your Papaki account.
Forgot your password? See here how to recover it. If it's your first login attempt to the new Papaki panel, please read more here.
- Click the red button Your old products » on the right side of the control panel to access the old Papaki panel.
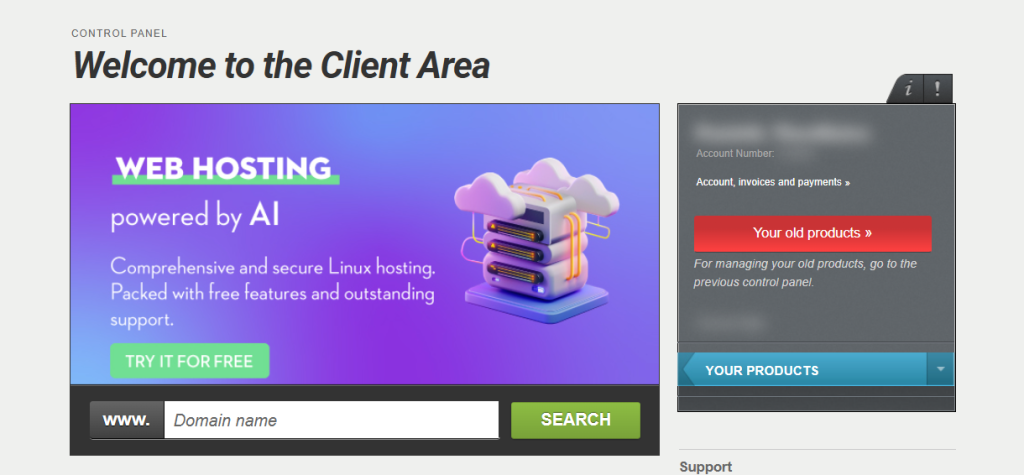
3. Click on the domain you wish to activate the service for. You will be transferred to the domains administration page.
4. Click "Enable" next to the "DNS Hosting Service".
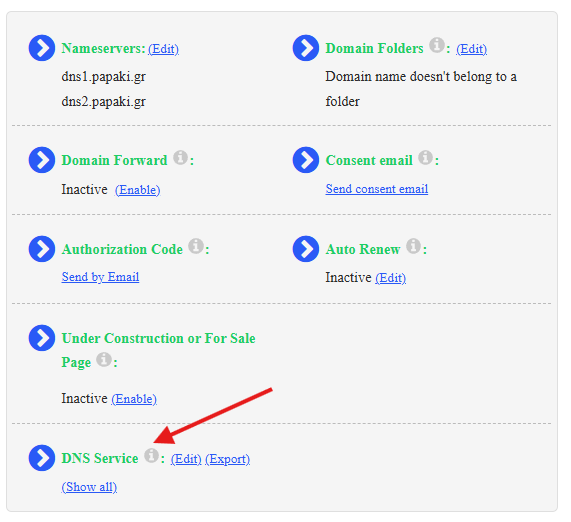
5. You will be asked to update the nameservers. Go on with the procedure and add the nameservers. (if you already have the nameservers of a Hosting plan where you host you website, the website will stop appearing). The service will be activated and a window with the following options will open.
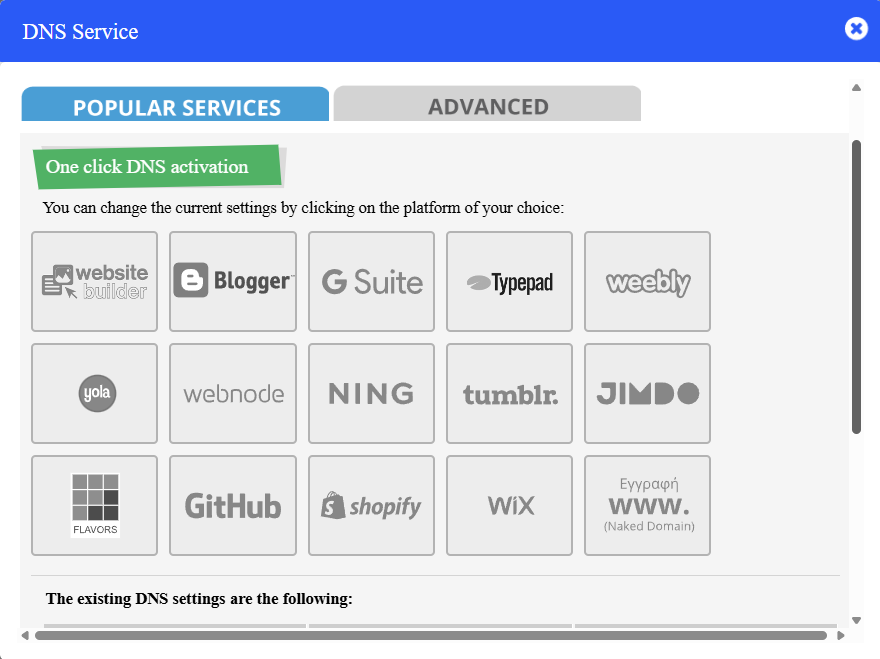
You can automatically create the DNS records in order to easily connect your domain with the popular platforms such as Blogger, Gmail, website builder etc. If you want to create the records manually, then go to the "Advanced" tab and create the record you need in the respective field. 2.
You haven't found what you are looking for?
Contact our experts, they will be happy to help!
Contact us