
Customer Support
What is DNSSEC and how do I use it ?
DNSSEC (Domain Name System Security Extensions) adds additional security to your domain names by adding digital signatures to their Domain Name System (DNS) information.
This means that when a user types an DNSSEC-enabled address, the response he receives, that is, the site to which he is redirected to, is verified for his authenticity.
To enable DNSSEC for any of TLD's supported in Papaki, you will need to enter specific DS (Delegation of Signing) records, which include DNS (Domain Name System) digital information. The information you need to enter to pass the appropriate registrations to your Domain Names can be obtained from your DNS provider if it supports DNSSEC.
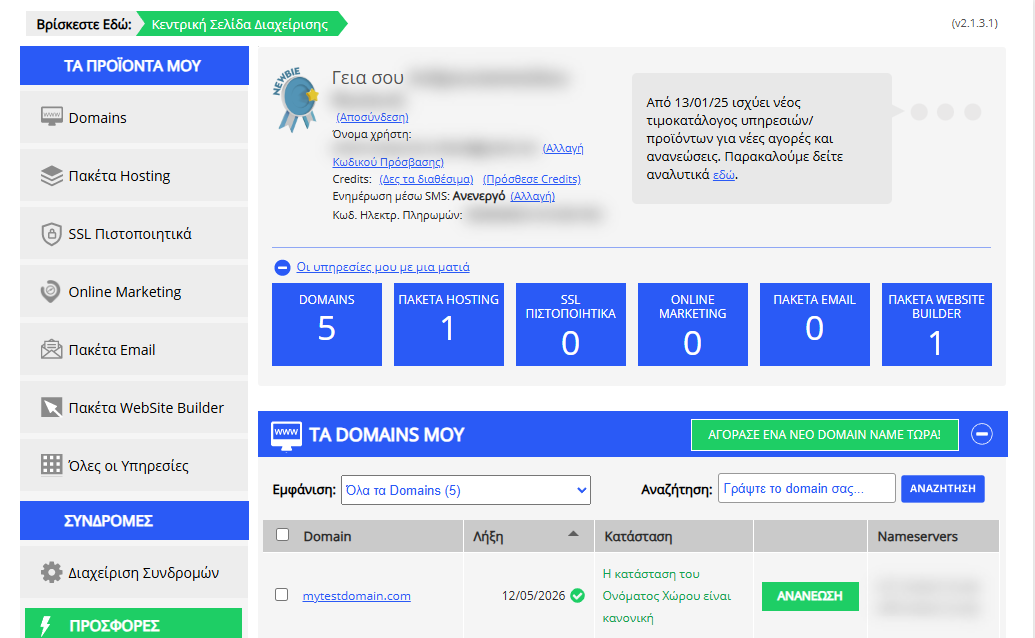
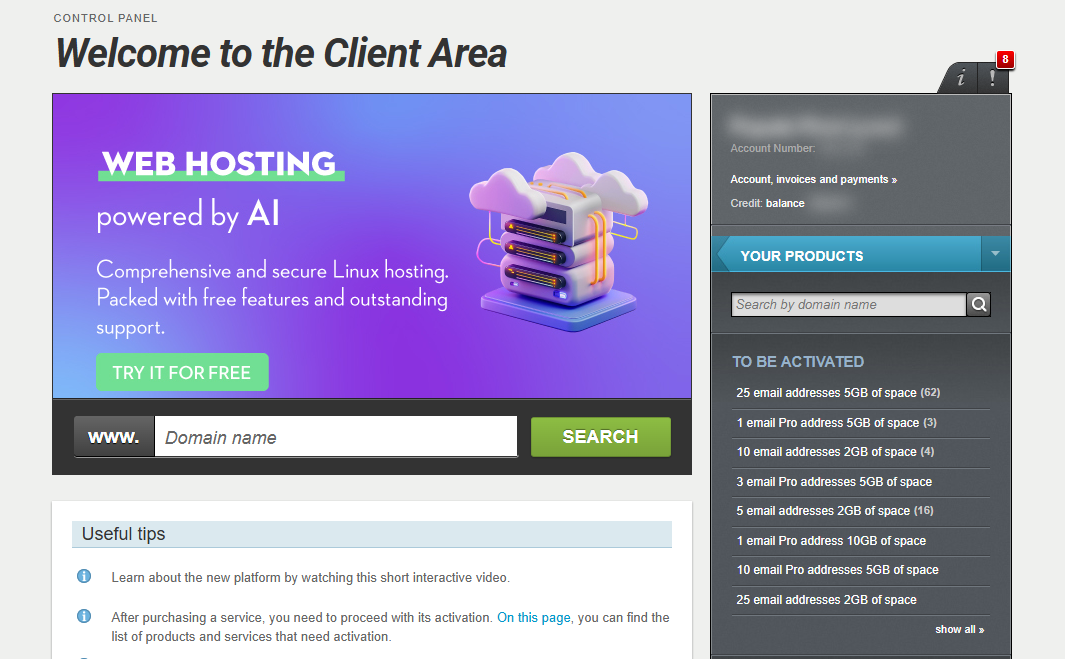
[Papaki/TopHost 2.0]
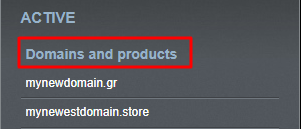
- From the right-hand menu under Domains & Products, select the domain you wish to manage.
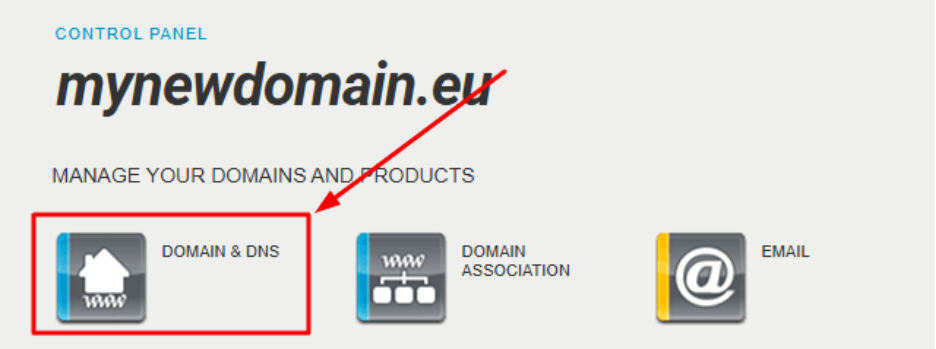
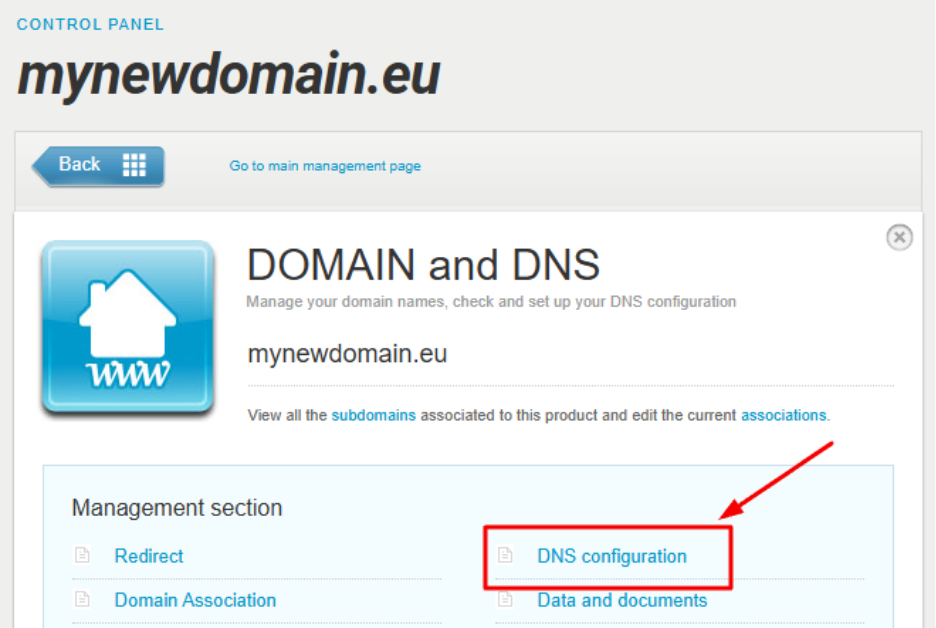
- Go to Domain & DNS, then click on DNS Management.
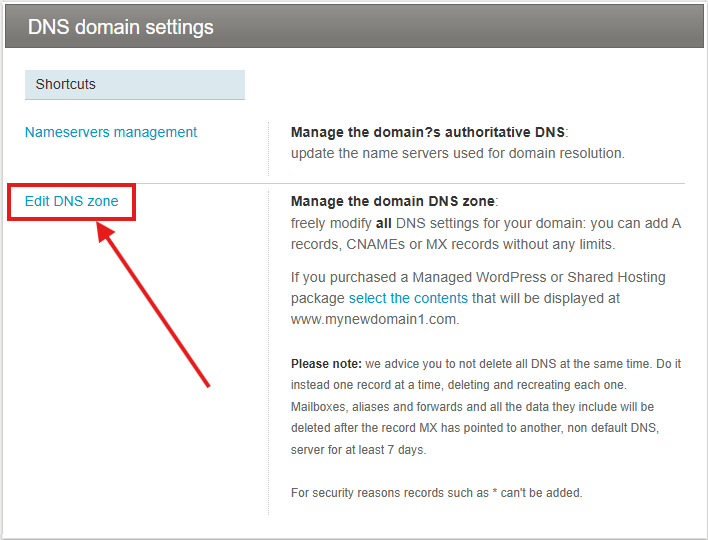
- Select Edit DNS zone.
- You can now ebable the DNSSEC and disable it. The process may take up to 2 hours.

[Papaki 1.0]
- Log in to your Papaki account.
Forgot your password? See here how to recover it. If it's your first login attempt to the new Papaki panel, please read more here.
- Click the red button Previous Control Panel » on the right side of the control panel to access the old Papaki panel.
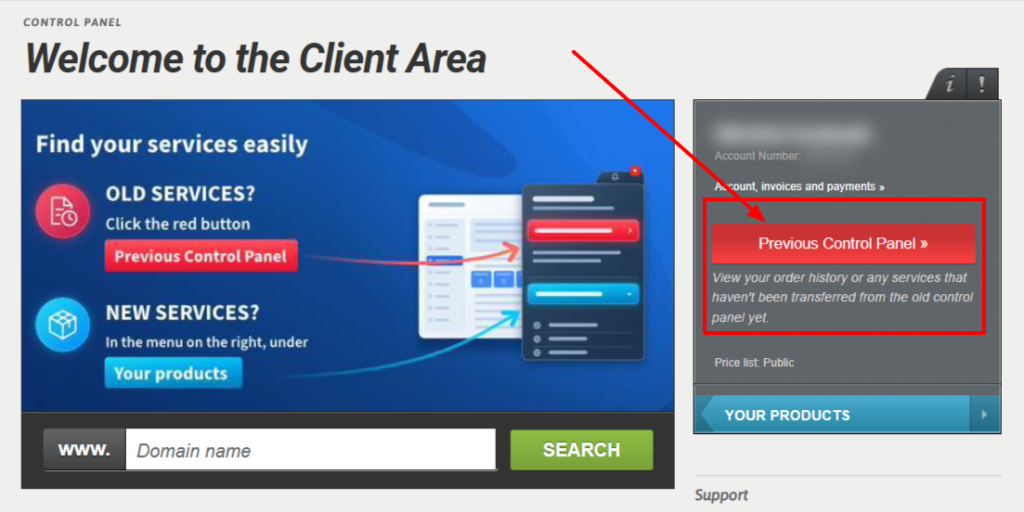
- Once you have the DNS service enabled, log in to Papaki's control panel, click on the desired domain and select Edit to DNS service.

- Select the tab DNSSEC and activate the service

[Top.Host 1.0]
DNSSEC is an extension of the DNS protocol that helps secure DNS data and protect the DNS resolution process. For more information, you can visit the ICANN website and review the relevant RFC documentation.
To enable DNSSEC in Plesk, follow the steps below:
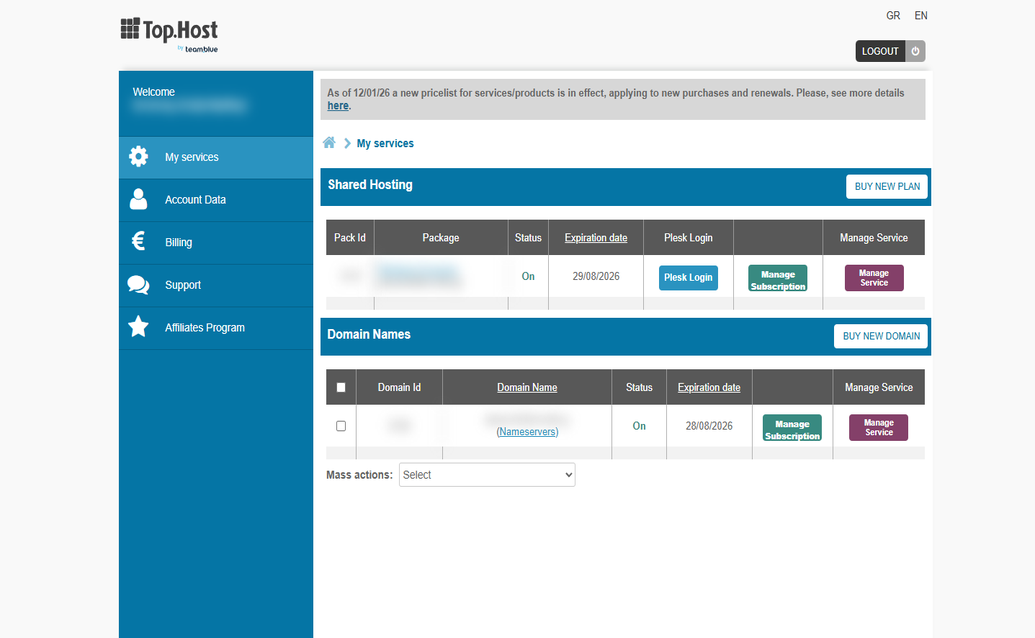
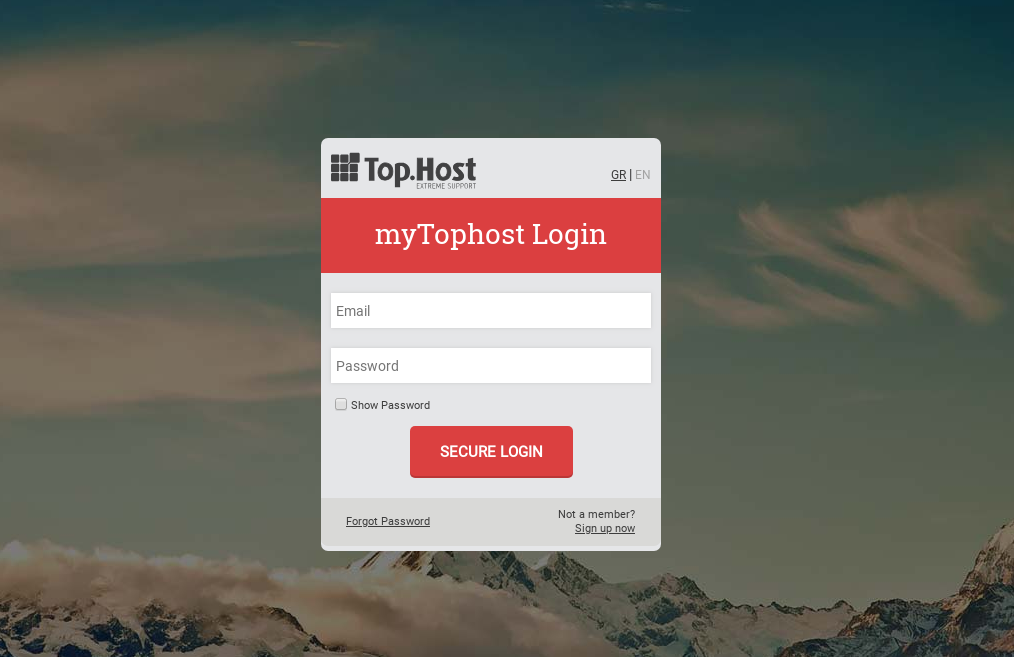
- Sign in to your myTophost Panel.
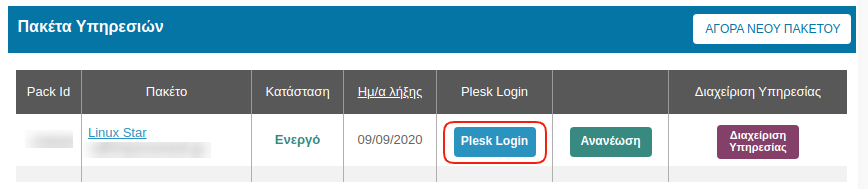
- Under My Services, select Plesk Login to access the Plesk environment of the hosting package you wish to manage.
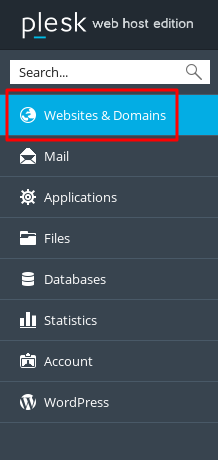
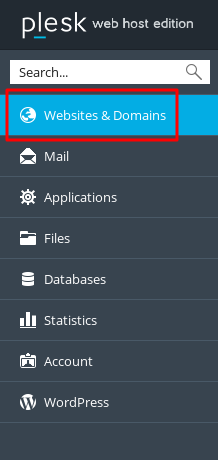
- From the navigation menu on the left-hand side, click Websites & Domains.
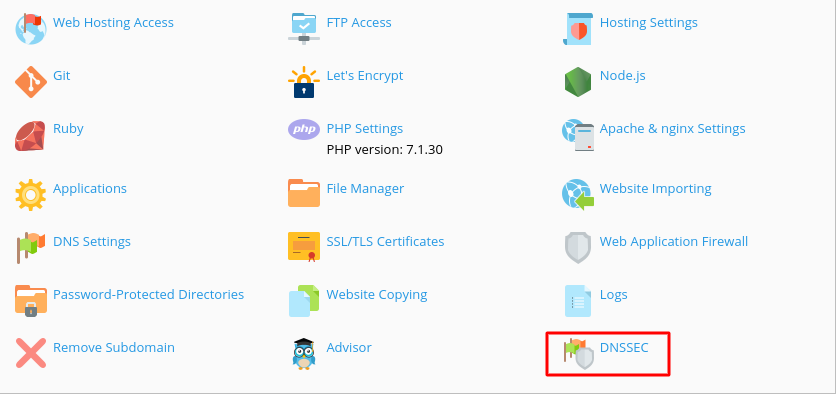
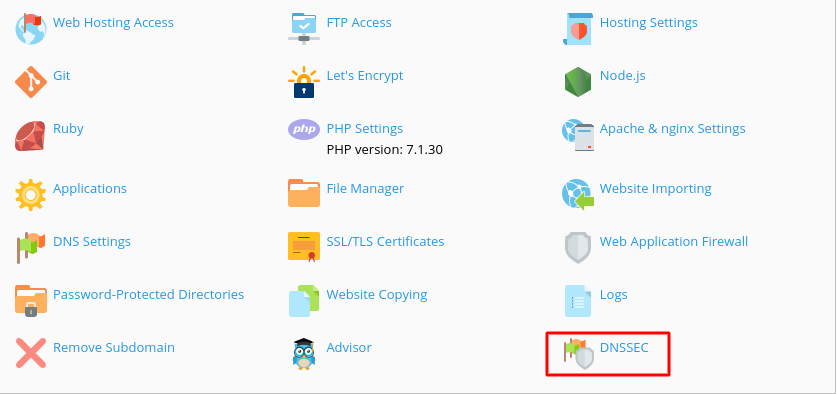
- Locate the website you want to configure and click the DNSSEC icon.
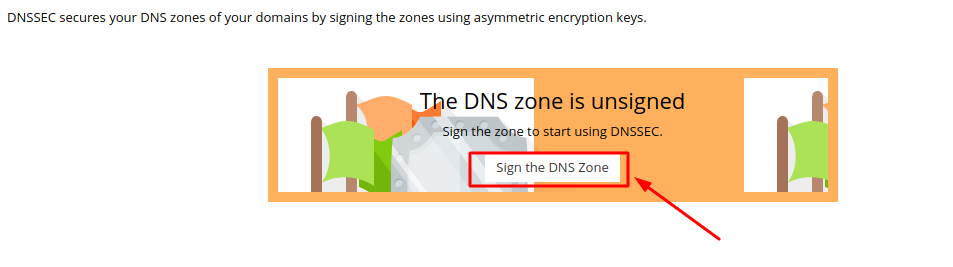
- On the DNSSEC page, click Sign the DNS Zone to sign your domain’s DNS zone using DNSSEC.
- If the domain's DNS zone has never been signed before, Plesk will generate the KSK (Key Signing Key) and ZSK (Zone Signing Key) that will be used to create the DNSSEC signature.
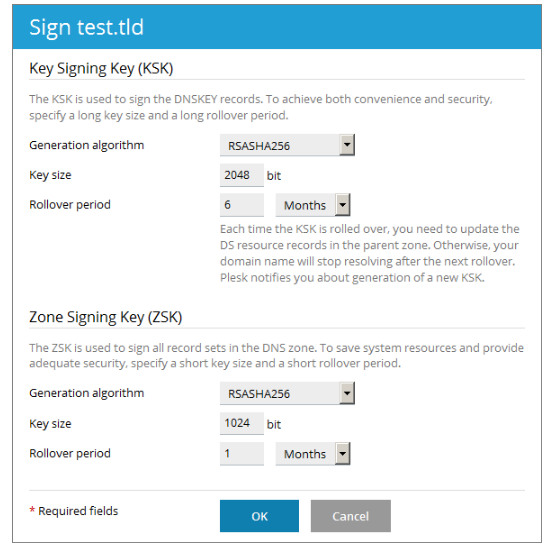
Recommended settings
- For the KSK, a larger key size and a longer rollover period are recommended.
- For the ZSK, a smaller key size and a shorter rollover period are recommended.
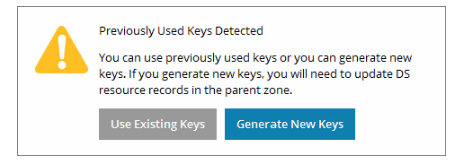
- If the DNS zone was previously signed with DNSSEC, you will be given the option to either reuse the existing keys or generate new ones.
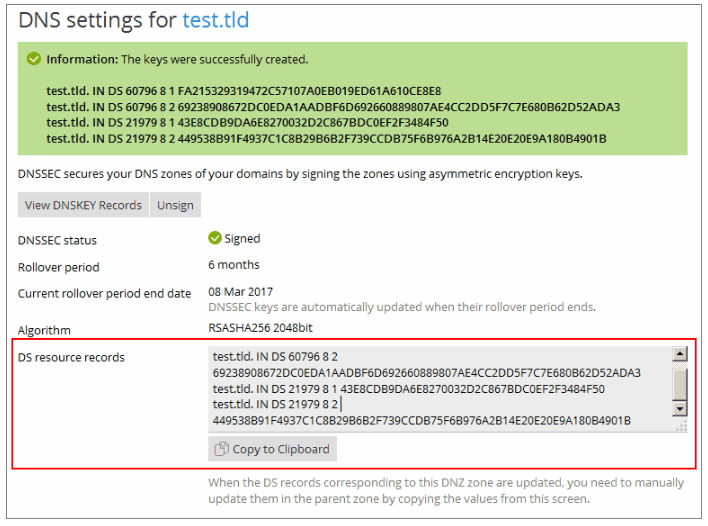
- Once DNSSEC has been enabled, Plesk will display the DS records. Copy them using the Copy to Clipboard option, as you will need them in the next step.
Important Note
If new DNSSEC keys are generated or the KSK (Key Signing Key) changes, the DS records must also be updated. Otherwise, the domain may fail DNS resolution until the DS records are updated accordingly.
- The DS records displayed after enabling DNSSEC must be added to the parent zone.
- If DNSSEC has been enabled for a primary domain (for example,
example.com), DS records cannot be added through Plesk. In this case, you will need to contact our support team and provide the generated DS records so they can be published, provided that Top.Host or Papaki is the domain registrar. - If the domain is registered with a third-party registrar, you will need to contact the corresponding registrar and request that they publish the DS records.
- If DNSSEC has been enabled for a subdomain, follow the instructions in the next step.
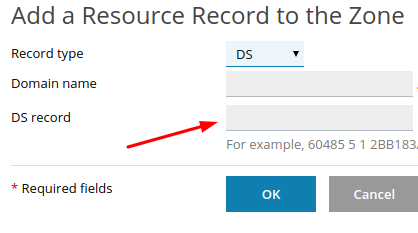
- If the DNSSEC-enabled zone belongs to a subdomain and the parent domain is hosted and managed within the same Plesk server, you can add the DS records yourself through the DNS Settings section of the parent domain.
To do so:
- Open the DNS Settings page for the parent domain.
- Click Add Record.
- Select DS as the record type.
- Enter the DS record values generated during the DNSSEC activation process.
- Save your changes.
Example
- DNSSEC-enabled zone:
subdomain.example.com - Parent domain:
example.com
In this case, the DS records should be added to the DNS zone of example.com.
Disabling DNSSEC
To disable DNSSEC:
- Sign in to Plesk.
- Navigate to Websites & Domains.
- Locate the domain for which DNSSEC is enabled.
- Click the DNSSEC icon.
- Click the Unsign button.
Important: After disabling DNSSEC, you must remove all DS records from the parent zone of the domain. If DS records remain published while DNSSEC is disabled, the domain will no longer resolve correctly through DNS.
You haven't found what you are looking for?
Contact our experts, they will be happy to help!
Contact us