
Customer Support
What is Macaly and how do I use it?
Macaly is an AI-powered platform for creating websites and web applications. Instead of writing code, you simply describe what you want to build using natural language, and Macaly generates the first working version for you.
All you need is an idea and a brief description of the project you want to create.
What can you build with Macaly?
Macaly is suitable for creating:
- Landing pages
- Business websites
- Portfolio websites
- Blogs
- Web applications
- Booking systems
- Internal tools and dashboards
- MVPs and application prototypes
- Simple 3D applications and games
You don't need to have everything figured out from the start. The initial version can be continuously refined through conversations with the AI.
What should you prepare?
For the best results, it is recommended to have:
- A brief description of your project
- Your company logo (if available)
- Your brand colors or brand identity guidelines
- Examples of websites you like
- Text, images, or other content you plan to use
The more information you provide, the closer the initial result will be to your requirements.
Step 1: Create a New Project
- Sign in to Macaly.
- On the home screen, you will see the chat input area with the AI Agent.
- Describe the project you want to create.
- Press Enter or click the send button to start building your project.
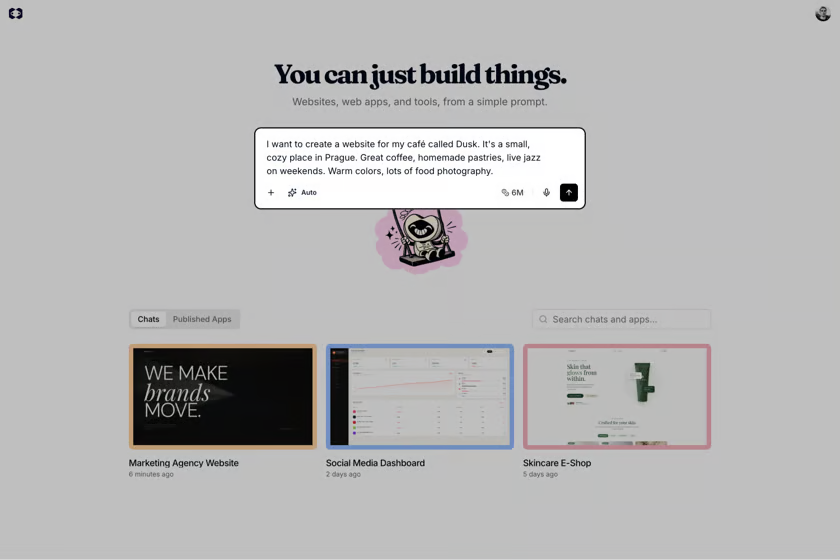
Step 2: Write Your First Prompt
Describe your project with as much detail as possible.
A good description usually includes:
- What you want to build
- Who the target audience is
- The style and visual design you prefer
- The key features and functionality you need
- Examples of websites you like
Example Prompt
"I want to create a modern website for a coffee shop. It should include a homepage, product showcase, photo gallery, booking form, and contact information. I would like a warm design with earthy colors and a responsive layout."
You can also attach:
- Logos
- Images
- PDF files
- Brand guidelines
- Any other material that can help Macaly better understand your project
Step 3: Follow the Project Creation Process
After submitting your prompt, Macaly will begin generating your project.
During the process, it may:
- Display progress updates
- Create pages and content automatically
- Ask for additional clarification
- Suggest improvements or ideas
The first version typically includes the basic structure, content, and design of your website or application.
Step 4: Review the Result
Once the generation process is complete:
- Open the project preview.
- Review the page structure and layout.
- Examine the content and design.
- Test the appearance on different devices:
- Desktop
- Tablet
- Mobile
The first version does not need to be perfect. Macaly is designed to improve progressively through additional instructions and feedback.
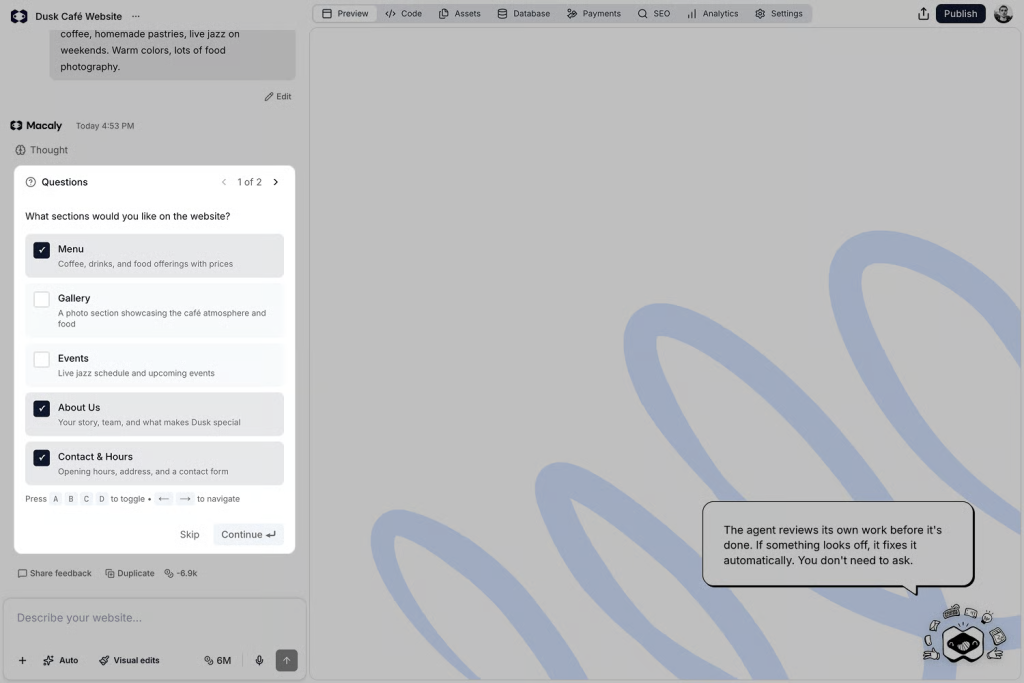
Step 5: Make Changes Through Conversation
You can continue improving your project by chatting with the AI Agent.
Examples:
- “Add a services page.”
- “Change the colors to better match my logo.”
- “Add a contact form.”
- “Replace the images with product photos.”
- “Make the design more minimalist.”
Each new instruction builds upon the previous version and gradually improves the project.
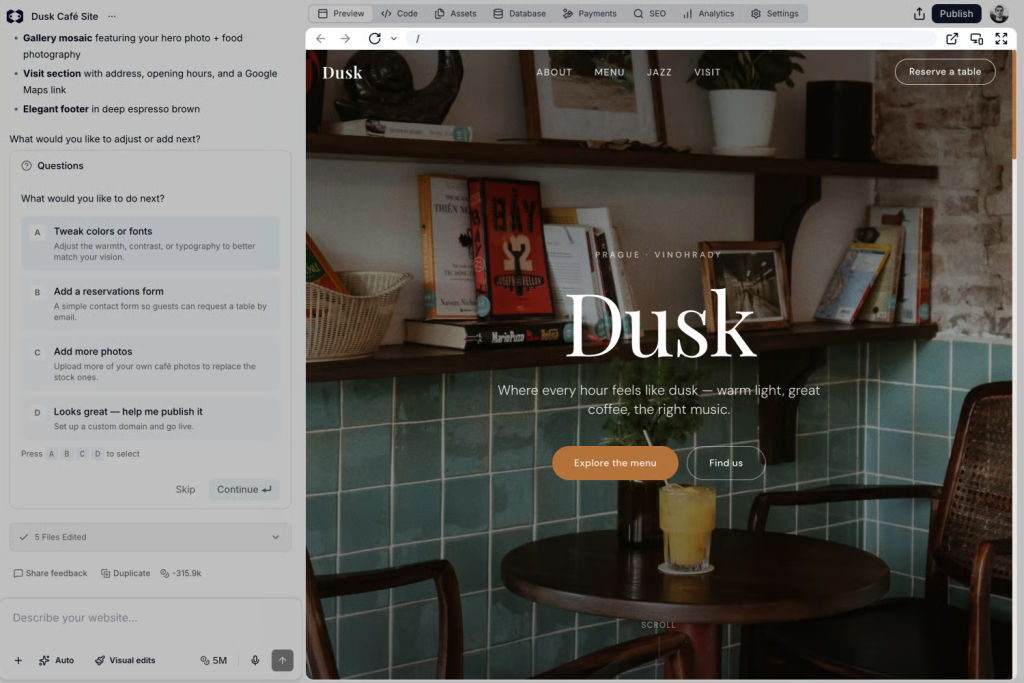
Step 6: Use Visual Edits
In addition to making changes through chat, you can edit many elements directly from the project preview.
With Visual Edits, you can:
- Change text
- Update headings
- Replace images
- Correct content
- Make small design adjustments
This is a fast and convenient way to make minor changes without sending a new message to the AI Agent.
Helpful Tips
- Use simple and natural language.
- Provide as much information as possible in your initial prompt.
- Include examples of websites you like.
- Break large changes into smaller steps.
- Improve your project gradually rather than requesting everything in a single message.
Use Version History
If a change does not produce the desired result, you can restore an earlier version of your project using Version History.
This allows you to experiment with new ideas without worrying about losing a previous version that worked well.
Next Steps
Once the first version of your project is ready, you can:
- Improve the content through additional prompts
- Edit elements using Visual Edits
- Add new pages and features
- Connect your own domain
- Publish your project
- Optimize your website's SEO
By following these steps, you can transform a simple idea into a functional and professional website or application without writing any code.
You haven't found what you are looking for?
Contact our experts, they will be happy to help!
Contact us