
Customer Support
Integration and Configuration of Flexmail
Flexmail can be connected to external systems such as CMS platforms, CRMs, e-commerce platforms, and custom applications, allowing contact data to be synchronized automatically and transactional emails to be sent. Depending on your requirements, you can use either ready-made integrations through Zapier or the Flexmail API for more advanced implementations.
Integration Options with External Systems
Α. Integration via Zapier
Zapier allows you to connect Flexmail with thousands of applications without requiring any coding.
Some examples of automations include:
- adding new contacts from a CRM to Flexmail
- assigning interests when someone submits a form
- updating contact fields after an order is placed in an e-commerce store
This solution is ideal when:
- you do not have programming knowledge
- you want a quick setup
- you are using applications already supported by Zapier
Read more here: Integrate with Zapier or API
Β. Integration via API
The Flexmail API allows you to create custom integrations with:
- CMS platforms
- CRM systems
- ERP systems
- online stores
- custom applications
The API is suitable when:
- real-time synchronization is required
- you use internal or custom-built systems
- you need greater control over data management
- you want to automate contact management or reporting at scale
To get started:
- Go to Settings → API → Personal Access Tokens.
- Create a new personal access token.
- Use the token to authenticate API requests.
Read more here: Integrate with Zapier or API
C. CMS Integration
Connecting Flexmail to a CMS, such as WordPress or a custom website, can be achieved through:
- Zapier
- the Flexmail API
- custom development that communicates directly with the Flexmail API
Common use cases include:
- automatically creating contacts from contact forms
- synchronizing customer information
- updating custom fields
- triggering transactional emails after specific user actions
Setting Up Transactional Emails
Transactional emails are used to send messages triggered by a user's action, such as:
- order confirmations
- account activations
- password reset emails
- payment receipts
- system notifications
Step 1: Activate the Transactional Email Service
First, you need to activate the Transactional product within your Flexmail account.
The service operates independently from marketing campaigns and can be used even without an active marketing subscription.
Step 2: Verify Your Sender Address
Before sending emails:
- Go to Settings → Add or remove senders.
- Add the email address you want to use as the sender.
- Open the verification email you receive.
- Complete the sender verification process.
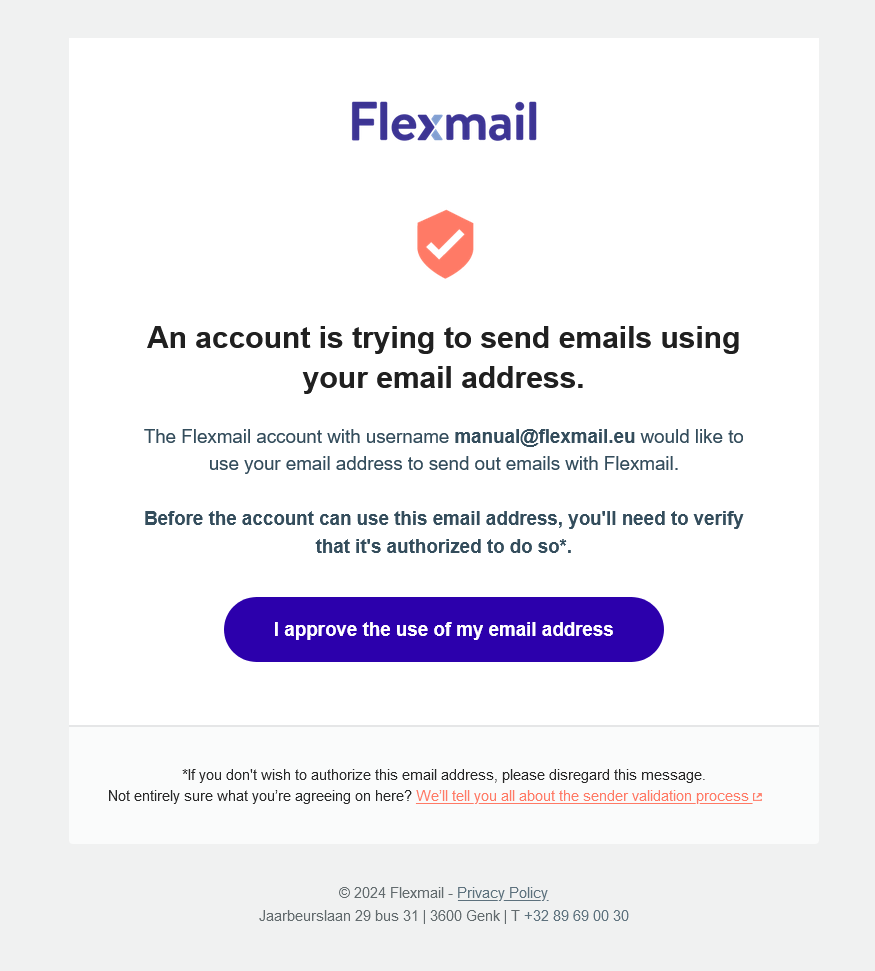
Step 3: Configure Email Authentication
To ensure proper email deliverability, configure the following DNS records:
- SPF
- DKIM
- DMARC
- Custom Return-Path
These records prove to mailbox providers such as Gmail and Outlook that your domain is authorized to send emails.
Proper SPF and DKIM configuration is essential for transactional email delivery. Without them, messages may be rejected or delivered to Spam folders.
Read more here: Getting started with the transactional API
Step 4: Create a Personal Access Token
To use the Transactional API:
- Go to Settings → API → Personal Access Tokens.
- Create a new token.
- Use:
- your Account ID as the username
- your Personal Access Token as the password
for API authentication.
Alternative: Sending via SMTP
Instead of using the API, you can send transactional emails through SMTP.
Recommended SMTP settings:
- SMTP Host: submission.flexmail.eu
- Port: 587
- Encryption: STARTTLS
Additionally:
- use the SMTP credentials provided by Flexmail
- do not use your Flexmail account login credentials as SMTP credentials
- ensure that your server allows outbound connections on port 587
Read more here: SMTP submissions for transactional email
Important Notes
- Transactional emails support only one recipient per email.
- They cannot be used for newsletters or bulk marketing campaigns.
- Marketing emails and transactional emails use separate sending infrastructures to improve deliverability.
- It is recommended to test your setup before moving to production.
You haven't found what you are looking for?
Contact our experts, they will be happy to help!
Contact us