Customer Support
How can I transfer my site to Papaki?
To proceed with the transfer of your website by our specialized migration team, you will need to submit a request through the ticketing system and provide the required information.
1. Create a request
From your Papaki account, go to the Support section and select one of the following paths:
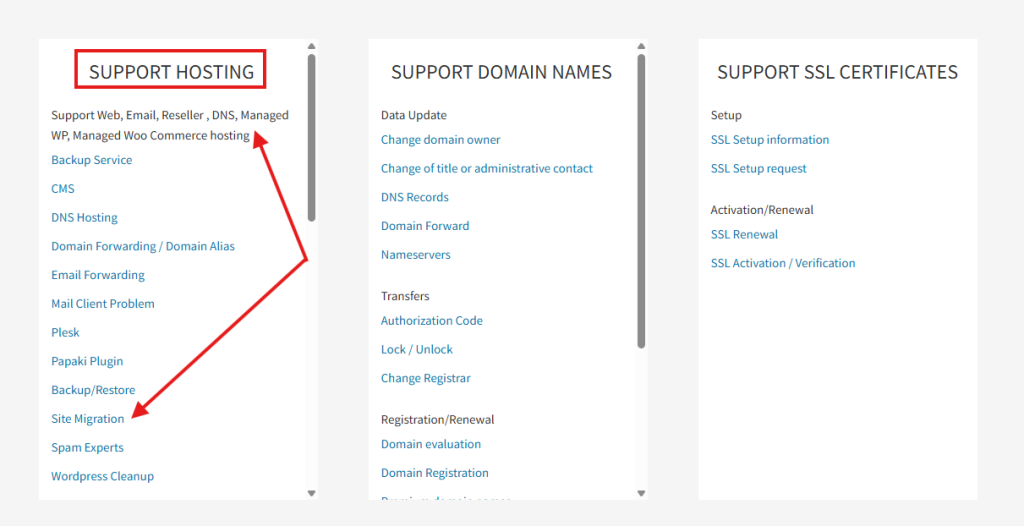
For Hosting services:
Support Hosting
→ Support Web, Email, Reseller, DNS, Managed WP, Managed WooCommerce Hosting
→ Site Migration
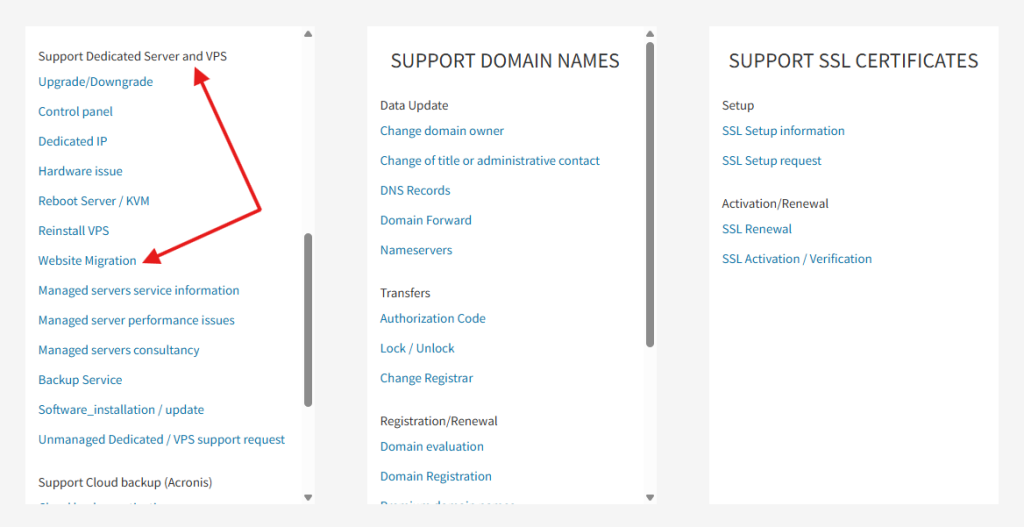
For VPS / Dedicated Server:
Support Hosting
→ Support Dedicated Server and VPS
→ Website Migration
See the detailed guide on how to create a request here.
2. Information you need to provide
When creating your request:
- Select “Insert credentials” within the ticket

- Provide the necessary details so we can access your current server
Access details for the current server
You will need to provide one of the following:
- Control panel access (e.g. cPanel, Plesk)
(URL, username, password) - or FTP credentials (host, username, password) and database access details
- or a link to a full backup
Website information
- The domain name(s) you wish to transfer
Additional information (if available)
- Services you want to be transferred (e.g. SSL)
- Any additional information that may assist the migration
3. Hosting plan selection
Your website will be transferred to an active hosting plan at Papaki.
- If you already have hosting in your account, the website will be transferred there
- If you do not have one, you will need to purchase a hosting package before or during the process and inform us accordingly. See the available hosting plans here.
Important
The hosting plan must:
- support your website’s technical requirements (e.g. PHP, database, CMS)
- provide sufficient resources (disk space, databases, etc.)
In some cases, a different plan may be recommended to ensure proper website functionality. If you are unsure which hosting package to choose, contact Customer Support.
4. Limitations and important information
- The transfer requires valid and working access credentials
- The source server must allow external access
- Some websites may:
- require additional adjustments after the transfer
- or not be fully supported without modifications
- If a backup is provided:
- it must be complete and not corrupted
Frequently Asked Questions (FAQ)
How long does the transfer take?
The transfer is usually completed within 2–3 business days, depending on workload and website complexity.
The website migration team operates on business days (excluding holidays), from Monday to Friday, 08:00 – 15:00.
Is there a cost for the transfer?
- The transfer of up to 5 websites is free when moving from a third-party provider to a new hosting package at Papaki, within the first 30 days from purchase
- If the transfer αφορά migration between hosting packages within Papaki, or to an existing (not new) package, additional charges may apply
Will my emails also be transferred?
No. For GDPR (data protection) reasons, we do not handle email transfers, except in exceptional cases where supported by the infrastructure and where personal credentials are not required.
If you wish to transfer your emails, you will need to do so yourself or with the help of your current provider.
Do I need to do anything after the transfer?
Yes, a few steps are required on your side:
- You will be informed about the date and time of the transfer
- Once completed, you will receive instructions to check your website
- The check is done by temporarily modifying your hosts file (you will receive instructions)
- After confirming everything works correctly, you will need to update your domain’s nameservers with the ones provided
What if I don’t have access credentials?
In this case:
- you may contact your current hosting provider
- alternatively, you can provide a full backup
Can any website be transferred?
Most websites can be transferred; however, this depends on:
- the technology used
- compatibility with the hosting environment
Important
You haven't found what you are looking for?
Contact our experts, they will be happy to help!
Contact us