
Customer Support
How do I create and manage a contact form in Website Builder?
The contact form is not just a tool for receiving messages from your website visitors — it’s a key element of your professional presence.
It adds functionality, enhances credibility, and makes it easier for your audience to get in touch with you.
Accessing the Management Dashboard
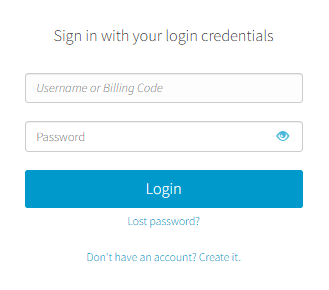
- From the right side menu, click on Other services > SiteBuilder
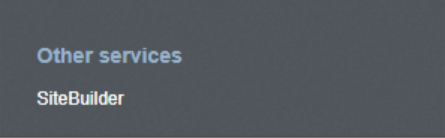
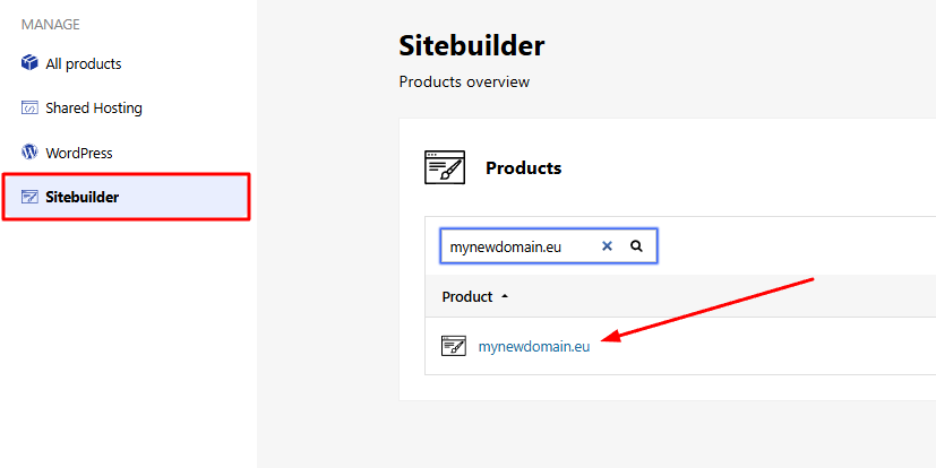
- Locate the hosting pack you want to edit and click on the domain
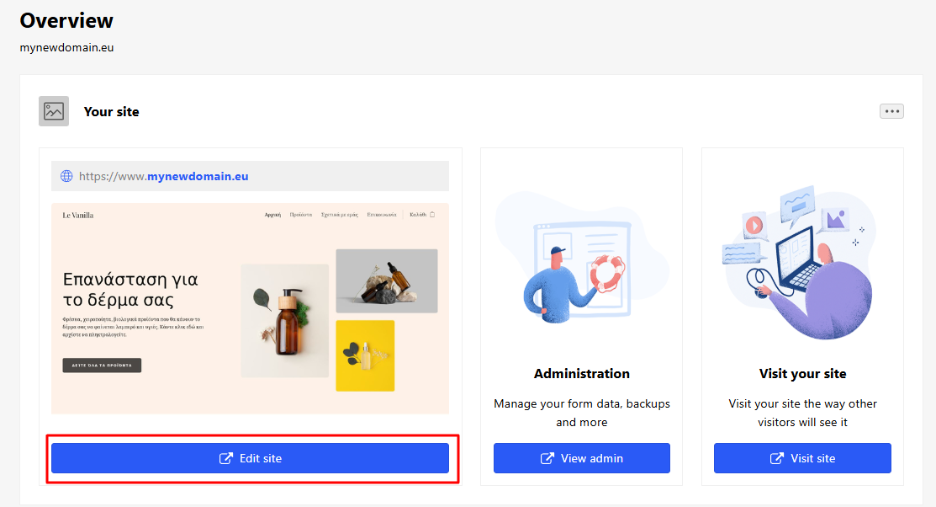
- Click Edit Website to enter your site’s management environment.
Adding a Contact Form
You can add a contact form anywhere on your website. The functionality and level of customization depend on your Website Builder plan.
To add the form:
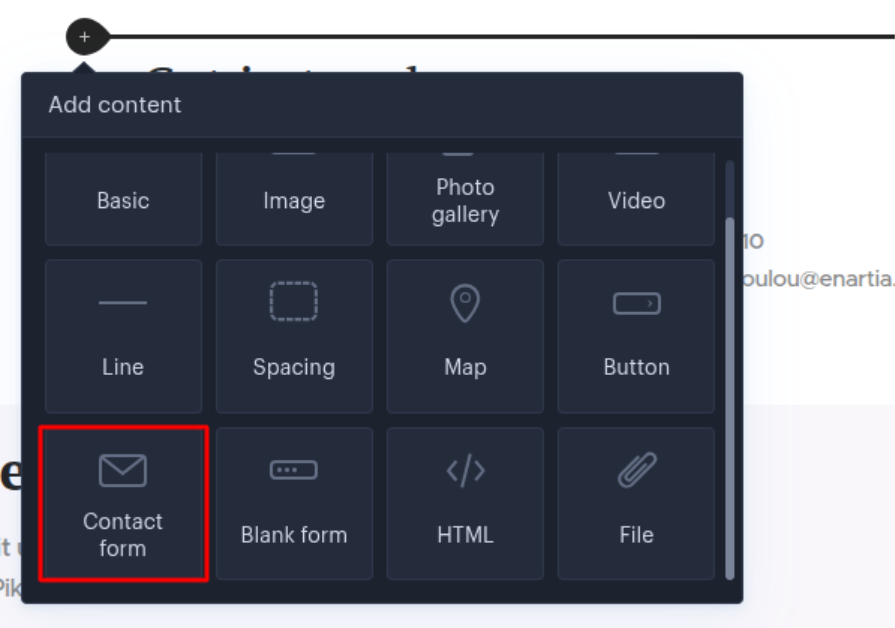
- Go to the section of your site where you want to place the form.
- Click the “+” button.
- Select the “Contact Form” element.
Adding and Managing Fields
To add additional fields to your contact form:
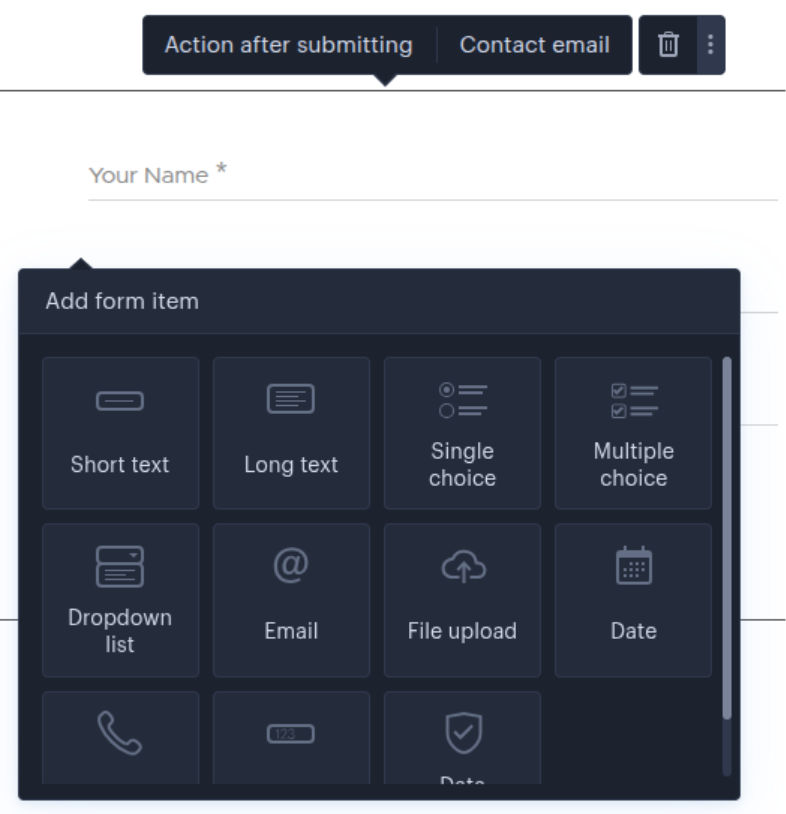
- Click the “+” inside the form.
- Choose the type of field you want to add:
- Text fields
- Drop-down menus
- Checkboxes
- File upload
- and more
- For each field, you can set:
- Whether it is mandatory
- Its labels / text
- Custom parameters
Form Settings Options
From the form settings, you can configure:
- Contact Email:
The email address where form submissions will be sent. - Action After Submitting:
What happens after the visitor submits the form:- Display a confirmation message
- Redirect the visitor to a specific page
Final Step
Don’t forget to click “Publish” to save your changes and make the form visible on your website.
You haven't found what you are looking for?
Contact our experts, they will be happy to help!
Contact us