Customer Support
How do I create the CSR in my Plesk Onyx Control Panel?
In order to create the CSR in your Plesk Control Panel, follow the steps described below:
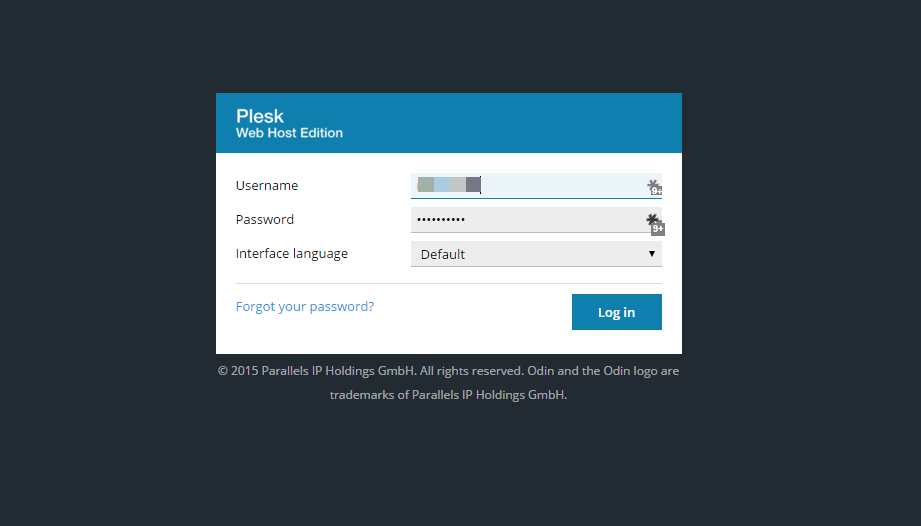
1) Login to Plesk
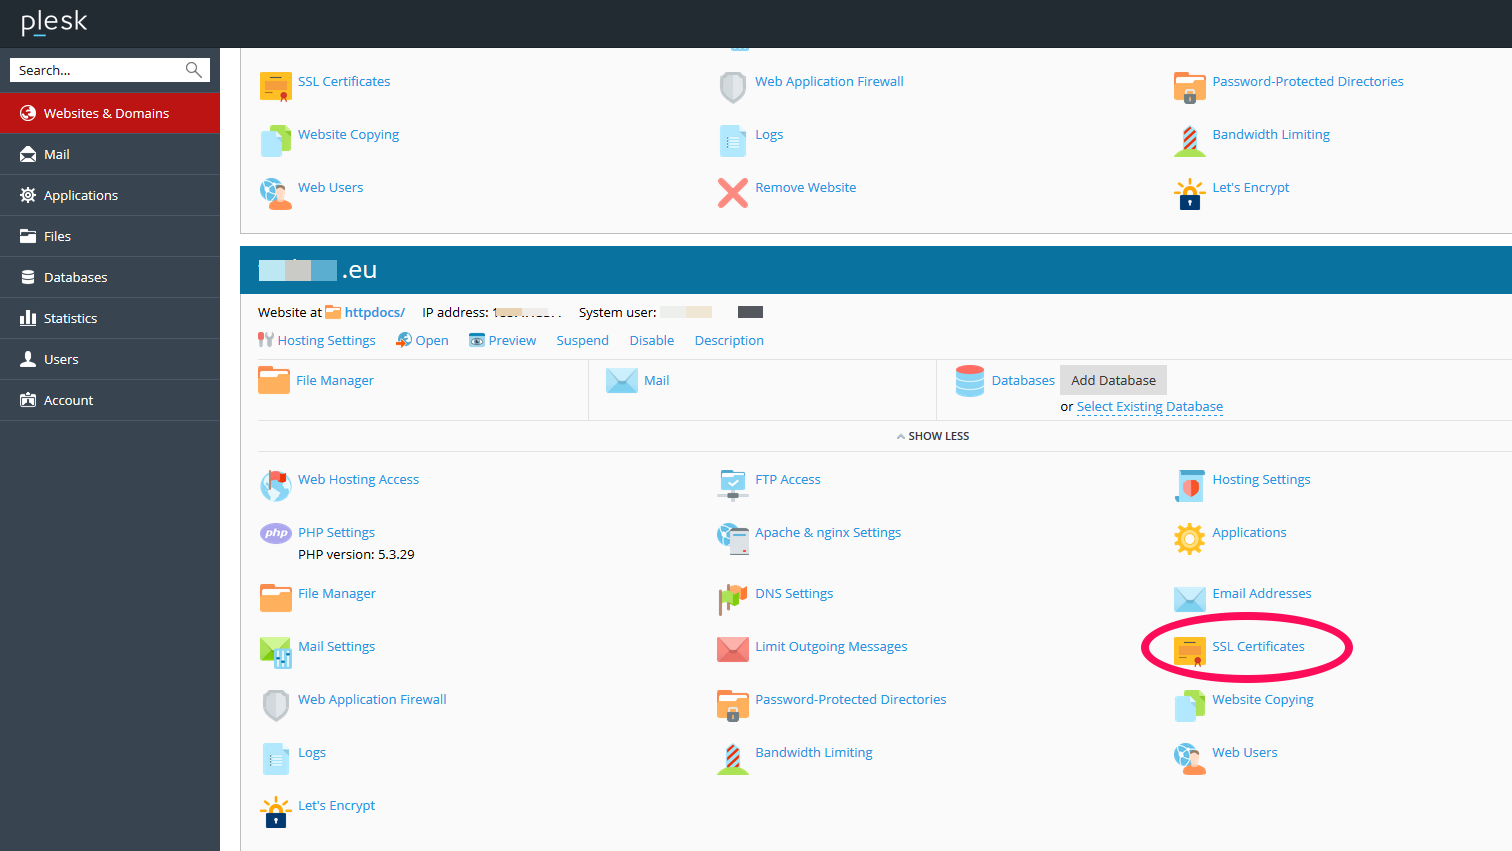
2.Go to the tab "Websites & Domains". Find and click the option "SSL Certificates".
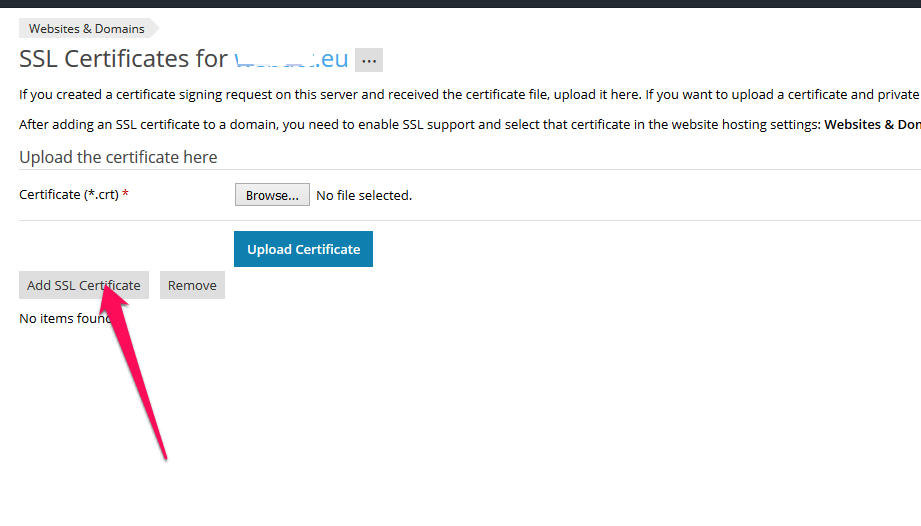
3. In the next page choose "Add SSL Certificate".
4. Next, you will have to fill in the settings of the SSL in latin characters, because if you use Greek, the Certificate Authority may cancel the application.
Νο1 Certificate name: It will help you recognize the specific certificate.
Νο2 Country: Enter your country
Νο3 State or Province: Fill in the state or province of the company 's headquarters. Use no more than 64 characters.
Νο4 Location: Fill in your location. Use no more than 64 characters..
Νο5 Organization name (company): Fill in the company name for which the SSL is issued.
Νο6 Domain name: Fill in the domain name, for which you want to activate the SSL. i.e: your-domain.com.
ATTENTION! The domain www.your-domain.com is considered different from your-domain.com when activating a SSL certificate. Please Please pay attention to provide the right domain (with www or without), because after the activation you will not be able to change the domain name
Νο7 Ε-mail: Fill in your email.
Νο8 Make sure that all the information that you enter is correct and accurate because they will be used for your private key. Click "Request", so that your CSR is created with your certificate request.

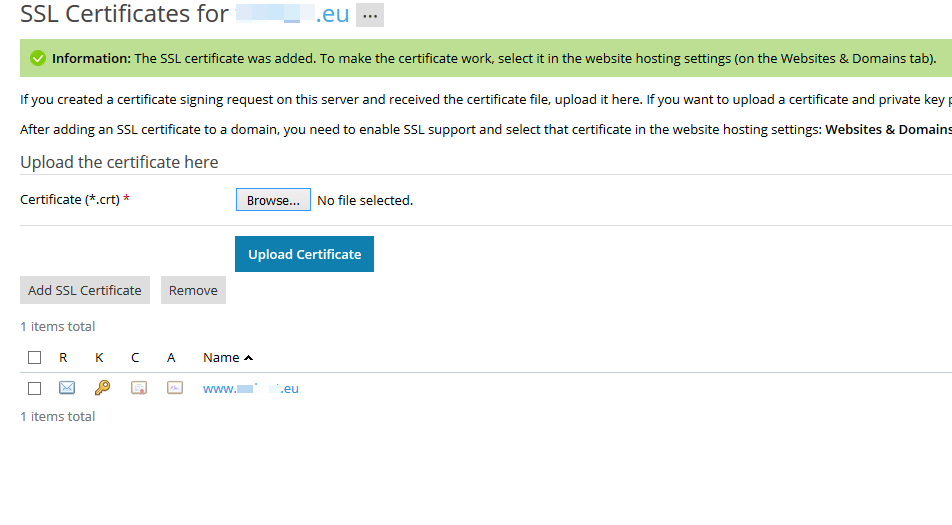
5. Your SSL is added. To see the CSR, click on the name of the certificate.
6. In the new page find the CSR section and copy all the text that begins from -----BEGIN CERTIFICATE REQUEST----and ends with -----END CERTIFICATE REQUEST-----
Your CSR should look like this:
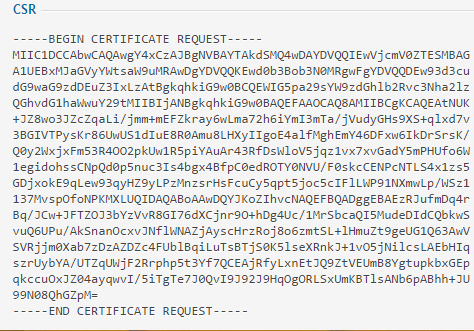
Note: Make sure you use only lower case latin characters and no upper case letters.
You haven't found what you are looking for?
Contact our experts, they will be happy to help!
Contact us