
Customer Support
How to activate my free email account in Papaki?
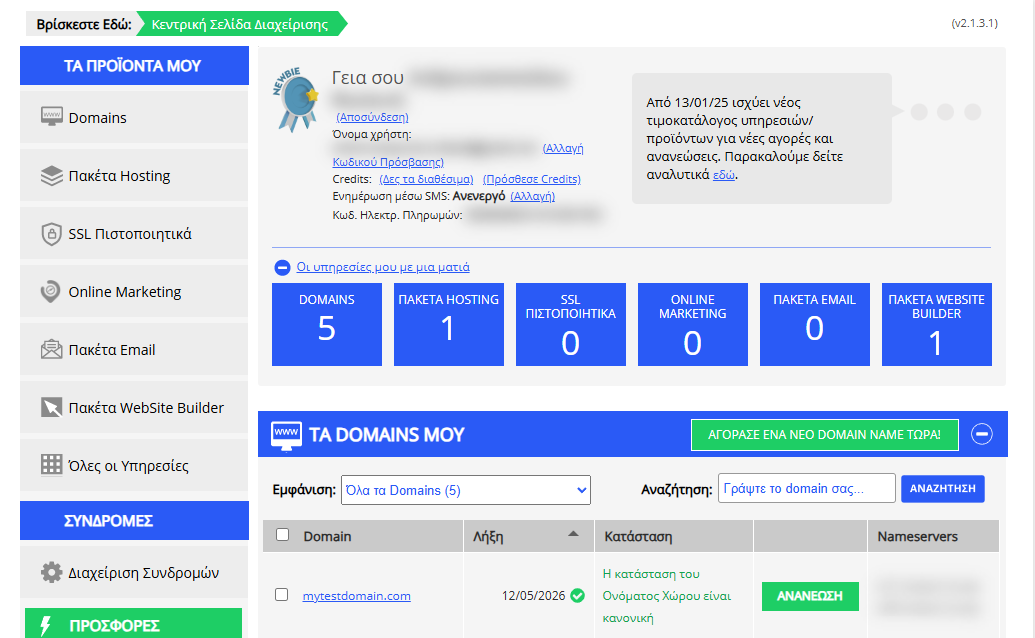
[Papaki 2.0]
With every domain you manage through your Papaki account, you are offered a free email account with a size of 1 GB.
- From the right-side menu, select the domain whose email settings you want to manage.
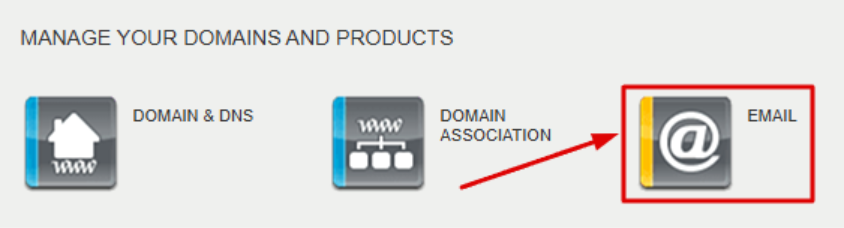
- Click on Email, which will redirect you to the Mail Manager interface for that domain.
- Click Add and complete the form in the popup window.

In the Mailbox tab, complete the following:
- The email name (the "@mydomain.com" part is pre-filled).
- The password of your choice, according to these rules:
- It may include letters, numbers, and the following symbols:
- ! @ # $ % ^ & * + . , _ -
- Confirm the password.
- Select the free hosting package.
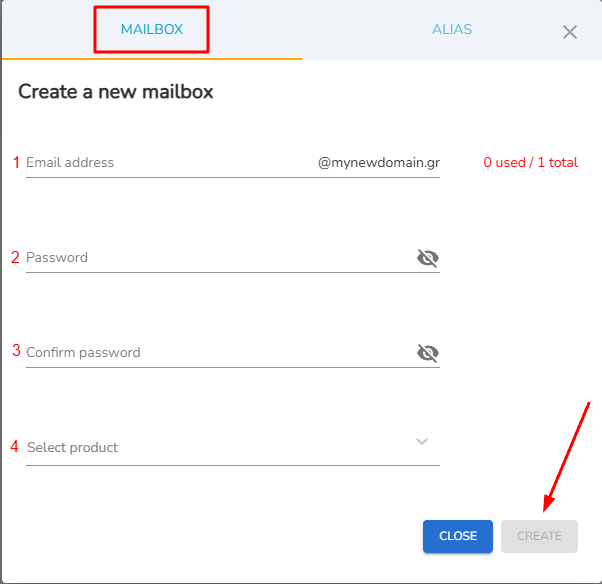
- Click Create and your new email account will be available immediately.
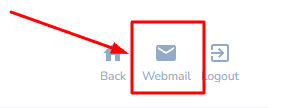
You can access it via: https://webmail.papaki.com/
See more in the following guide:
How can I create a mail account?
Important
- External DNS service: If you use an external DNS service like Cloudflare, you need to add the appropriate DNS records manually.
- Papaki free DNS service: If you use Papaki’s nameservers, the records are set automatically and you can start using the service right away.
Things to Know
- Domain transfer to another Papaki account: Free services (DNS, hosting, email) are transferred along with the domain. However, it is recommended to take a backup of your website or email account and remove any sensitive data.
- Domain transfer to another registrar: Free services are deleted and cannot be restored. Always keep a backup before starting the transfer process.
- Papaki nameservers: The nameservers dns1.papaki.gr and dns2.papaki.gr work only for domains registered with Papaki.
- Service upgrade: If your needs exceed the limits of the free services:
- Upgrade to a larger email hosting plan and connect your existing account to it from the "Product selection" option in step (4).
[Papaki 1.0]
If your domain is still managed through the old Papaki Control Panel, you will need to follow the steps below:
- First, activate the free hosting package.
- Then, proceed with the creation of your email account.
See detailed instructions here for activating the free hosting package.
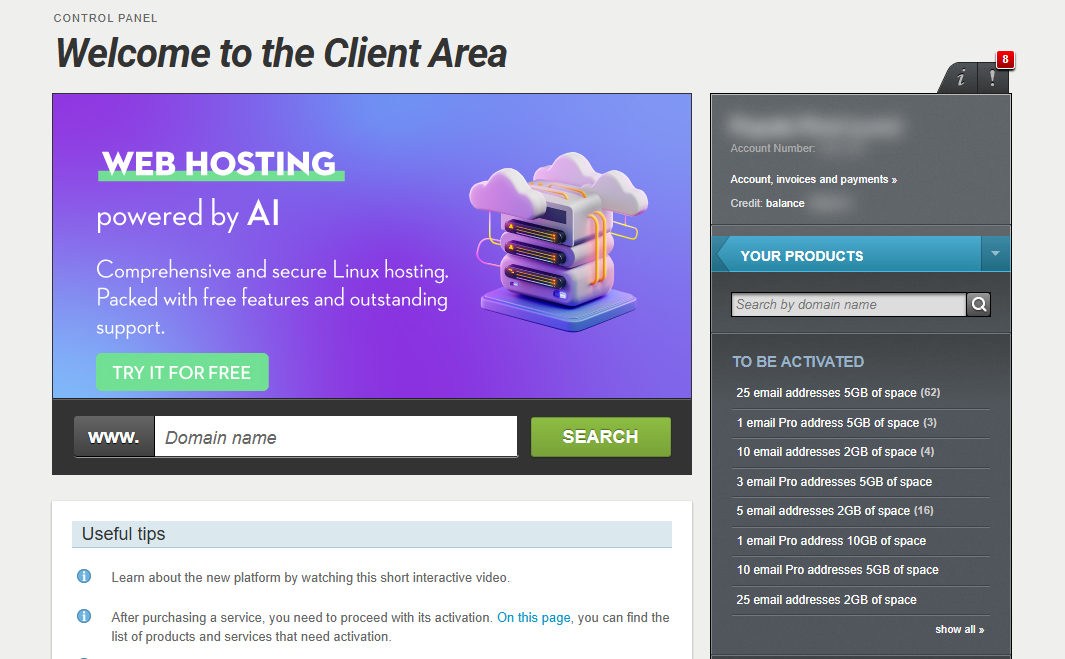
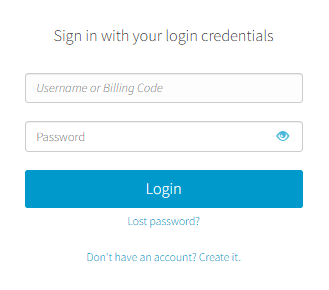
- Log in to your Papaki account.
Forgot your password? See here how to recover it. If it's your first login attempt to the new Papaki panel, please read more here.
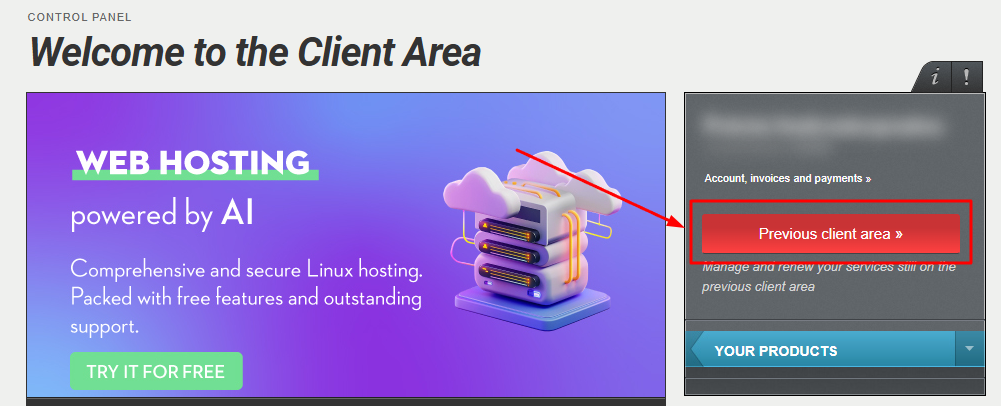
- Click the red button Previous client area » on the right side of the control panel to access the old Papaki panel.
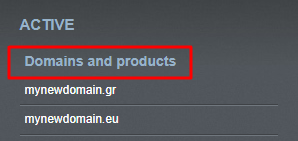
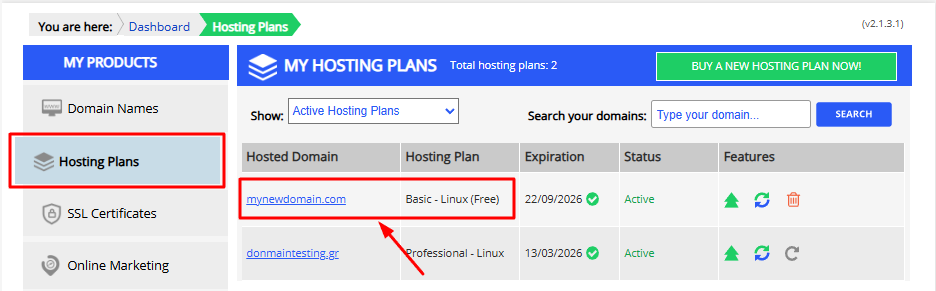
- From the left-side menu, select Hosting Plans and then click on the domain for which you want to manage the email account.
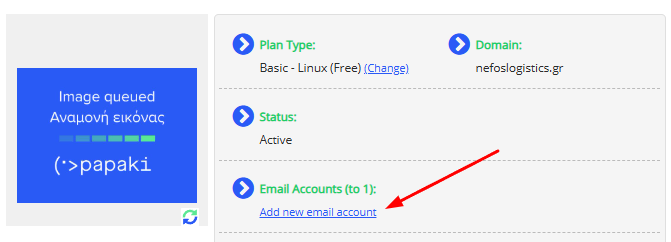
- Click on Add new email account under the Email Accounts section.
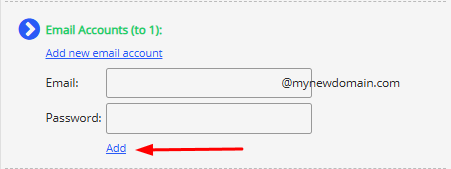
- Fill in the following details:
- The email name you want to create (for example “info” if you want to create info@mynewdomain.gr)
- Set a password
- Click Add
- After the email account is successfully created, you can manage its contents through webmail.yourdomain.tld, replacing yourdomain.tld with your actual domain.
Important!
Depending on where your domain’s active DNS zone is hosted, make sure that the DNS records are correct and your email service is working properly.
You haven't found what you are looking for?
Contact our experts, they will be happy to help!
Contact us