
Customer Support
How do I activate the Free Hosting service?
With every domain you host and manage through your new Papaki Control Panel, you get a free hosting package to help you get started.
You can use it to host a simple WordPress site (Papaki 2.0) or even a static HTML5 page (Papaki 1.0).
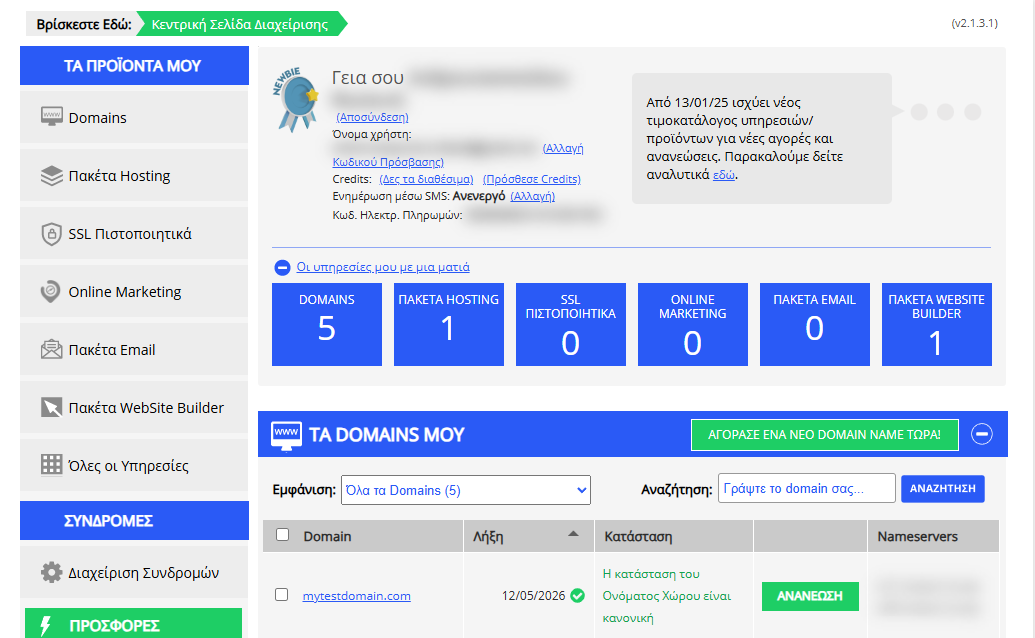
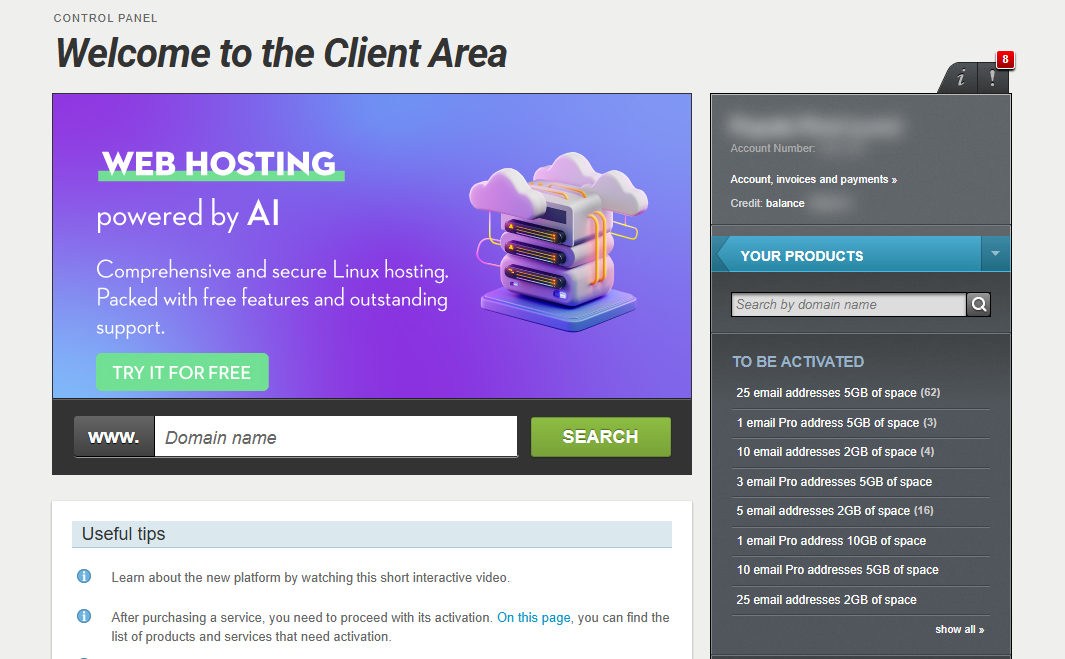
[Papaki 2.0]
What’s included in the free hosting package
- 500ΜΒ storage space
- Free SSL certificate
- 1 MySQL database
Steps to activate free hosting
- From the right-side menu, select the domain for which you want to activate the free hosting package.
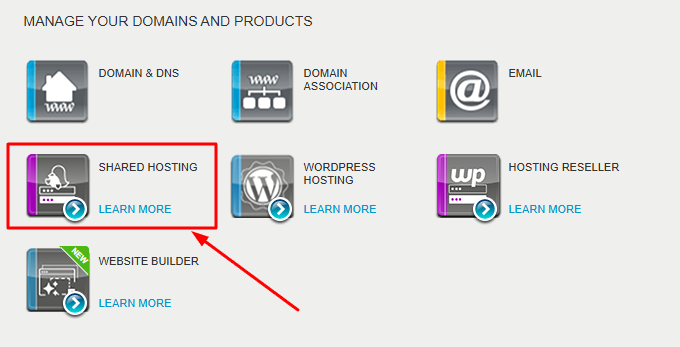
- Click Shared Hosting – Learn more.
- Under the Free Hosting option, click the FREE button.
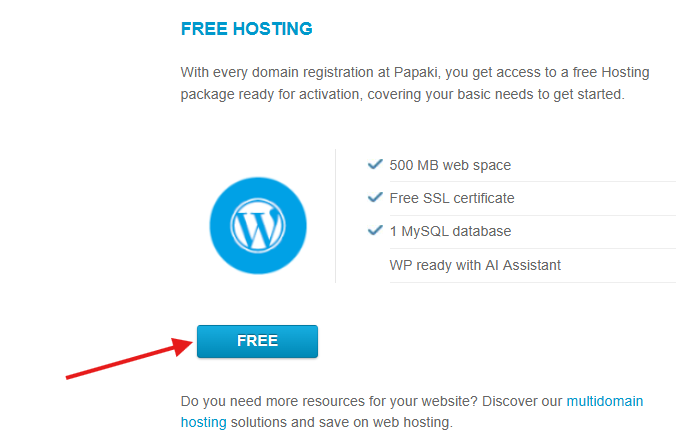
The hosting package will be activated within a few minutes and will come with WordPress pre-installed, so you can immediately start building your site.
Connecting the hosting package to your domain
If you are using Papaki’s free DNS service, the connection is easy and automatic through your account.
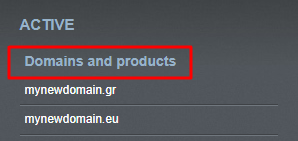
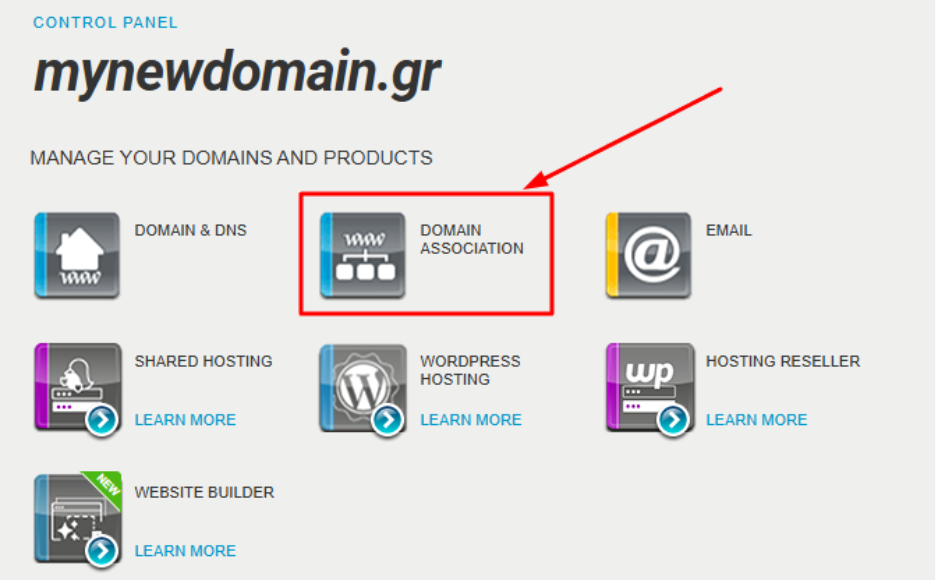
- From the right-side menu, under Domains and products, click on your domain.
- Select Domain association.
- In the Associations tab, locate the record for Hosting and click Associate a domain name.
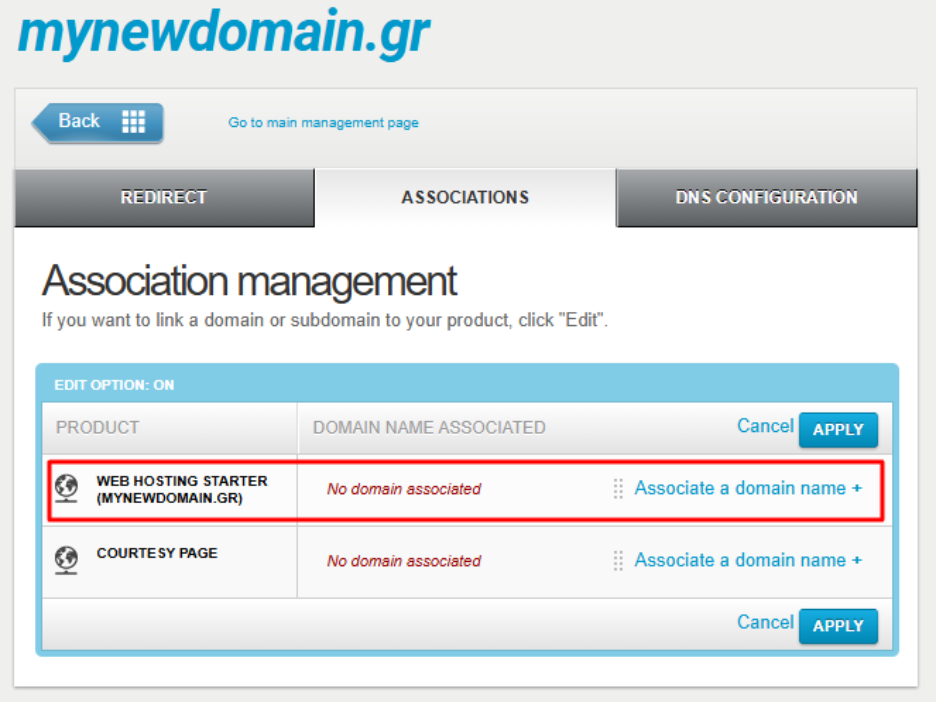
- Click Apply, then click Apply again at the bottom of the page.
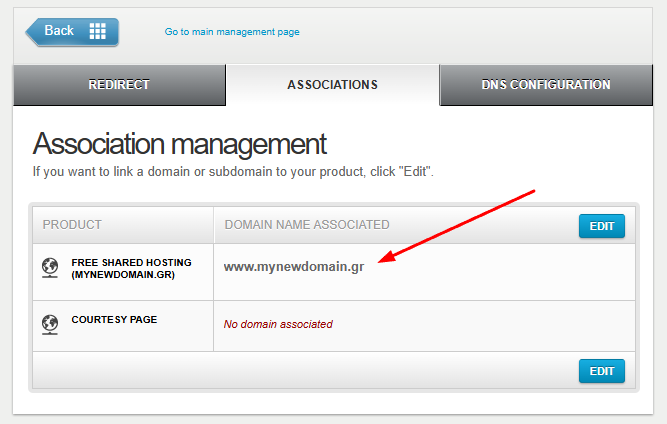
Within about one hour (DNS propagation time), your website will be live. Please note that propagation time may vary depending on your Internet provider.
Important: If you are using an external DNS service (e.g., Cloudflare) instead of Papaki’s free DNS service, you will need to make manual adjustments (see below).
Attention! If your domain is currently connected to a welcome page, you’ll first need to disconnect it and then connect it to the free hosting package.
Activation time
After about 1 hour (DNS propagation time), your website will be live online.
The time may vary depending on your Internet provider.
Important
If you are using an external DNS service (e.g., Cloudflare) instead of Papaki’s free DNS service, you will need to configure the required DNS records manually in your domain’s active DNS zone.
[Papaki 1.0]
What’s included in the free hosting package
- 100ΜΒ storage space
- 1 free email account with 60MB max mailbox size
- Free SSL certificate
Important information about the free hosting package
- The free hosting package does not include a database. This means that installing a CMS (such as WordPress) is not technically supported.
- The free hosting package provided with each domain cannot be activated through the old Papaki Control Panel. To activate it, you will need to contact the Customer Support Team.
- Hosting packages that have already been activated are not affected and will continue to function normally.
You haven't found what you are looking for?
Contact our experts, they will be happy to help!
Contact us