
Customer Support
iubenda – How to integrate in WordPress
If you’ve built your site with WordPress, the step-by-step process for integrating your iubenda settings is described in the guide below. If your WordPress is hosted on a Papaki hosting plan, the iubenda plugin is already installed.
Important: You should have already completed configuring your Terms of Use, Privacy Policy, etc.
WordPress integration with iubenda
Follow the steps below to install, activate, and configure the iubenda plugin in WordPress.
Install and Activate the Plugin
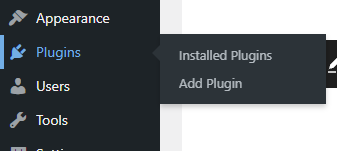
- Log in to your WordPress Dashboard. From the Plugins menu, select Add Plugin.
- Search for the iubenda plugin.
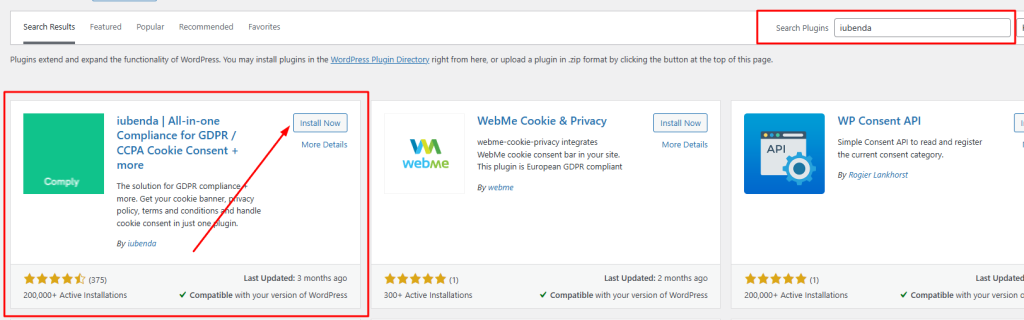
- Click Install Now and then Activate.
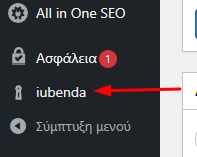
After activation, iubenda will appear in the left-hand WordPress menu.
Initial Setup
- Click iubenda from the left menu. A scan of your website will start.
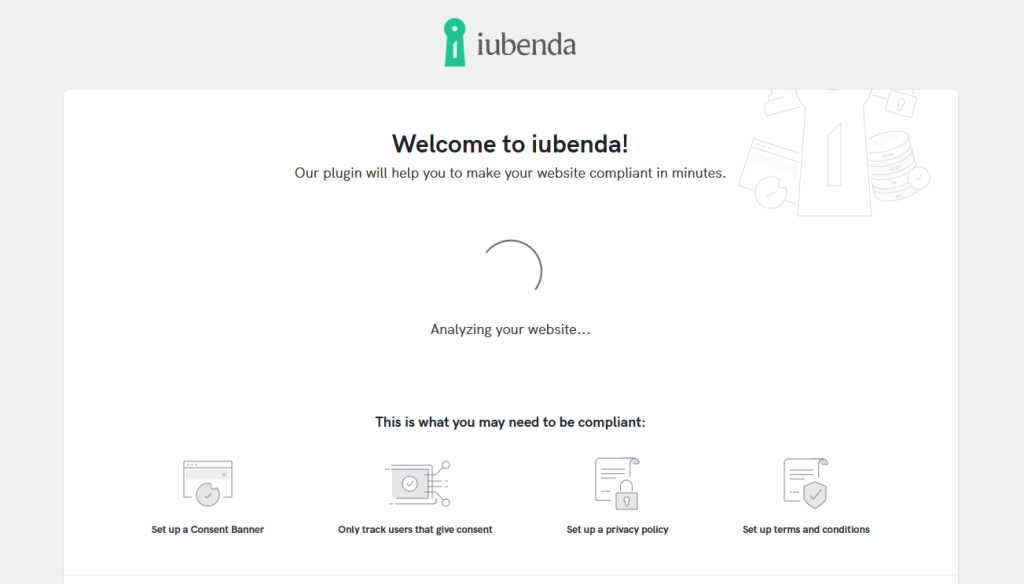
- Click Help me get compliant!

- Select I've already made the setup on Iubenda.com.
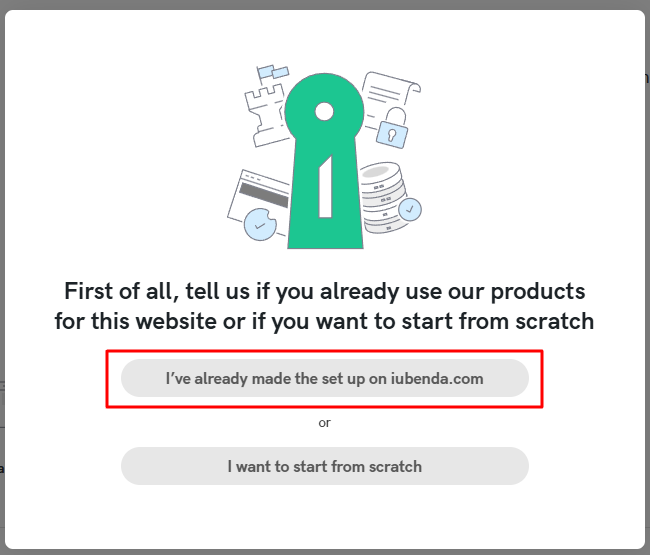
Embed “Privacy and Cookie Policy”
- Select the Privacy and Cookie Policy section.
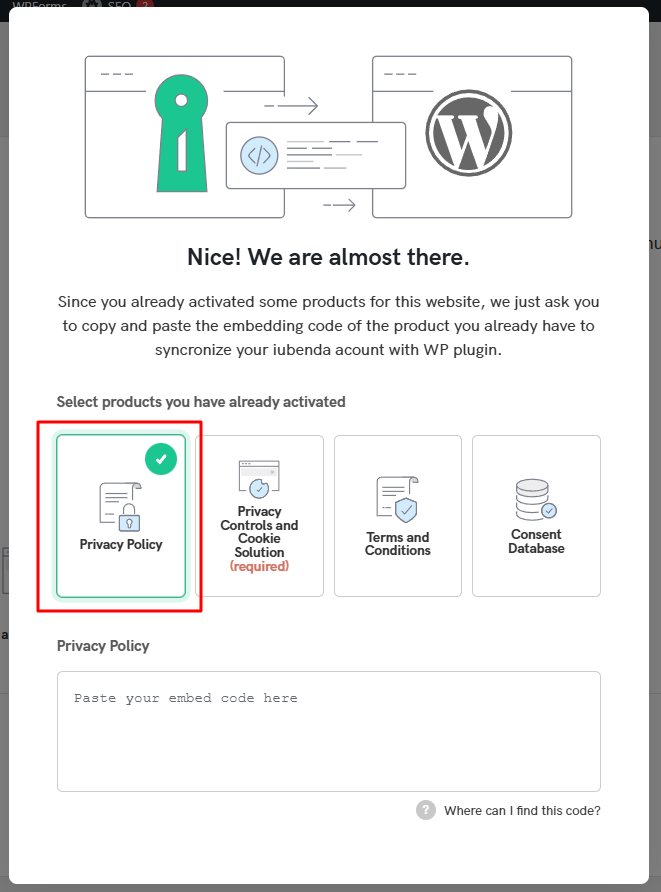
- In the new field that appears, paste the code you obtained from iubenda:
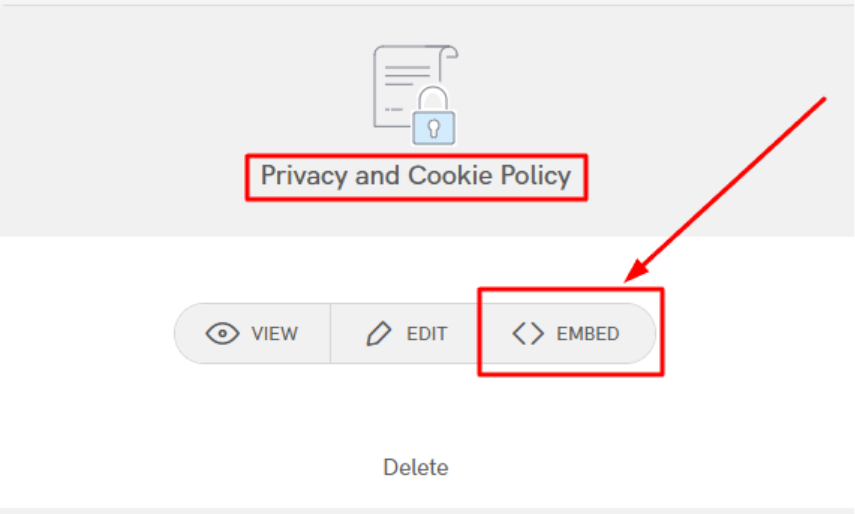
- Go to Privacy and Cookie Policy and click Manage and Embed.
- In the Privacy and Cookie Policy section, click Embed.
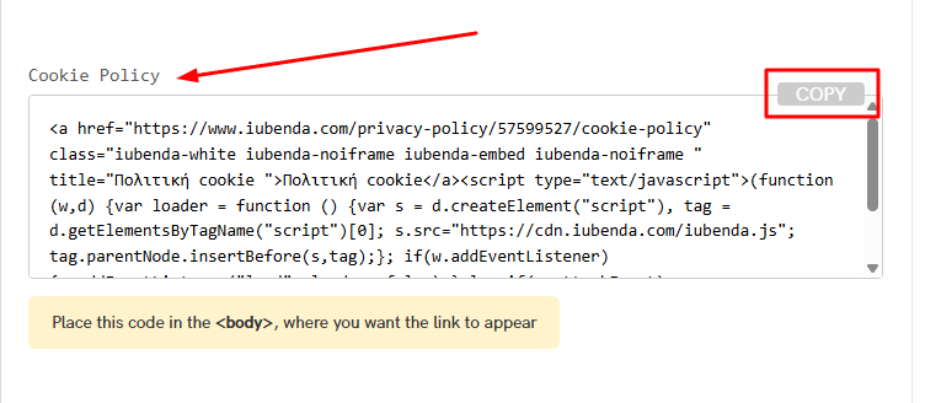
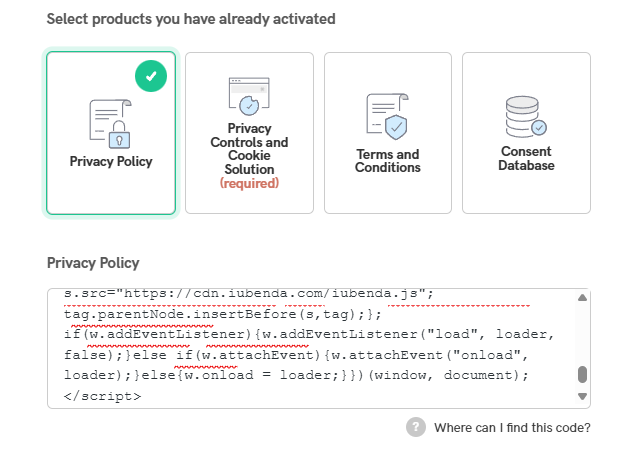
- Under “Install the Documents”, find the “Privacy Policy” box and copy the code (click COPY to ensure you copy it entirely).
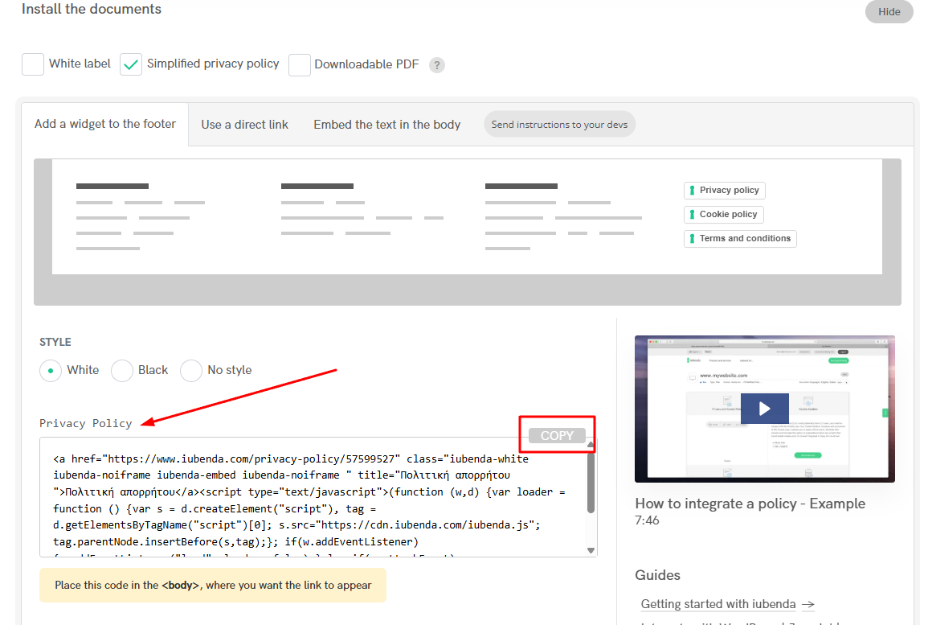
- Paste it into WordPress.
- Repeat the process for the Cookie Policy and paste it immediately after the previous code in the same field.
Embed “Privacy Controls and Cookie Solution”
- Enable the Cookie Solution option.
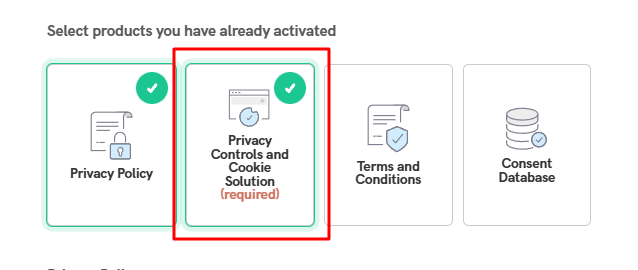
- In iubenda’s “Privacy Controls and Cookie Solution” section, click “Embed”.
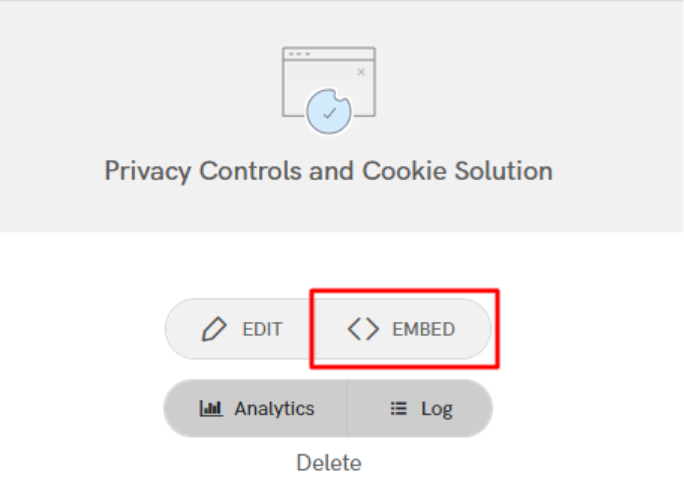
- Copy the code from the box (click COPY to ensure you copy it entirely).
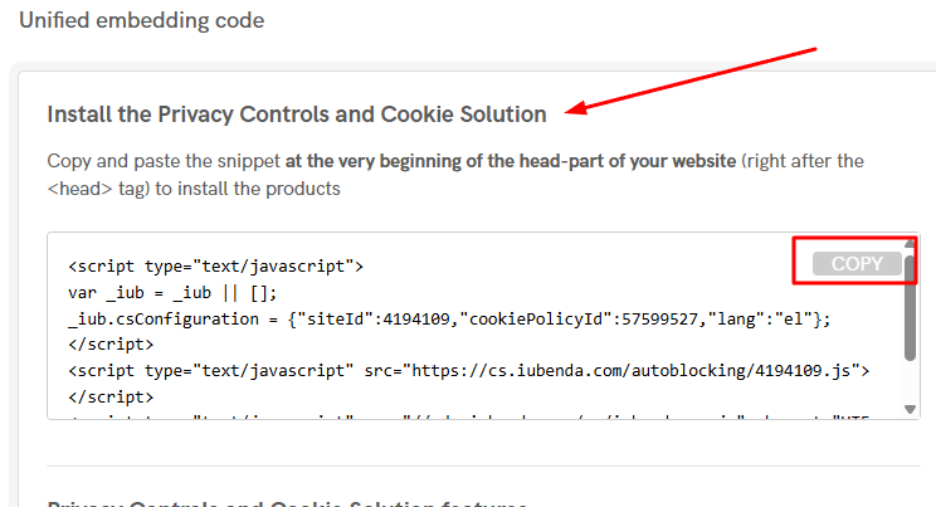
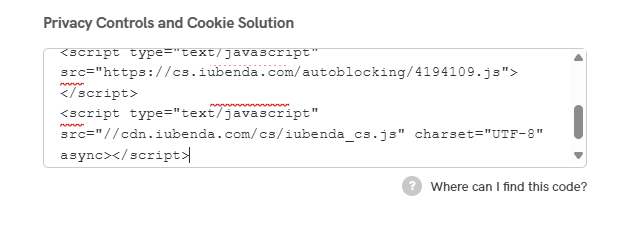
- Paste it into the Privacy Controls and Cookie Solution field in WordPress.
Embed “Terms and Conditions”
- Enable the Terms and Conditions option.
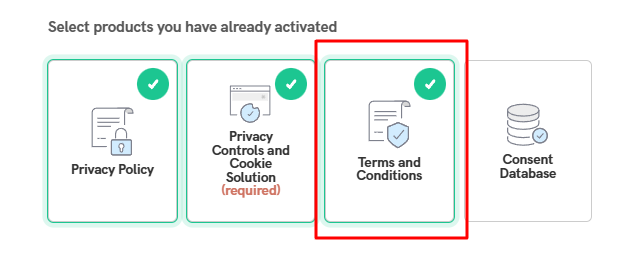
- In the iubenda platform, go to the “Terms and Conditions” section and click “Embed”.
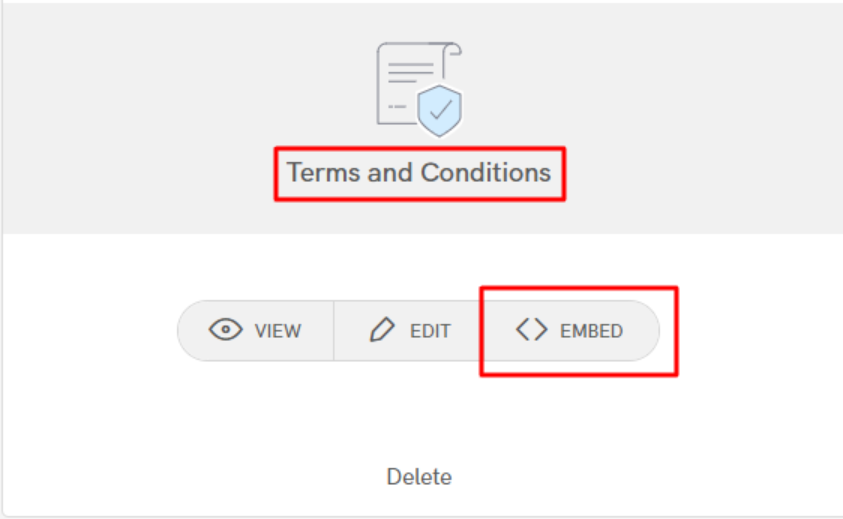
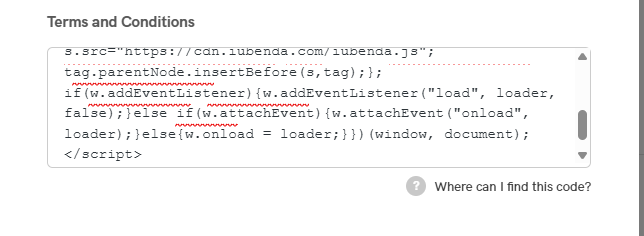
- Under “Install the Documents”, find the “Terms and Conditions” box and copy the code (click COPY to ensure you copy it entirely).
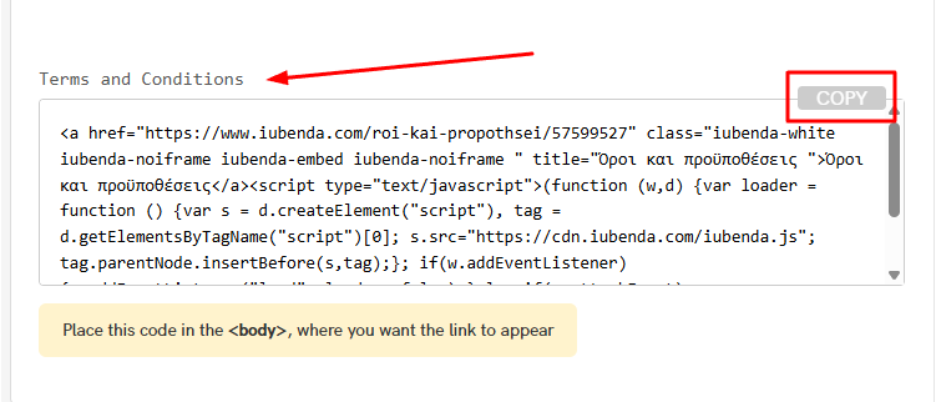
- Copy the code and paste it into the corresponding field in WordPress.
Embed “Consent Solution”
- Enable the Consent Solution option.
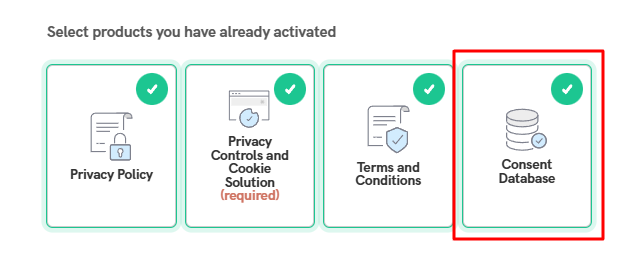
- In the iubenda platform, go to “Consent Database” and click “Embed”.
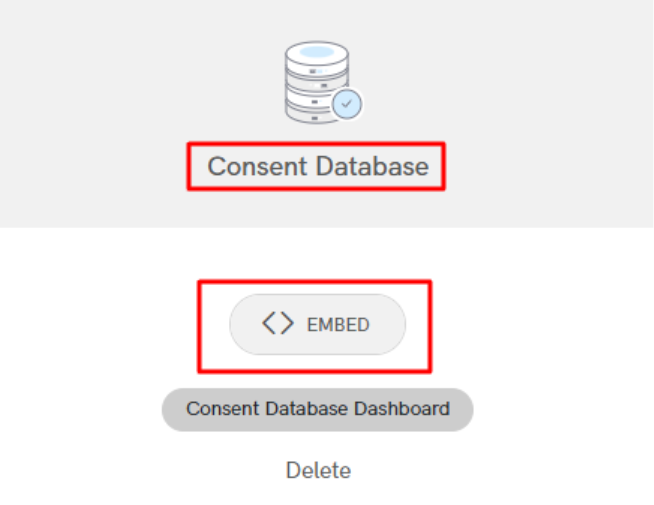
- Copy the Public API Key from step 2.
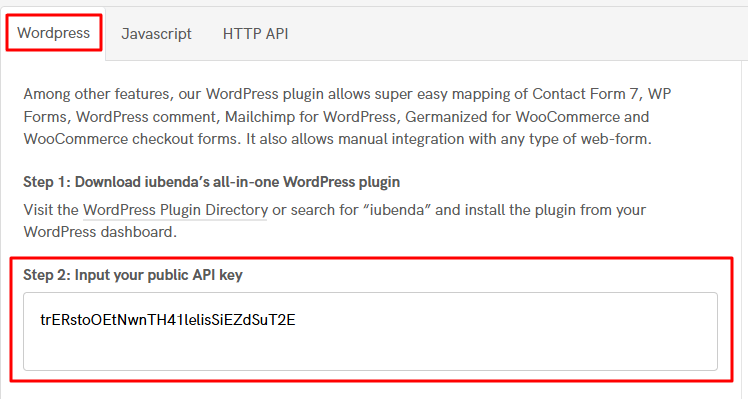
- Paste it into the Consent Solution API Key field in WordPress.
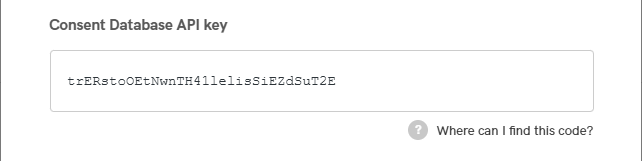
- Click Synchronize products.

- The following screen will appear.
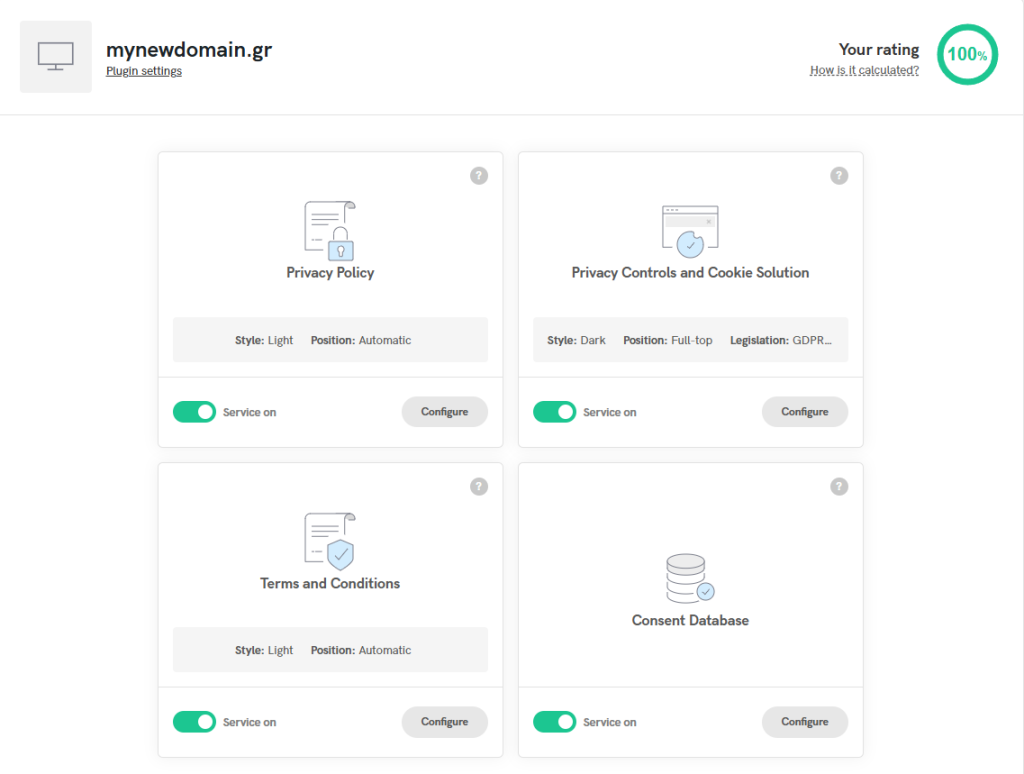
- Links to the documentation are added automatically to your website footer.

Add and Configure Contact Forms
Important: Only Contact Form 7, WPForms, WordPress comments, and WooCommerce payment forms are supported.
- In the Consent Solution section, click Configure.
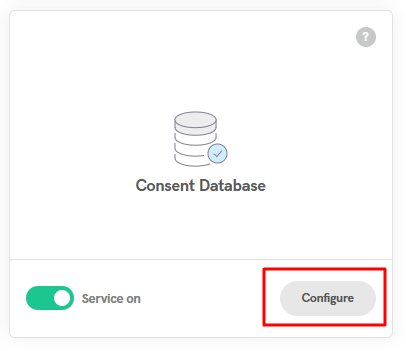
- Click Auto-detect forms.
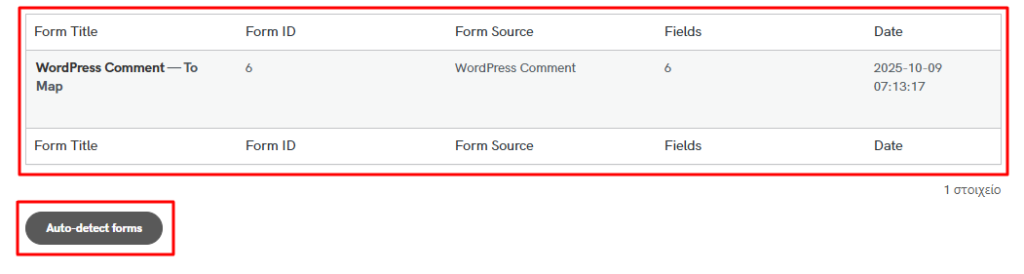
- For each form:
- Click Edit.

- Map the form fields to iubenda fields (e.g., email → “your-email”, name → “your-name”).
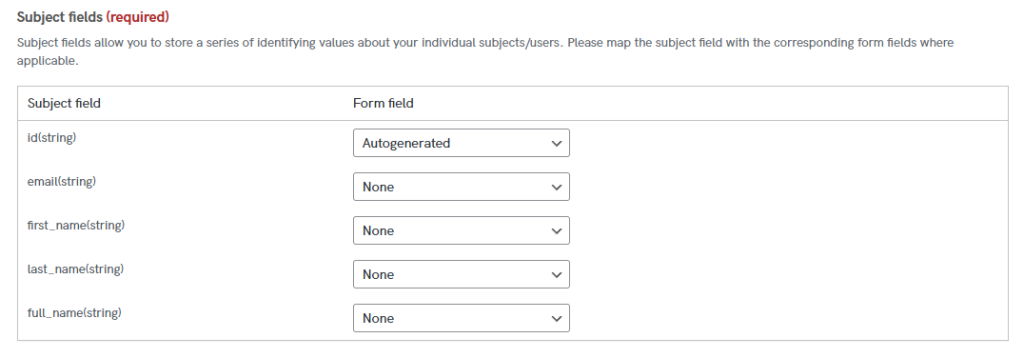
- Leave any fields you don’t need set to None.
- Preferences and Field Exceptions
- Preference Fields: Enter the fields that record consent (e.g., acceptance of the Privacy Policy).

- Exclude Fields: Exclude fields you don’t want to store (e.g., password).

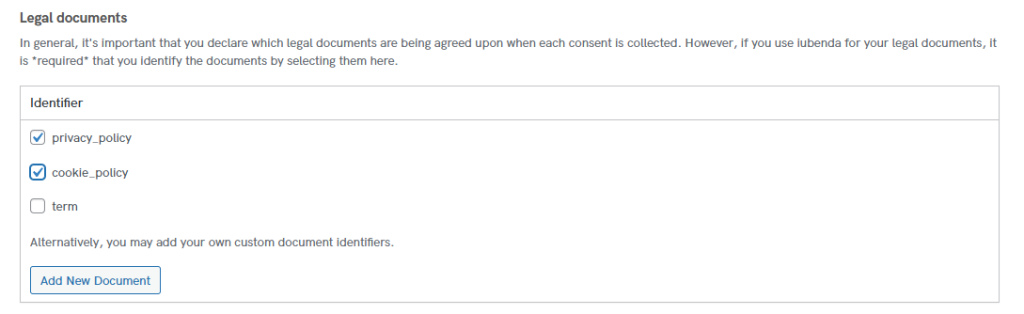
- Legal Documents: Leave the options you’ve activated in Iubenda checked. In this example, only “Privacy Policy” and “Cookie Policy” were selected, so the third option, “Terms and Conditions”, remains unchecked.
- Finish
- Click Save Settings on each form.

- When finished, clear your site cache so the cookie banner displays correctly.
Tip: After completing the integration, check your website in a private/incognito window to make sure everything works correctly.
You haven't found what you are looking for?
Contact our experts, they will be happy to help!
Contact us