
Customer Support
Hosting for WordPress (Managed & Unmanaged) – How do I enable FTP on Hosting for WordPress or WooCommerce?
What is FTP?
FTP (File Transfer Protocol) is a method used to transfer files between your local computer and a remote server.
You can use FTP clients like FileZilla, SmartFTP, or similar applications to upload and download files securely.
FTP Access on Hosting for WordPress
[Papaki 2.0]
Μanaged Hosting for WordPress – FTP Access
On Managed Hosting for WordPress and WooCommerce plans, FTP and SSH access is not available, due to security reasons.
This restriction also applies to staging environments (test sites).
Unmanaged Hosting for WordPress – FTP Access
With Unmanaged Hosting for WordPress plans, you are provided with FTP and SSL access, allowing you to manage server-level functions of your hosting environment.
If you're unfamiliar with FTP or how to upload files, refer to our guide:
What is FTP and how do I upload my files?
How to Find Your FTP Login Credentials
Follow these steps to locate the necessary FTP details:
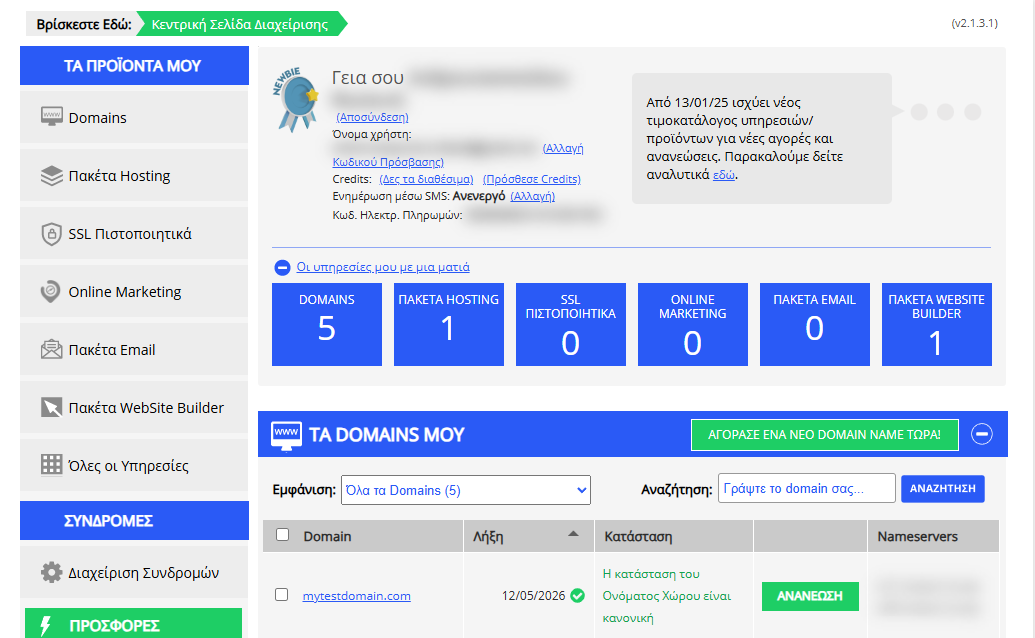
- From the dashboard, locate the product you want to manage. Click the name of the plan.
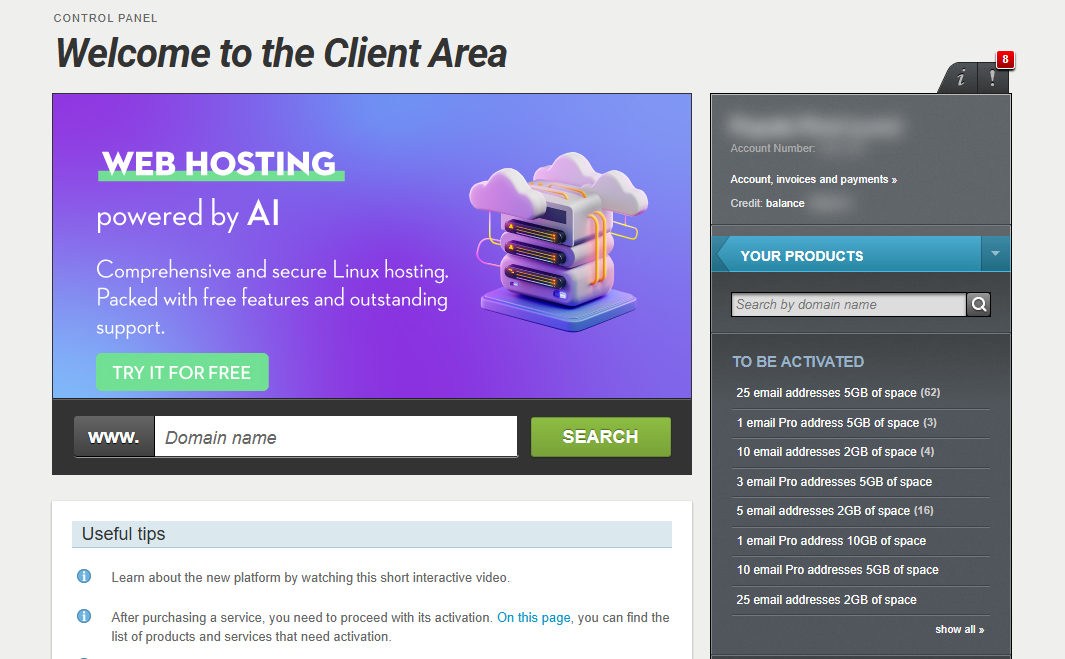
You will be redirected to the hosting management area. Here you can view, by category, all services linked to your Papaki account.
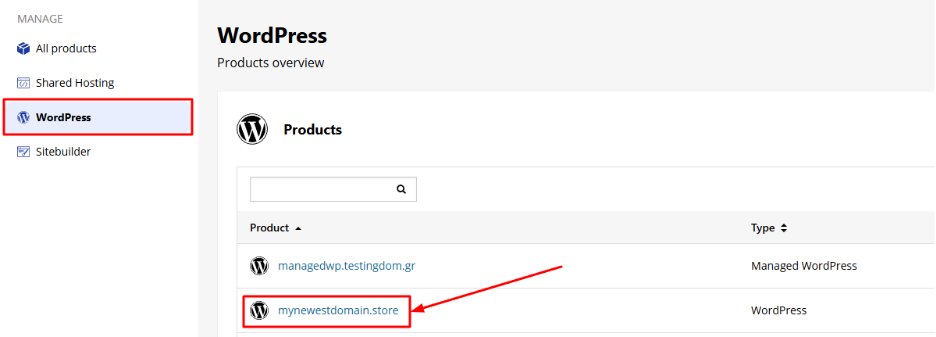
- From the left sidebar, go to WordPress and select the package you want to manage.
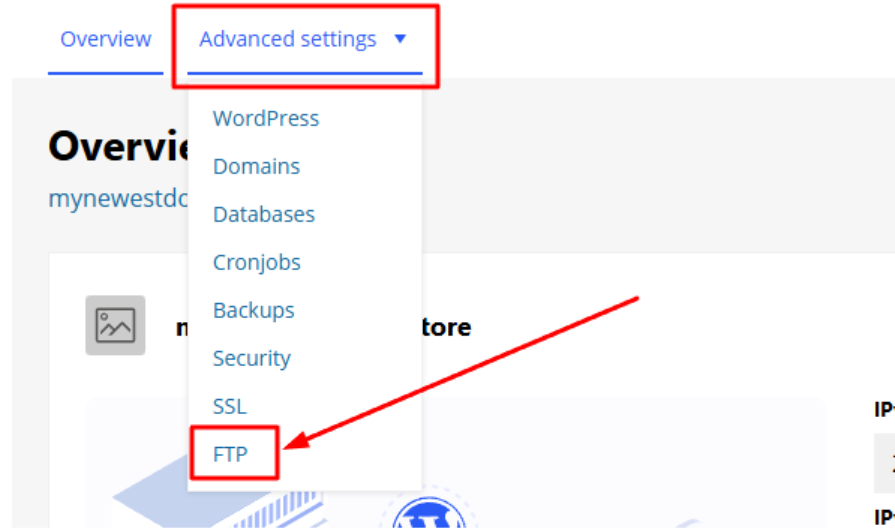
- Go to the Advanced Settings tab and click on FTP. You'll find:
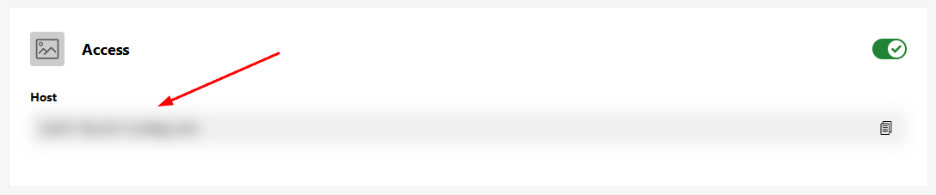
- Your FTP host
- Your username
- Options to edit the password or create a new user, if your plan supports it
How to Connect via FTP
You can use one of the following FTP hosts:
- ftp.domain.tld
(Replace domain.tld with your actual domain — make sure the correct DNS record is set as per your activation email) - the host provided
(Default technical FTP host)
Login details:
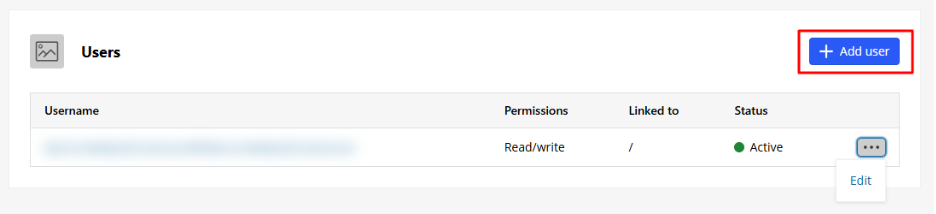
- Username: Found in the FTP section of your hosting panel
- Password: You can set a new one via Edit
- If supported by your plan, create additional users under Add User
[Papaki 1.0]
To activate FTP on one of your Managed or WooCommerce hosting plans, follow the steps below:
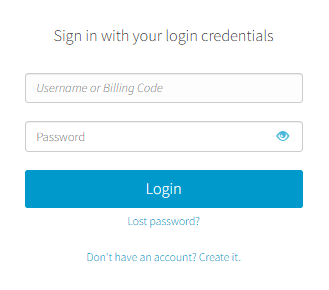
- Log in to your Papaki account.
Forgot your password? See here how to recover it. If it's your first login attempt to the new Papaki panel, please read more here.
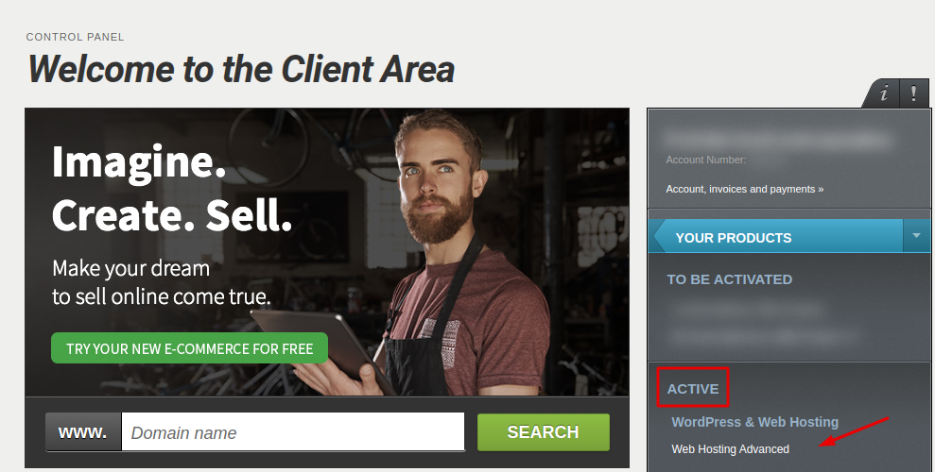
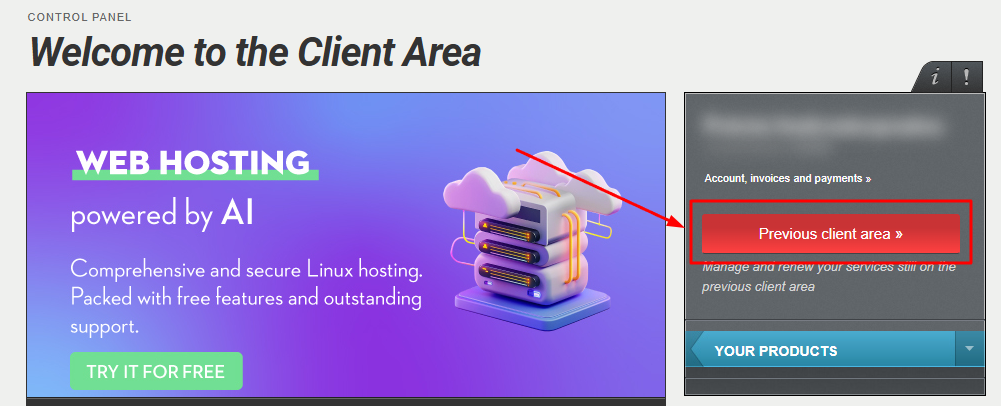
- Click the red button Previous client area » on the right side of the control panel to access the old Papaki panel.
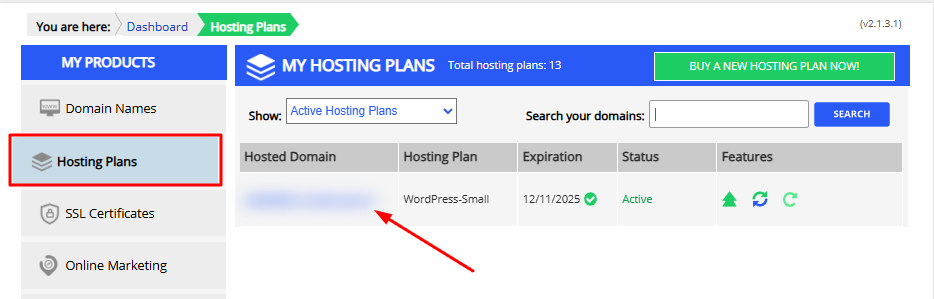
3. In the left-hand menu, click on Hosting Plans and select the plan you wish to manage.
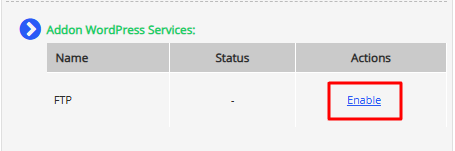
4. In the field Additional WordPress Services, click Enable, and you will receive an email containing your FTP credentials.
To connect via FTP, you can use an FTP client such as FileZilla. You can also check the step-by-step guide here.
You haven't found what you are looking for?
Contact our experts, they will be happy to help!
Contact us