
Customer Support
How can I manage my DNS records?
If you're using Papaki's free DNS service, you can easily manage the contents of your domain’s active DNS zone through your Papaki account. This includes adding, modifying, deleting, or exporting DNS records—no advanced technical knowledge required.
What You Can Manage
The DNS management environment supports all major record types:
- A
- AAAA
- CNAME
- MX
- TXT
- SRV
- NS
- CAA
- ALIAS
- SPF
To learn how to create A, CNAME, or MX records specifically, check out our step-by-step guide here.
How to Manage DNS Records: Step-by-Step
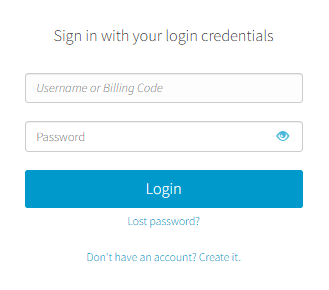
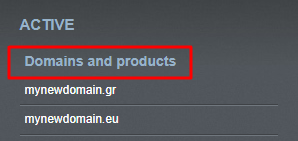
- From the right-hand menu, go to Domains & Products, and select the domain you want to manage.
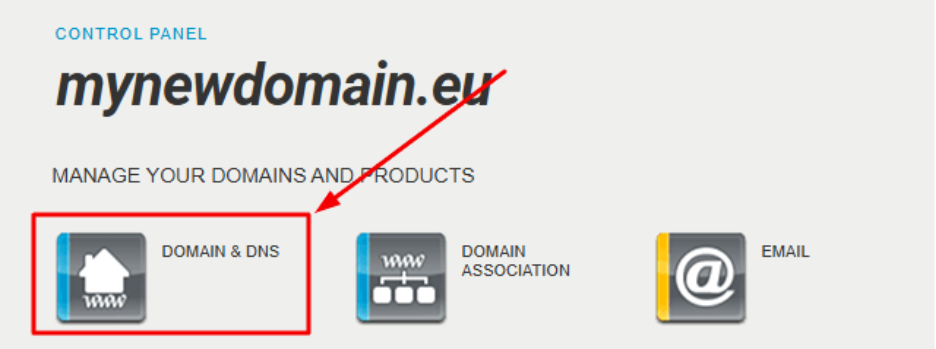
- Click Domain & DNS, then proceed to DNS Configuration.
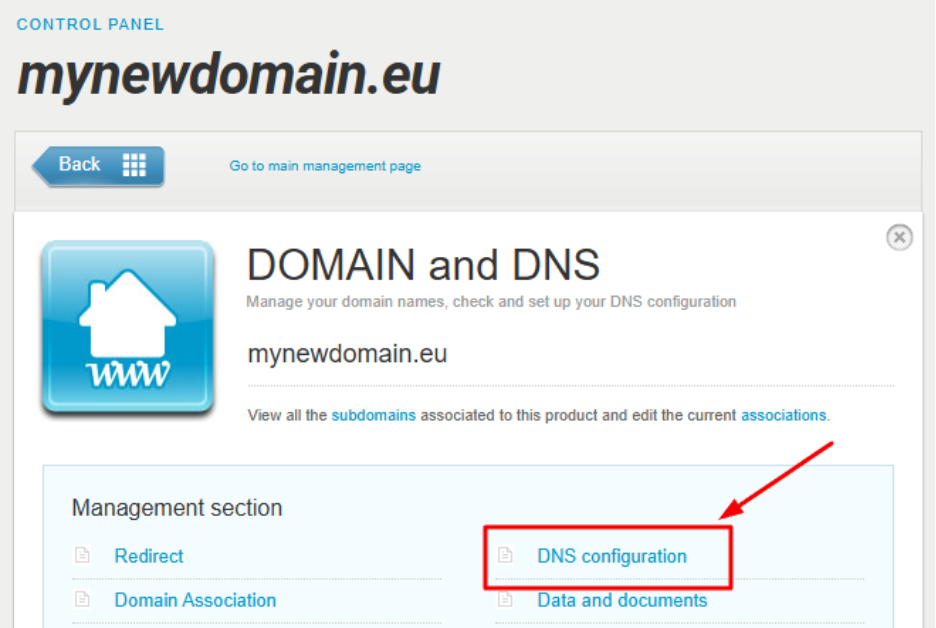
- Select Edit DNS zone.
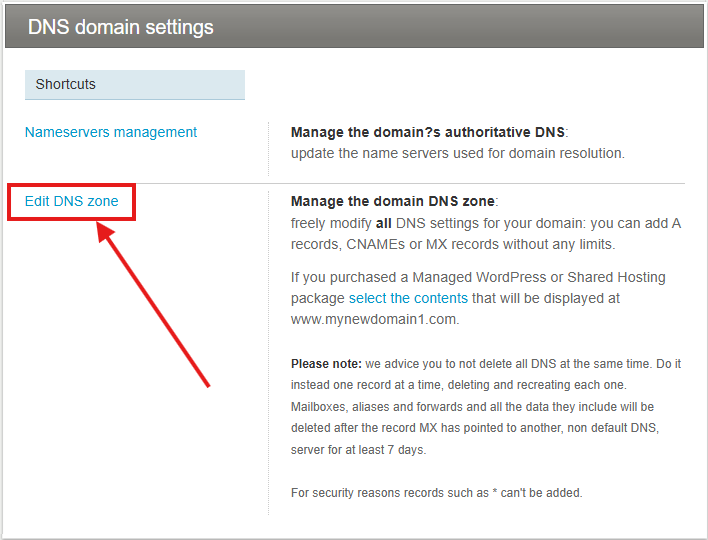
- Then you will be redirected to the DNS control panel to edit your DNS records
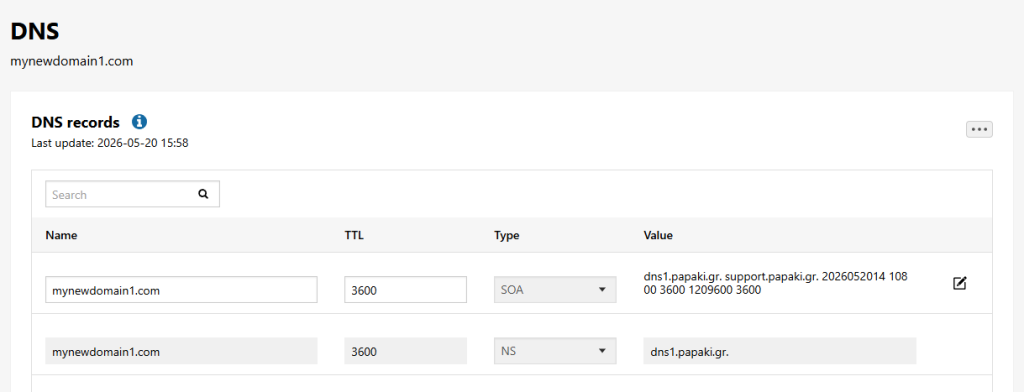
Available Actions
From the Advanced DNS interface, you can:
- Edit or add new DNS records of any supported type

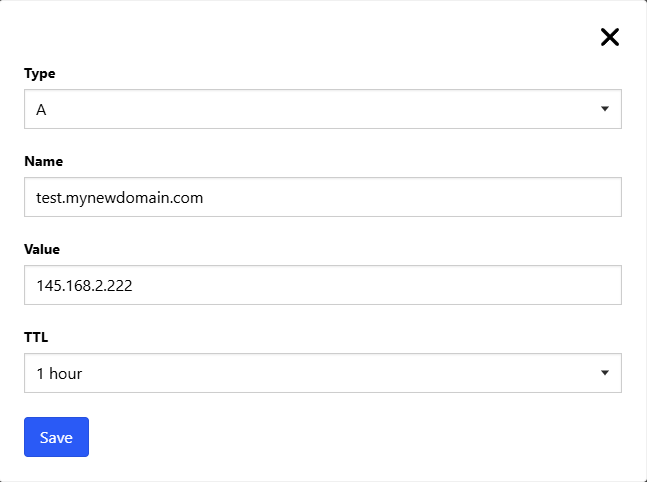
Attention! If the instructions you received from your provider state that you need to enter the @ symbol before your domain name when creating the record, you should omit it.
- Delete existing records

- Import or export DNS records using a .CSV file
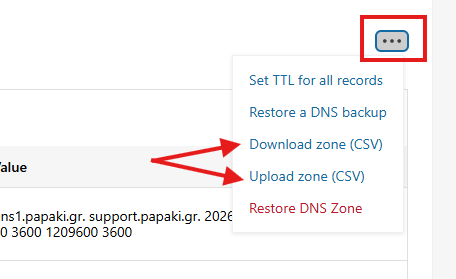
- Restore default DNS settings (Papaki's recommended configuration)
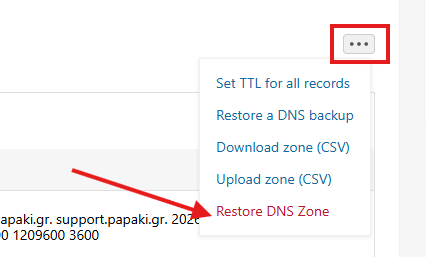
Restoring DNS Records
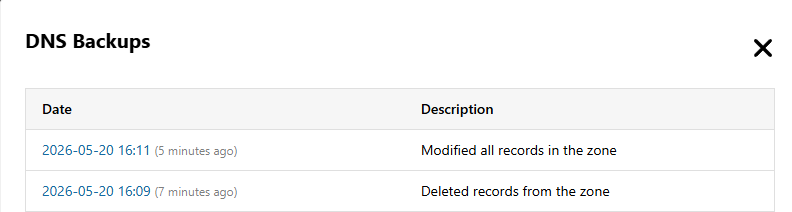
Papaki maintains a version history of your DNS changes. This allows you to:
- Fully restore default DNS records, or
Yoy will be asked to confirm the restoration.
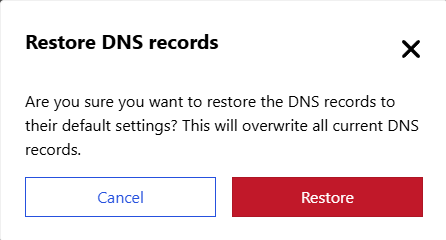
- Select from a list of previous DNS states to roll back changes as needed.
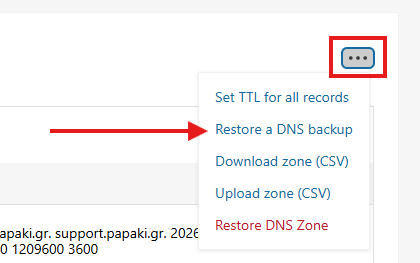
DNS Propagation & TTL
Changes to DNS records may take up to 15 minutes to become visible. This depends on the TTL (Time To Live) setting.
The default TTL value is 900 seconds (15 minutes), with a minimum of 300 seconds.
Important Notes
- If you remove or modify these records, those services will probably be deactivated and the free email account (if you make use of it) will be permanently deleted within 7 days.
- It is recommended to apply changes outside peak hours, especially for critical services like email or live websites.
You haven't found what you are looking for?
Contact our experts, they will be happy to help!
Contact us